





PRODUCT INTRODUCTION
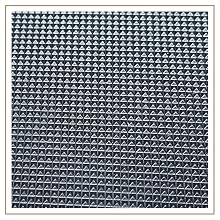
ANTI SLIP PATTERN
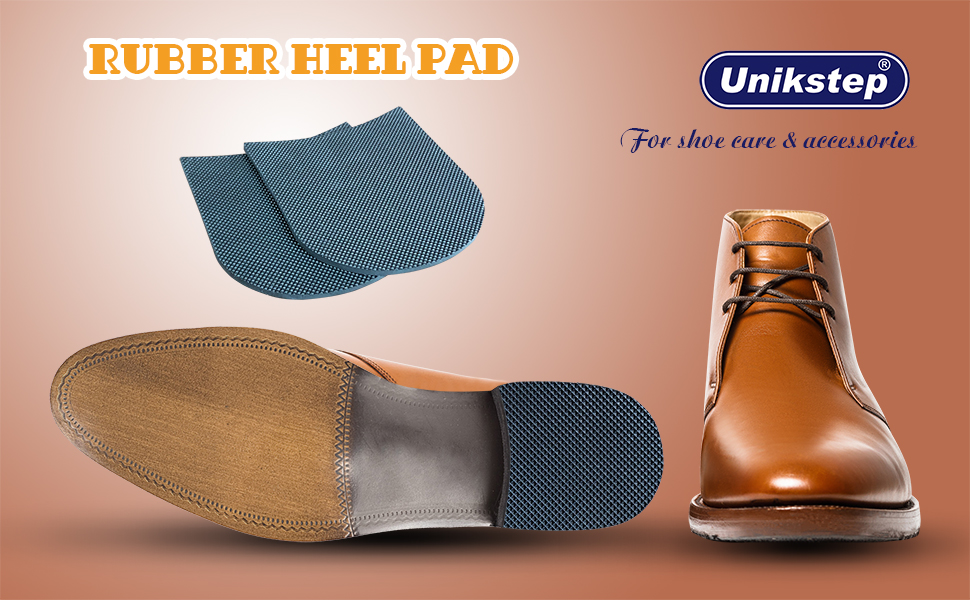
Anti slip pattern embossment ensures safety walking.
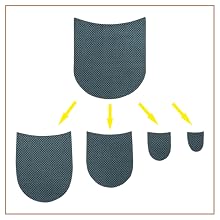
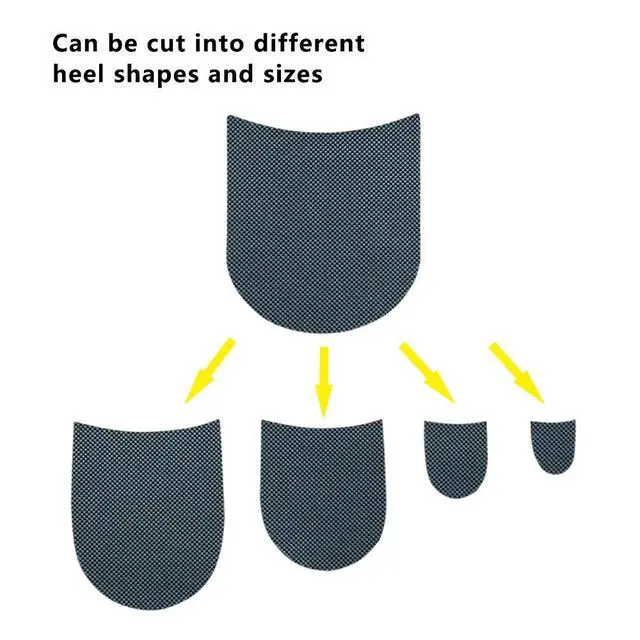
FOR DIFFERENT HEEL SHAPES
Can be cut into different heel shapes and use for different types of shoe heels.
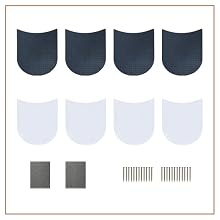
VALUABLE KIT
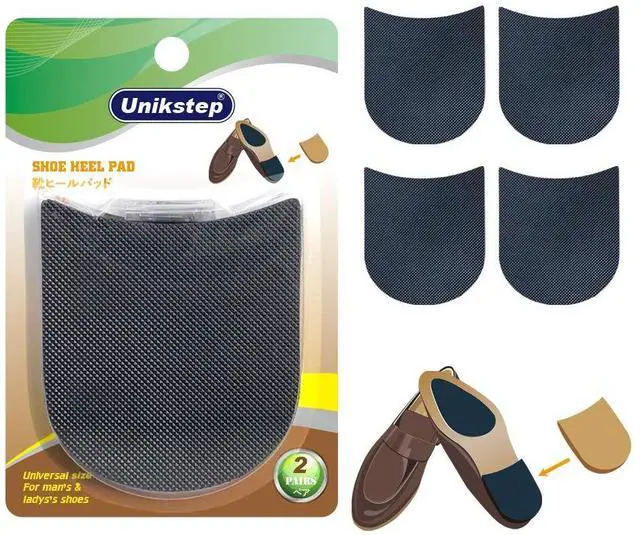
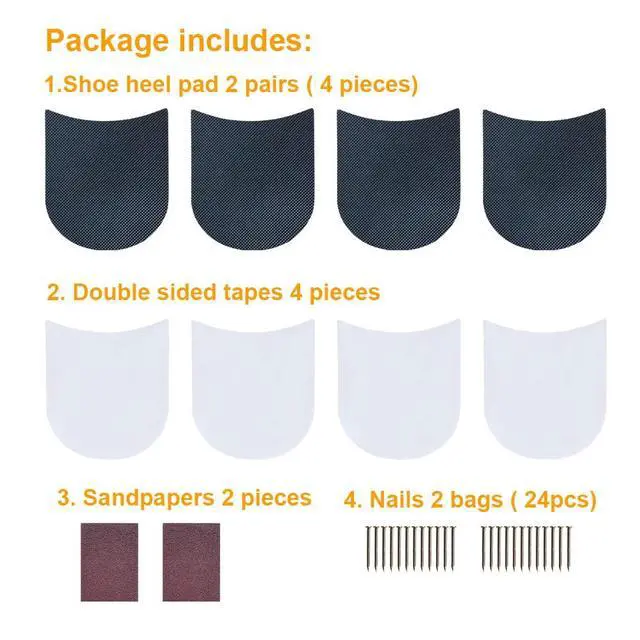
Valuable repair kit includes 4 pieces of rubber heels, 4 pieces of double side stickers, 2 pieces of sandpapers, 2 pack (24pieces) of nails.
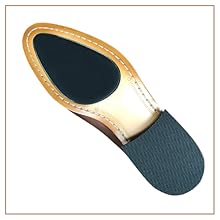
REPAIR AND PROTECTION
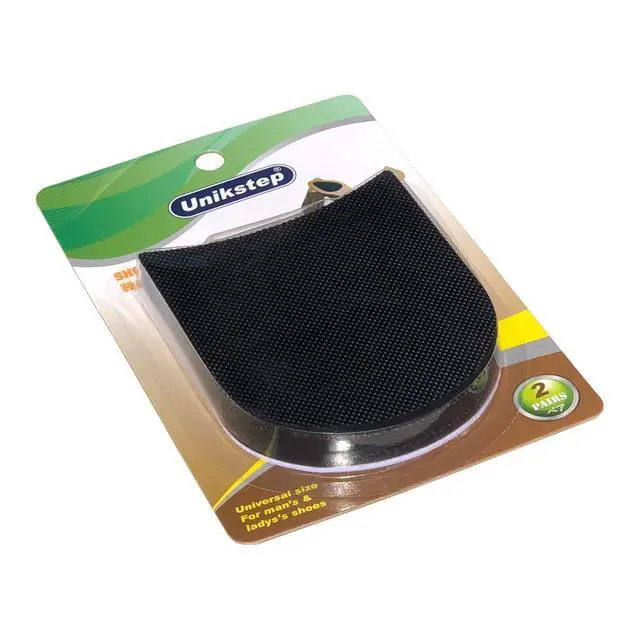
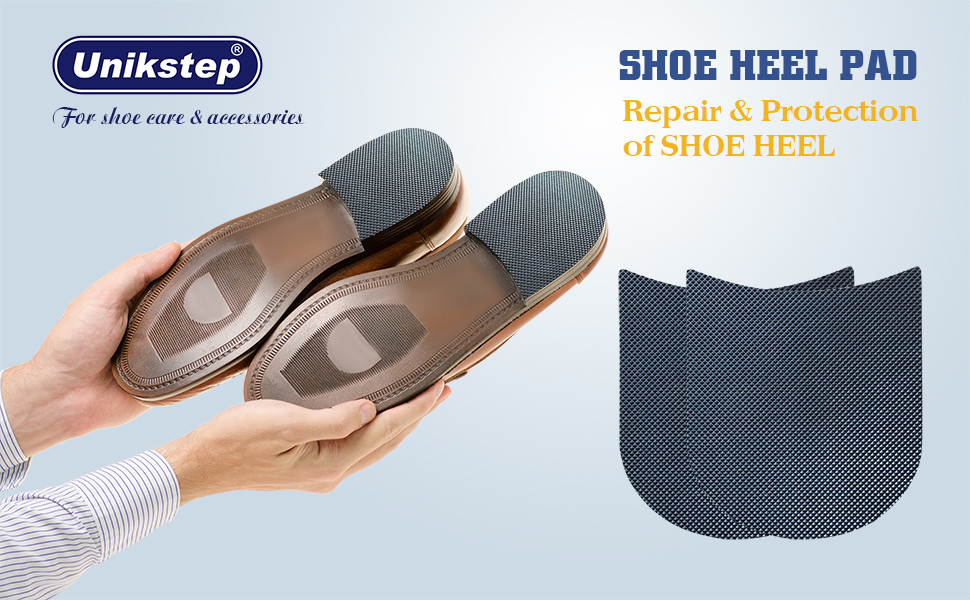
For repair and protection of worn heel, make shoe heel a new look.
HOW TO USE
STEP 1
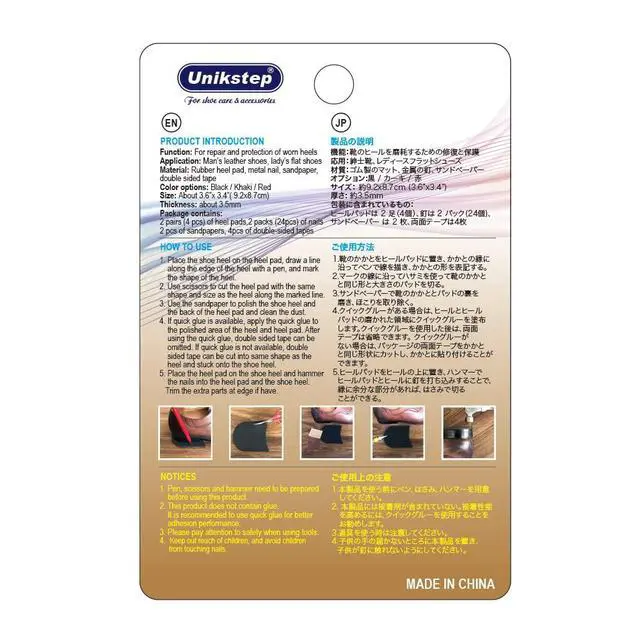
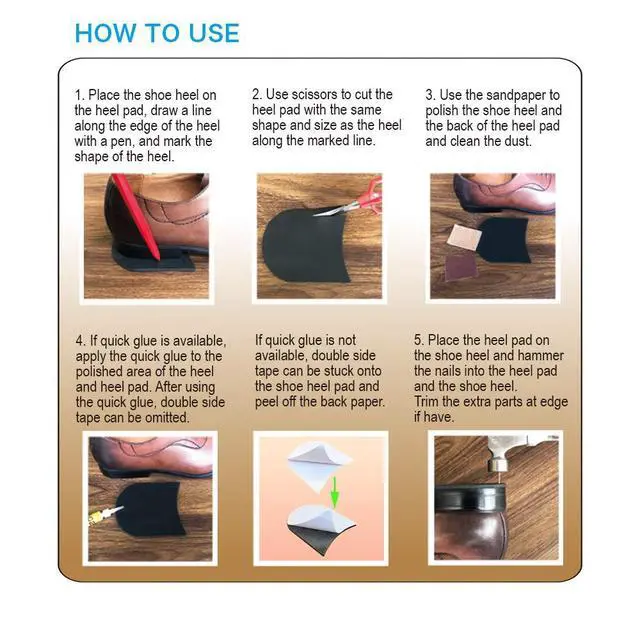
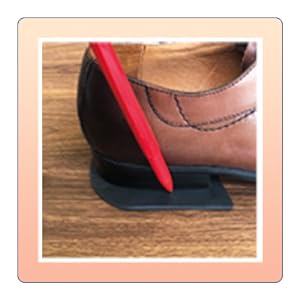
1. Place the shoe heel on the heel pad, draw a line along the edge of the heel with a pen, and mark the shape of the heel.
STEP 2
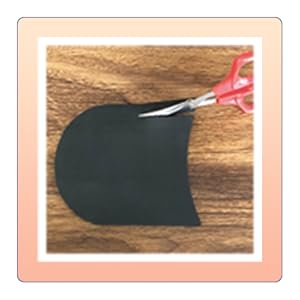
2. Use scissors to cut the heel pad with the same shape and size as the heel along the marked line.
STEP 3
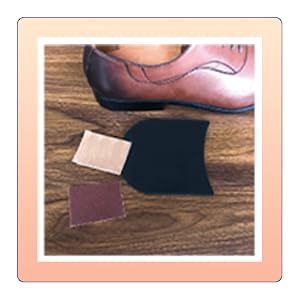
3. Use the sandpaper to polish the shoe heel and the back of the heel pad and clean the dust.
STEP 4
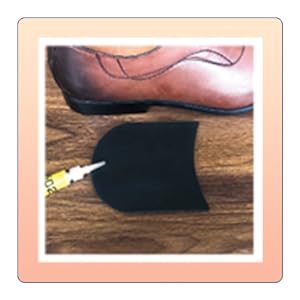
4. If super glue is available, apply the super glue to the polished area of the heel and heel pad. After using the super glue, double sided tapes can be omitted.
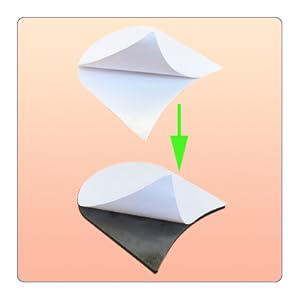
If super glue is not available, double sided tapes can be stuck onto the shoe heel, and peel off the back paper.
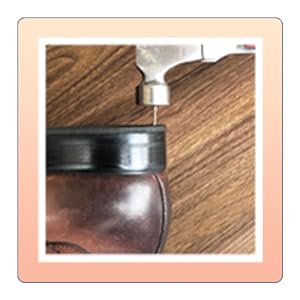
5. Place the heel pad on the shoe heel and hammer the nails into the heel pad and the shoe heel. Trim the extra parts at edge if have.
NOTICES
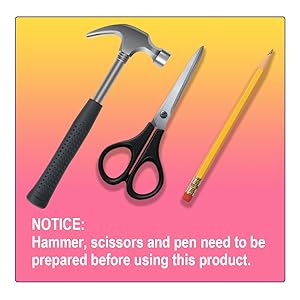
- Pen, scissors and hammer need to be prepared before using this product.
- This product does not contain glue.It is recommended to use super glue or shoe glue for better adhesion performance.
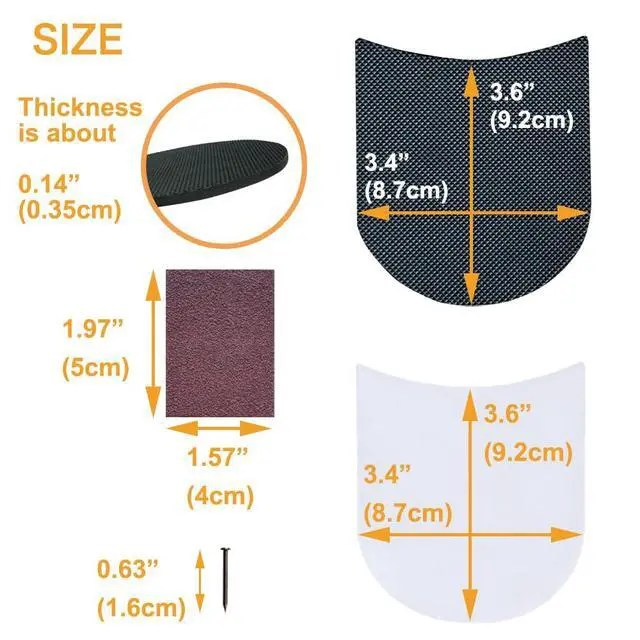
- The length of the metal nail is about 0.63” (16mm). The metal nail can not be used on shoe heels with thickness less than 1.0” (25.4mm) to avoid the nails from hurting feet.
- Please pay attention to safety when using tools.
- Keep out reach of children, and avoid children
PRODUCT INTRODUCTION
| Function: | For repair and protection of worn shoe heels |
| Application: | Man’s leather shoes, lady’s thick heel shoes |
| Material: | Rubber heel pad, metal nail, sandpaper, double sided sticker |
| Color: | Black |
| Size: | About 3.6”x 3.4”( 9.2x8.7cm) |
| Thickness: | About 0.14" ( 0.35cm) |
| Package contains: | 2 pairs (4 pieces) of heel pads, 2 packs (24pieces) of nails 2 pieces of sandpapers, 4 pieces of double-sided stickers |
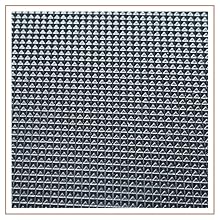
ANTI SLIP PATTERN
Anti slip pattern embossment ensures safety walking.
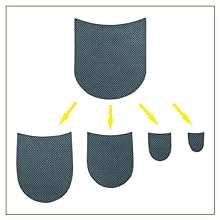
FOR DIFFERENT HEEL SHAPES
Can be cut into different heel shapes and use for different types of shoe heels.
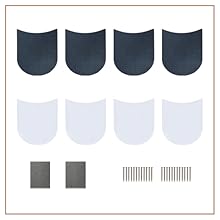
VALUABLE KIT
Valuable repair kit includes 4 pieces of rubber heels, 4 pieces of double side stickers, 2 pieces of sandpapers, 2 pack (24pieces) of nails.
REPAIR AND PROTECTION
For repair and protection of worn heel, make shoe heel a new look.
HOW TO USE
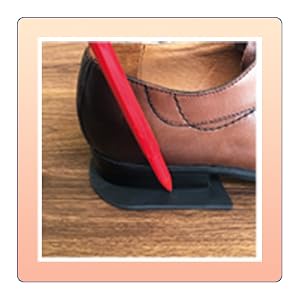
STEP 1
1. Place the shoe heel on the heel pad, draw a line along the edge of the heel with a pen, and mark the shape of the heel.
STEP 2
2. Use scissors to cut the heel pad with the same shape and size as the heel along the marked line.
STEP 3
3. Use the sandpaper to polish the shoe heel and the back of the heel pad and clean the dust.
STEP 4
4. If super glue is available, apply the super glue to the polished area of the heel and heel pad. After using the super glue, double sided tapes can be omitted.
If super glue is not available, double sided tapes can be stuck onto the shoe heel, and peel off the back paper.
5. Place the heel pad on the shoe heel and hammer the nails into the heel pad and the shoe heel. Trim the extra parts at edge if have.
NOTICES
- Pen, scissors and hammer need to be prepared before using this product.
- This product does not contain glue.It is recommended to use super glue or shoe glue for better adhesion performance.
- The length of the metal nail is about 0.63” (16mm). The metal nail can not be used on shoe heels with thickness less than 1.0” (25.4mm) to avoid the nails from hurting feet.
- Please pay attention to safety when using tools.
- Keep out reach of children, and avoid children