

Your Browsing History

Meet Your Seller


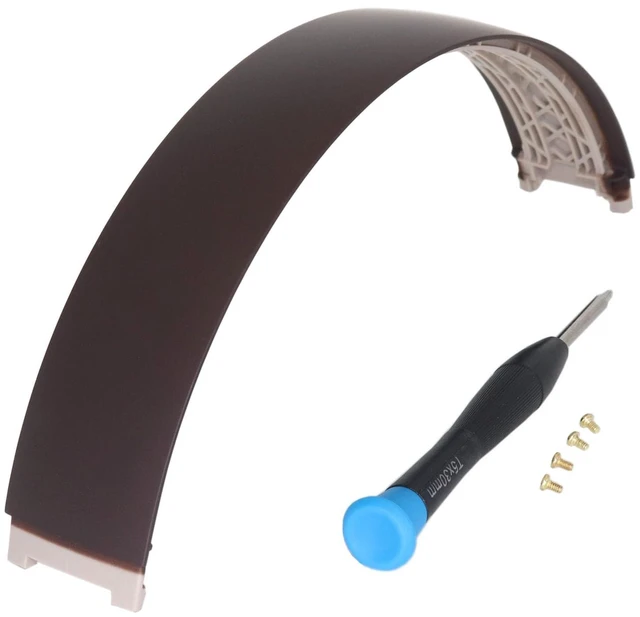
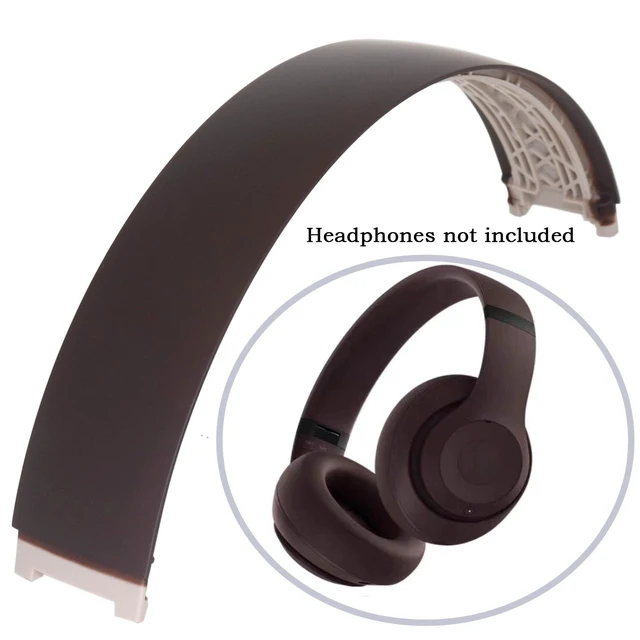
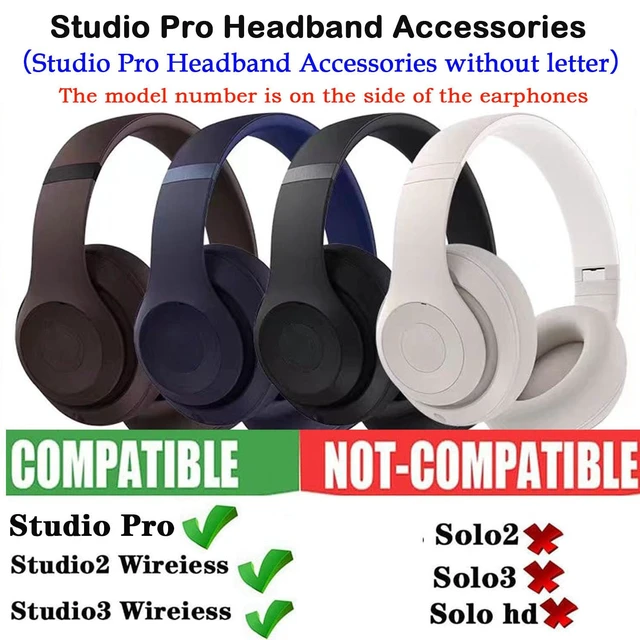
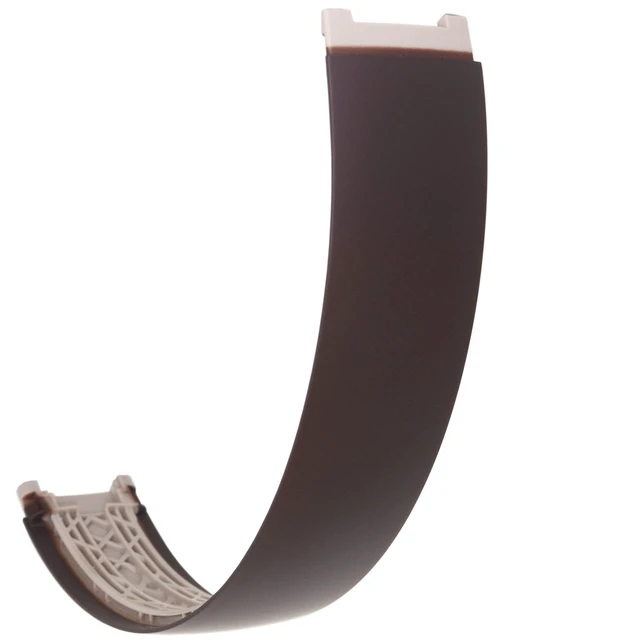
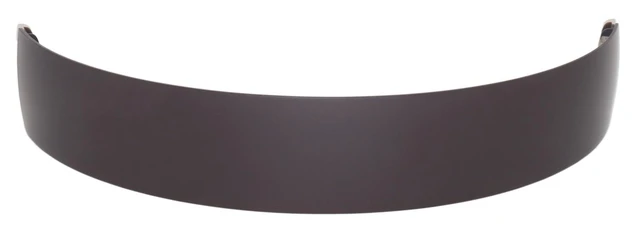


Studio Pro Headband Replacement Parts Accessories Studio 3 Headband Repair Kit Compatible with Studio Pro/Studio 3.0 /Studio 2.0 Wireless Top Headband (browns)
Limited time offer, ends 10/16 By PureSpring Trading Shop
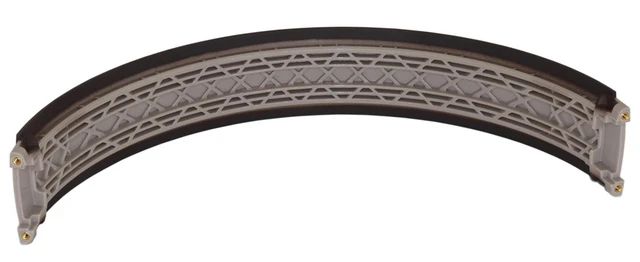
- Compatible: Headphone Headband compatible with Studio Pro, Studio 3.0, and Studio 2.0 Wireless Bluetooth Over Ear Headphones. High Quality: This Headphone Headband is durable, not easy to break and fade. Package Contents: 1 x Studio Pro Headband, 1 x Screwdriver, 4 Screws (Headphones Not Included). Step 1: Use a T5 screwdriver to unscrew the screws at both ends of the head beam, two at one end for a total of four screws. Step 2: Originally, the old head beam leather pad and the head beam were buckled together. Pull the head beam pad and the broken head beam apart with your fingernails, and then the old head beam and the head beam pad can be removed. Step 3: Snap the new head beam and the head beam pad together, and insert it into the buckle. At this time, pay attention to the fact that the head beam wire must be placed in the groove between the head pad and the head beam, otherwise it cannot be installed. Finally, just screw on the screw
+
+
Overview
Specs
Reviews

Any questions? Our AI mode will help you find out quickly.
Try me now
Compatible: Headphone Headband compatible with Studio Pro, Studio 3.0, and Studio 2.0 Wireless Bluetooth Over Ear Headphones.
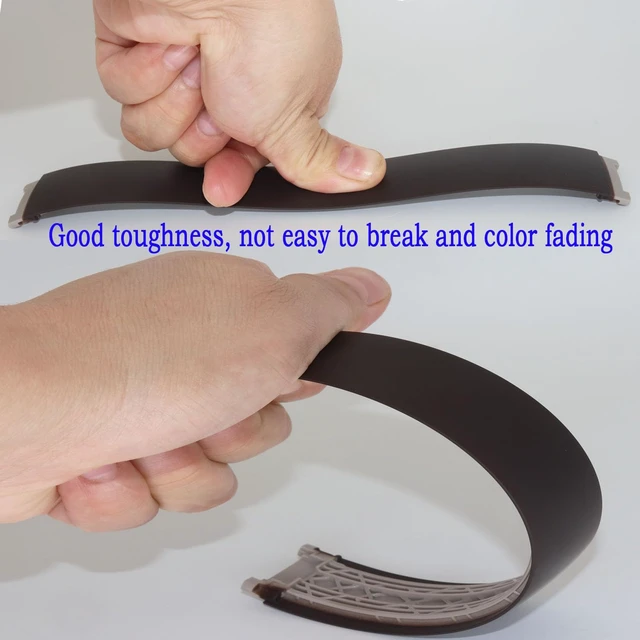
High Quality: This Headphone Headband is durable, not easy to break and fade.
Package Contents: 1 x Studio Pro Headband, 1 x Screwdriver, 4 Screws (Headphones Not Included).
Step 1: Use a T5 screwdriver to unscrew the screws at both ends of the head beam, two at one end for a total of four screws.
Step 2: Originally, the old head beam leather pad and the head beam were buckled together. Pull the head beam pad and the broken head beam apart with your fingernails, and then the old head beam and the head beam pad can be removed.
Step 3: Snap the new head beam and the head beam pad together, and insert it into the buckle. At this time, pay attention to the fact that the head beam wire must be placed in the groove between the head pad and the head beam, otherwise it cannot be installed. Finally, just screw on the screw
High Quality: This Headphone Headband is durable, not easy to break and fade.
Package Contents: 1 x Studio Pro Headband, 1 x Screwdriver, 4 Screws (Headphones Not Included).
Step 1: Use a T5 screwdriver to unscrew the screws at both ends of the head beam, two at one end for a total of four screws.
Step 2: Originally, the old head beam leather pad and the head beam were buckled together. Pull the head beam pad and the broken head beam apart with your fingernails, and then the old head beam and the head beam pad can be removed.
Step 3: Snap the new head beam and the head beam pad together, and insert it into the buckle. At this time, pay attention to the fact that the head beam wire must be placed in the groove between the head pad and the head beam, otherwise it cannot be installed. Finally, just screw on the screw
Warranty & Returns
Warranty, Returns, And Additional Information
Warranty
- Please contact the Seller directly for warranty information. Warranty information may also be found on the Manufacturer's website.
- CONTACT
Return Policies
- Return for refund within: 30 days
- Return for replacement within: 30 days
- This item is covered by PureSpring Trading Shop Return Policy
Manufacturer Contact Info
- For a directory of all our manufacturers, please click below.
- Manufacturers Directory
LOADING...