

Your Browsing History
- Free 30-day Returns
$109.05

Meet Your Seller


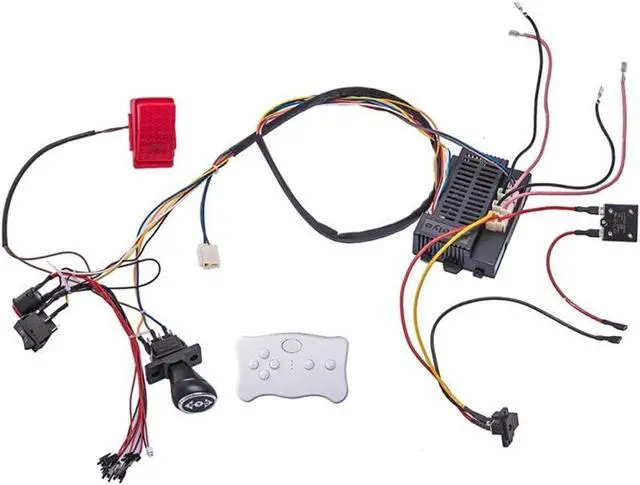
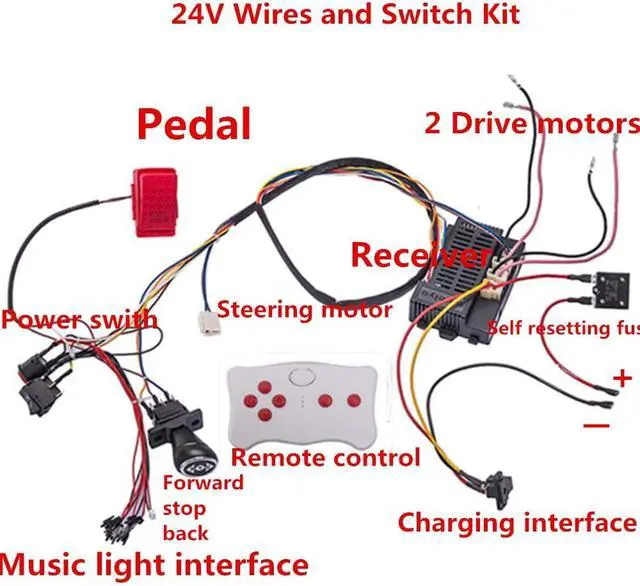
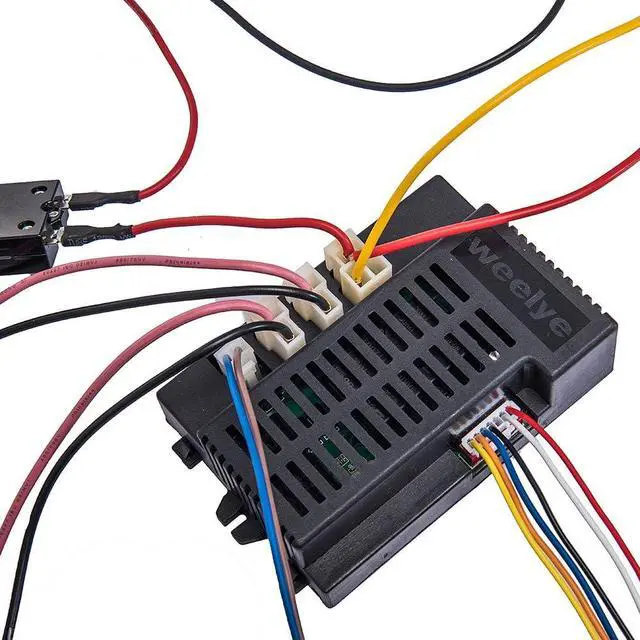
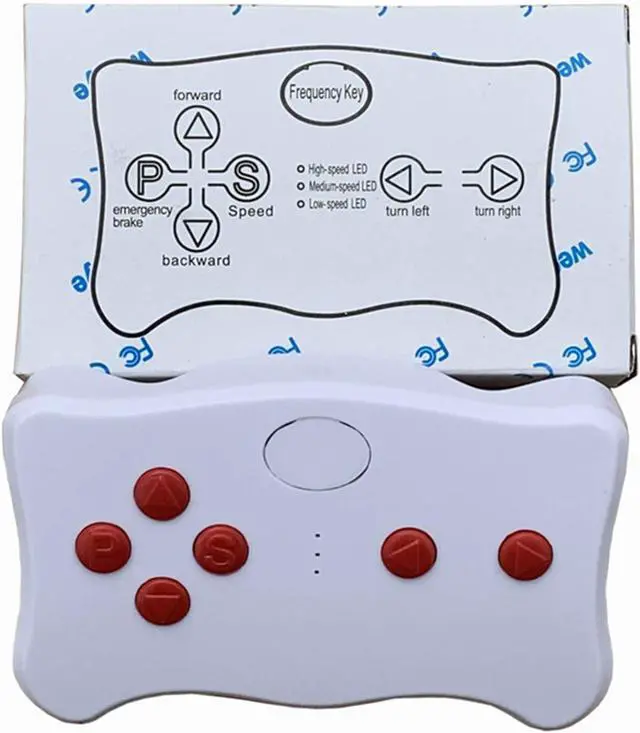


24 Volt Children Electric Car DIY Modified Wires and Switch Kit,with Remote Control, Self-Made 24V Baby Electric Ride On Car Accessories
- Equipped with 24V high-power motherboard and 2.4G Bluetooth remote control with slow start functionWire Harness Conversion Kit, You must bring your own 24V battery. for Kid's Ride On Toys Power Wheels Upgrade
- 24V Self-Made Ride On Power Wheel Children Electric Car DIY Modified Wires and Switch kit (no Gearbox motor, no battery
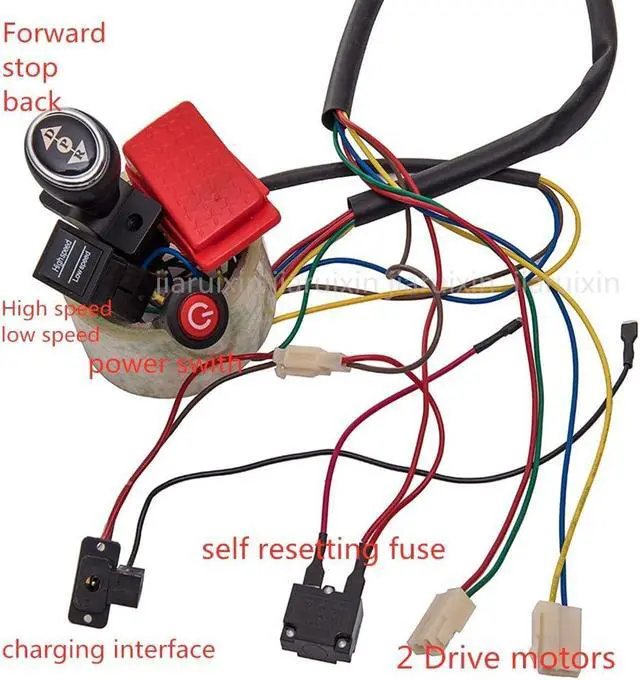
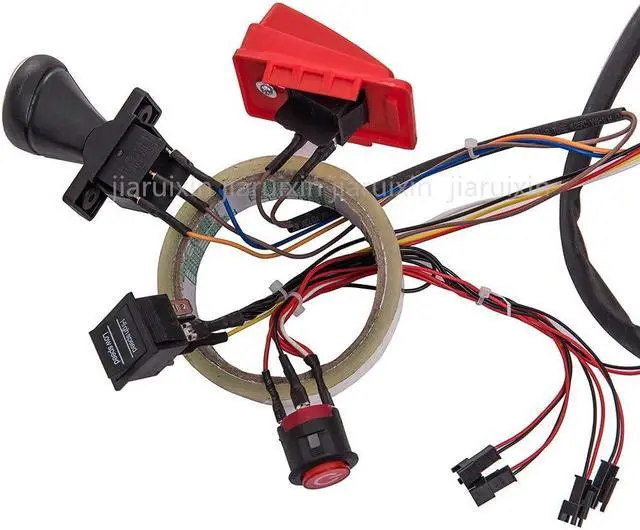
- Complete Set of Accessories : Remote control , Control Box ( Circuit Board ), Wires, Switch, Pedal, Overload Protector, Charging Port
+
+
Overview
Specs
Reviews

Any questions? Our AI mode will help you find out quickly.
Try me now
Equipped with high speed and low speed switchThe battery cable and motor cable are all one-button installation sockets, which is convenient for replacement, maintenance and installation, and the controller has a slow-start function
How to make sure whether the control box fits your car?
Open your broken electric ride on car and check the control box.
If the appearance of the control box is the same, this part should fit your car.
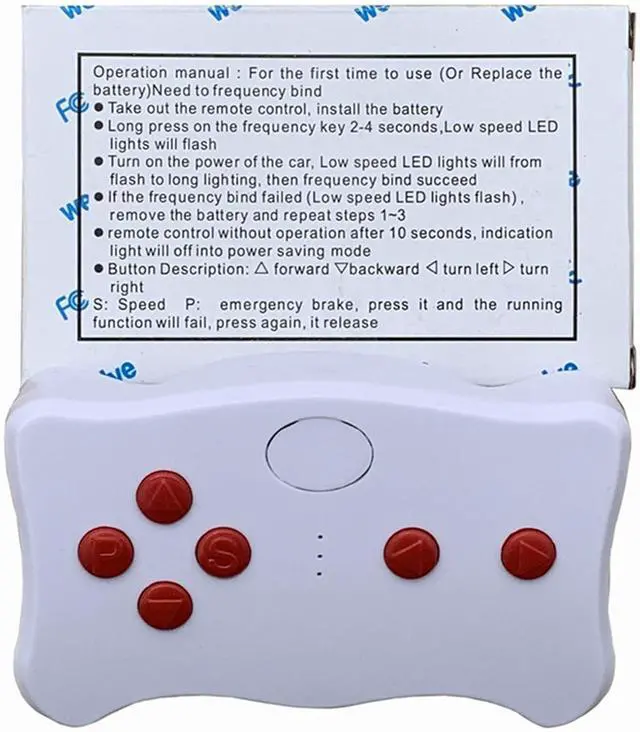
. The first use (or replace the battery) need to matching frequency
Step 1. Install two AAA 1.5V batteries, (note the positive and negative polarity inside the battery chamber), and finally close the battery cover, indicator will flash three times indicates that the battery is installed correctly.
Step 2. Press and hold the frequency key (car select) for about 2 seconds and the indicator will flash
Step 3. Turn on the power supply of the car and the indicator will turn off
Step 4. If the matching frequency is unsuccessful (indicator not turn off), please turn off the power supply and repeat steps 2 and 3.
How to make sure whether the control box fits your car?
Open your broken electric ride on car and check the control box.
If the appearance of the control box is the same, this part should fit your car.
. The first use (or replace the battery) need to matching frequency
Step 1. Install two AAA 1.5V batteries, (note the positive and negative polarity inside the battery chamber), and finally close the battery cover, indicator will flash three times indicates that the battery is installed correctly.
Step 2. Press and hold the frequency key (car select) for about 2 seconds and the indicator will flash
Step 3. Turn on the power supply of the car and the indicator will turn off
Step 4. If the matching frequency is unsuccessful (indicator not turn off), please turn off the power supply and repeat steps 2 and 3.
Warranty & Returns
Warranty, Returns, And Additional Information
Warranty
- Please contact the Seller directly for warranty information. Warranty information may also be found on the Manufacturer's website.
- CONTACT
Return Policies
- Return for refund within: 30 days
- Return for replacement within: 30 days
- This item is covered by Group Can Trading Limited Return Policy
Manufacturer Contact Info
- For a directory of all our manufacturers, please click below.
- Manufacturers Directory
LOADING...