

Your Browsing History
- Free 30-day Returns
$157.99

Meet Your Seller

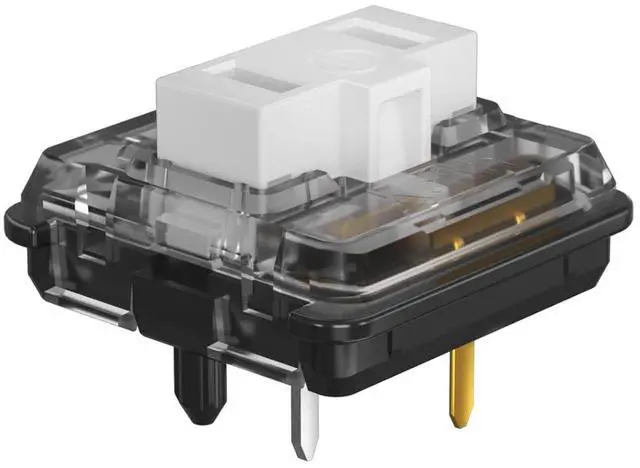
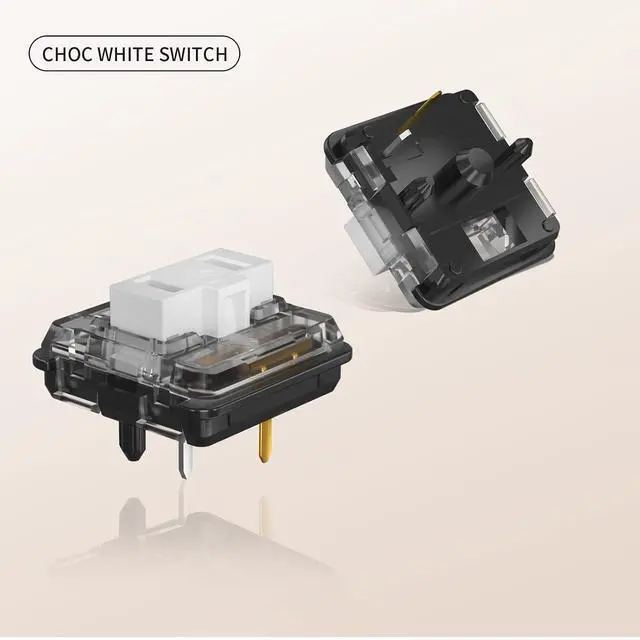
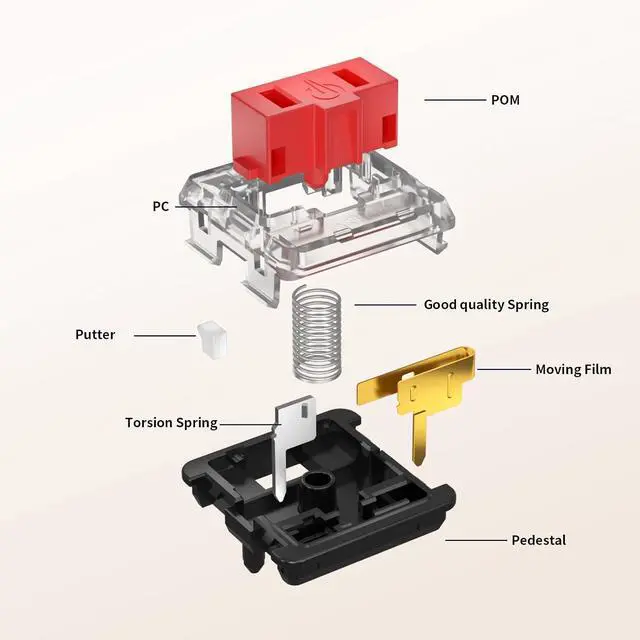
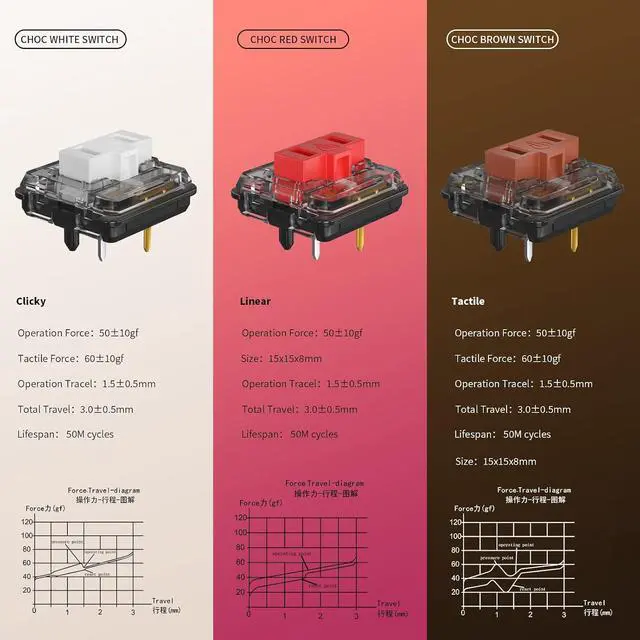
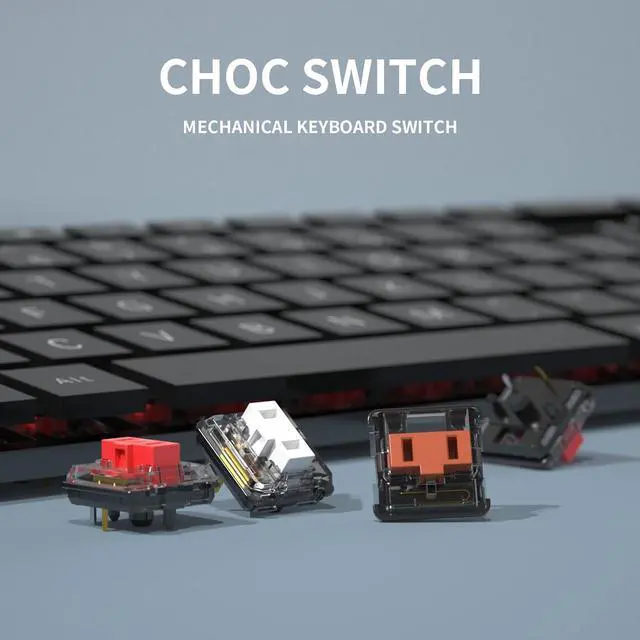
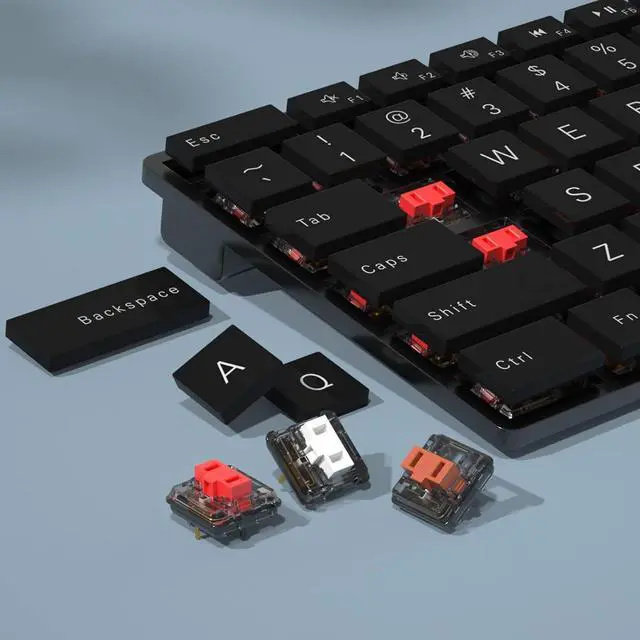


Kailh Low Profile 1350 Chocolate Mechanical Keyboard Switch, RGB SMD Clicky | Official Store (110, Choc White)
- Mechanical Keyboard Switch
- Low Profile
- Waterproof and Dustproof
+
+
Overview
Reviews

Any questions? Our AI mode will help you find out quickly.
Try me now
How to Install Switches on Hot-Swap Keyboards
Step 1: Preparation Before installing, disconnect the keyboard from your computer. Gather a keycap puller and a switch puller.
Step 2: Pin Alignment Align the metal pins on the bottom of the switch with the corresponding sockets on the hotswap PCB. The plastic center post aligns with the round hole. For 5pin switches, the extra guide pins also have matching holes.
Step 3: Switch Insertion Insert the switch by pressing down firmly and evenly on the top of the housing. The switch should lock into place without excessive force.
Step 4: Handling Bent Pins If the switch does not insert easily, remove it. Inspect the pins. Slightly bent pins can be straightened using tweezers. If a pin is severely bent or missing, do not force installation.
Step 5: Testing After installation, plug the keyboard back in. Use an online key tester to verify that every switch registers correctly.
Packaging Safety and Delivery Information
Secure Sealing Each package is sealed with waterproof pouch to prevent accidental opening during shipping.
MoistureResistant Materials Packaging materials are moistureresistant to protect electronic components during transit.
Replacement Shipment Process When a return or replacement is initiated, shipment is processed through standard logistics channels. Replacement tracking information is provided upon dispatch.
Step 1: Preparation Before installing, disconnect the keyboard from your computer. Gather a keycap puller and a switch puller.
Step 2: Pin Alignment Align the metal pins on the bottom of the switch with the corresponding sockets on the hotswap PCB. The plastic center post aligns with the round hole. For 5pin switches, the extra guide pins also have matching holes.
Step 3: Switch Insertion Insert the switch by pressing down firmly and evenly on the top of the housing. The switch should lock into place without excessive force.
Step 4: Handling Bent Pins If the switch does not insert easily, remove it. Inspect the pins. Slightly bent pins can be straightened using tweezers. If a pin is severely bent or missing, do not force installation.
Step 5: Testing After installation, plug the keyboard back in. Use an online key tester to verify that every switch registers correctly.
Packaging Safety and Delivery Information
Secure Sealing Each package is sealed with waterproof pouch to prevent accidental opening during shipping.
MoistureResistant Materials Packaging materials are moistureresistant to protect electronic components during transit.
Replacement Shipment Process When a return or replacement is initiated, shipment is processed through standard logistics channels. Replacement tracking information is provided upon dispatch.
Warranty & Returns
Warranty, Returns, And Additional Information
Warranty
- Please contact the Seller directly for warranty information. Warranty information may also be found on the Manufacturer's website.
- CONTACT
Return Policies
- Return for refund within: 30 days
- Return for replacement within: 30 days
- This item is covered by Grandwood Tech Limited Return Policy
Manufacturer Contact Info
- For a directory of all our manufacturers, please click below.
- Manufacturers Directory
LOADING...