Your Browsing History


Any questions? Our AI beta will help you find out quickly.
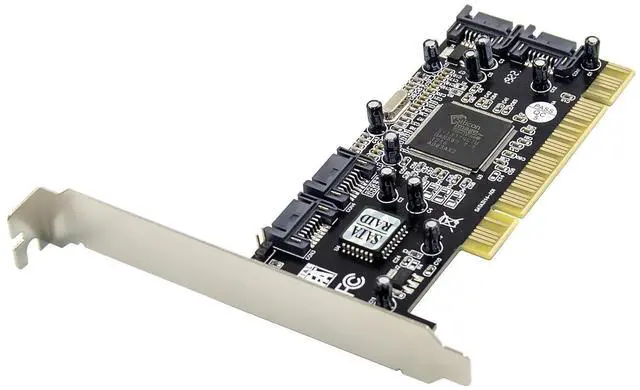
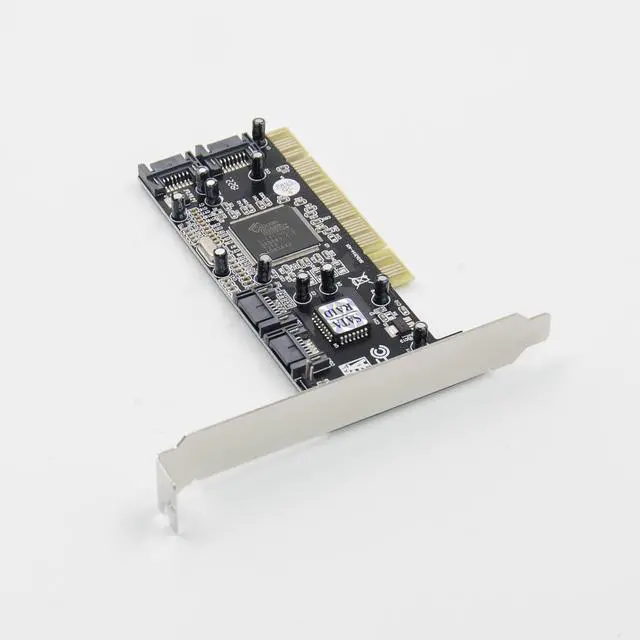
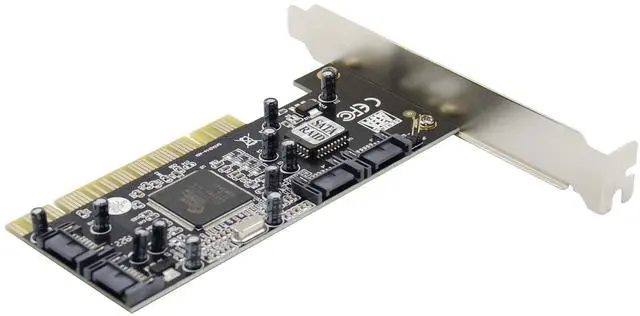
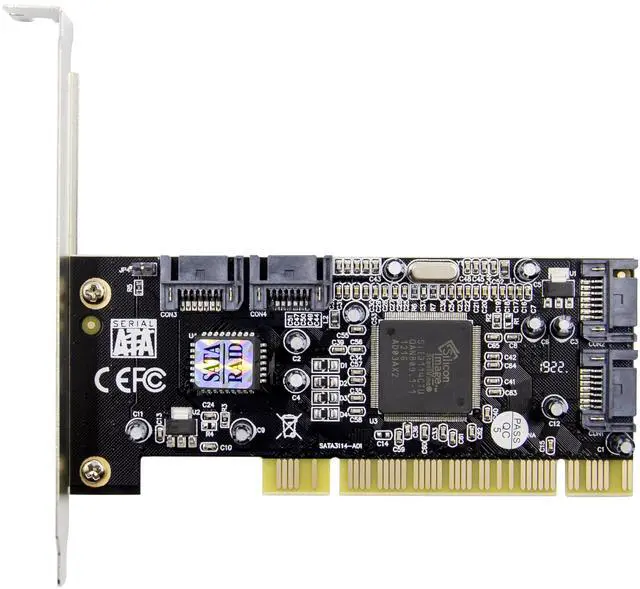
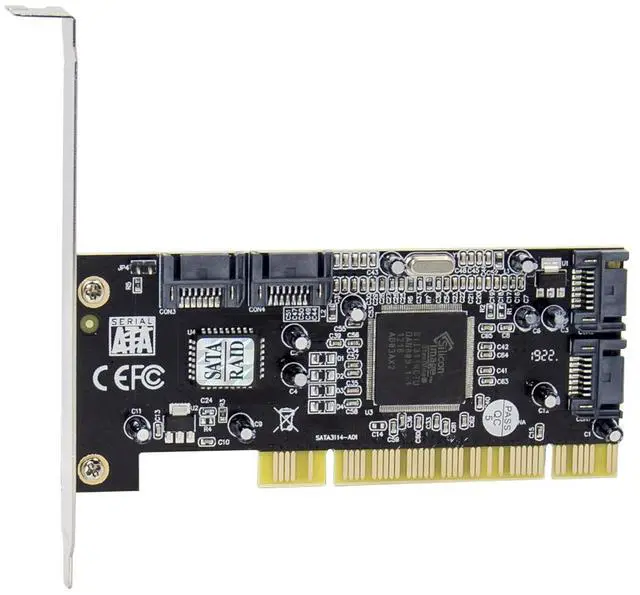
Device Connection
The SATA 150 4-Channel PCI RAID Card is a four channel Serial ATAcontroller that supports up to four Serial ATA hard disk drives. It is recommended to use identical hard drives for all RAID configurations.
1. Install your hard disk drive(s) in chassis.
2. Connect the Serial ATA hard disk drive to the system power supply using the included Serial ATA power cable.
3. Connect one end of the Serial ATA cable to the hard disk drive.
4. Attach the other end of the Serial ATA cable to the Serial ATAcontroller on the SATA 150 4-Channel PCI RAID Card.
5. Follow the same instructions to connect up to four hard drives.Device connection is now complete.
6. Replace the computer cover and reconnect the power cord.
RAID Arrays
RAID Arrays are setup in the SATA 150 4-Channel PCI RAID Cards BIOS.
RAID 0 (Striping)
This RAID array to be used on New/Blank hard drives. Striping will destroy existing data on the hard drive. Auto Configuration is recommended. For applications that require custom chunk size,Manual Configuration is offered.
Auto configuration (recommended)
The default chunk size is 64k when selecting Auto configuration.
1. As the BIOS boots press Ctrl+S or F4 when prompted to enter the RAID BIOS.
2. At the next screen select Create RAID Set, then press Enter.
3. Select RAID0, then press Enter.
4. Select the number of drives then press Enter.
5. Select Auto configuration, then press Enter.
6. Input the RAID size, press Enter.
7. When asked Are You Sure (Y/N)?, press Y to accept.
8. Press Ctrl+E to exit the BIOS.
9. When asked Are you sure to exit (Y/N)?, press Y to exit and reboot.
10. Continue with FDISK and FORMAT steps as if you were installing a conventional hard drive.
RAID 1 (Mirror)
For New/Blank Hard Drives
1. As the BIOS boots press Ctrl+S or F4 when prompted to enterthe RAID BIOS.
2. At the next screen select Create RAID Set, then press Enter.
3. At the next screen select RAID1 then press Enter.
4. Select Auto configuration, then press Enter.
5. Input the RAID size, press Enter.
6. When asked Are You Sure(Y/N)?, press Y to accept.
7. Press Ctrl+E to exit the BIOS.
8. When asked Are you sure to exit(Y/N)?, press Y to exit and reboot.
9. Continue with FDISK and FORMAT steps as if you were installing a conventional hard drive.
RAID 0+1 (Mirroring + Striping)
This RAID array to be used on New/Blank hard drives, do not use existing hard drive(s) with data. To create a RAID 0+1 set four hard drives are required.
Auto configuration (recommended)
The default chunk size is 64k when selecting Auto configuration.
1. As the BIOS boots press Ctrl+S or F4 when prompted to enter the RAID BIOS.
2. At the next screen select Create RAID Set, then press Enter.
3. Select RAID10, then press Enter.
4. Select Auto configuration, then press Enter.
5. Input the RAID size, press Enter.
6. When asked Are You Sure(Y/N)?, press Y to accept.
7. Press Ctrl+E to exit the BIOS.
8. When asked Are you sure to exit(Y/N)?, press Y to exit and reboot.
9. Continue with FDISK and FORMAT steps as if you were installing a conventional hard drive.
RAID 5 (Parity)
This RAID array to be used on New/Blank hard drives. Striping will destroy existing data on the hard drive. Auto Configuration is recommended. For applications that require custom chunk size,Manual Configuration is offered.
Auto configuration (recommended)
The default chunk size is 64k when selecting Auto configuration.
1. As the BIOS boots press Ctrl+S or F4 when prompted to enter the RAID BIOS
2. At the next screen select Create RAID Set, then press Enter.
3. Select RAID5, then press Enter.
4. Select the number of drives then press Enter.
5. Select Auto configuration, then press Enter.
6. Input the RAID size, press Enter.
7. When asked Are You Sure(Y/N)?, press Y to accept.
8. Press Ctrl+E to exit the BIOS.
9. When asked Are you sure to exit(Y/N)?, press Y to exit and reboot
10. Continue with FDISK and FORMAT steps as if you were installing a conventional hard drive.
CONCATENATION
This RAID array allows you to use one, two, three or four hard drives to a array. It does not provide any data protection or performance improvement but can be useful for utilizing leftover space on disks.
1. As the BIOS boots press Ctrl+F4 or F4 when prompted to enter the RAID BIOS.
2. At the next screen select Create RAID Set, then press Enter.
3. Select CONCATENATION, then press Enter.
4. Select the number of drives then press Enter.
5. Select the first drive, press Enter.
6. If applicable select the 2nd, 3rd, 4th drive pressing enter after each selection.
7. When asked Are You Sure(Y/N)?, press Y to accept.
8. Press Ctrl+E to exit the BIOS.
9. When asked Are you sure to exit(Y/N)?, press Y to exit and reboot.
10. Continue with FDISK and FORMAT steps as if you were installing a conventional hard drive.
Deleting RAID Arrays
1. As the BIOS boots press Ctrl+S or F4 when prompted to enter the RAID BIOS.
2. Select Delete RAID Set, then press Enter.
3. Select the RAID set then press Enter.
4. When asked Are You Sure(Y/N)?, press Y to confirm
BIOS Configuration
The SATA 150 4-Channel PCI RAID Card BIOS will appear every time your system starts up. If the BIOS doesnt show, please try your controller in another PCI slot. During this (POST) process, the BIOS will show up and indicate the devices attached to it.
To Verify Windows® Installation
1. Right click My Computer and click Manage.
2. Select Device Manager.
3. Double click SCSI and RAID Controller, then double click Silicon Image SiI 3114 SoftRaid 5 Controller to display driver properties. A message this device is working properly is displayed in the dialog box, the driver has been correctly installed.