Your Browsing History
, Cybenetics PLATINUM, Smallest 125mm ATX PSU, Patent Super Connector, Full Modular, SF-1200F14SP")

, FDB Fan, SF-1000F14XP, Black")


Any questions? Our AI beta will help you find out quickly.
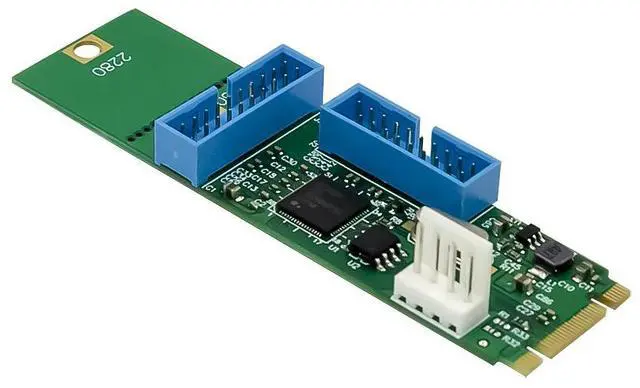
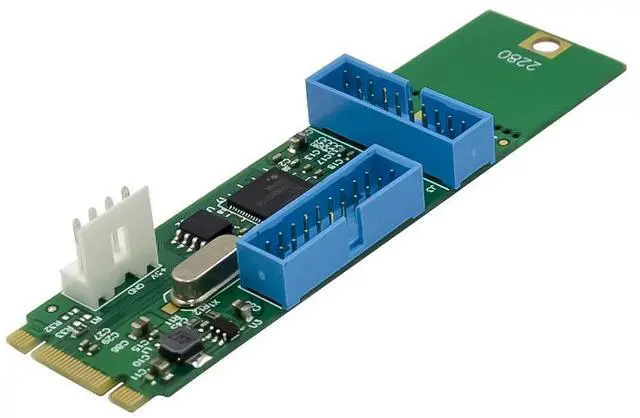
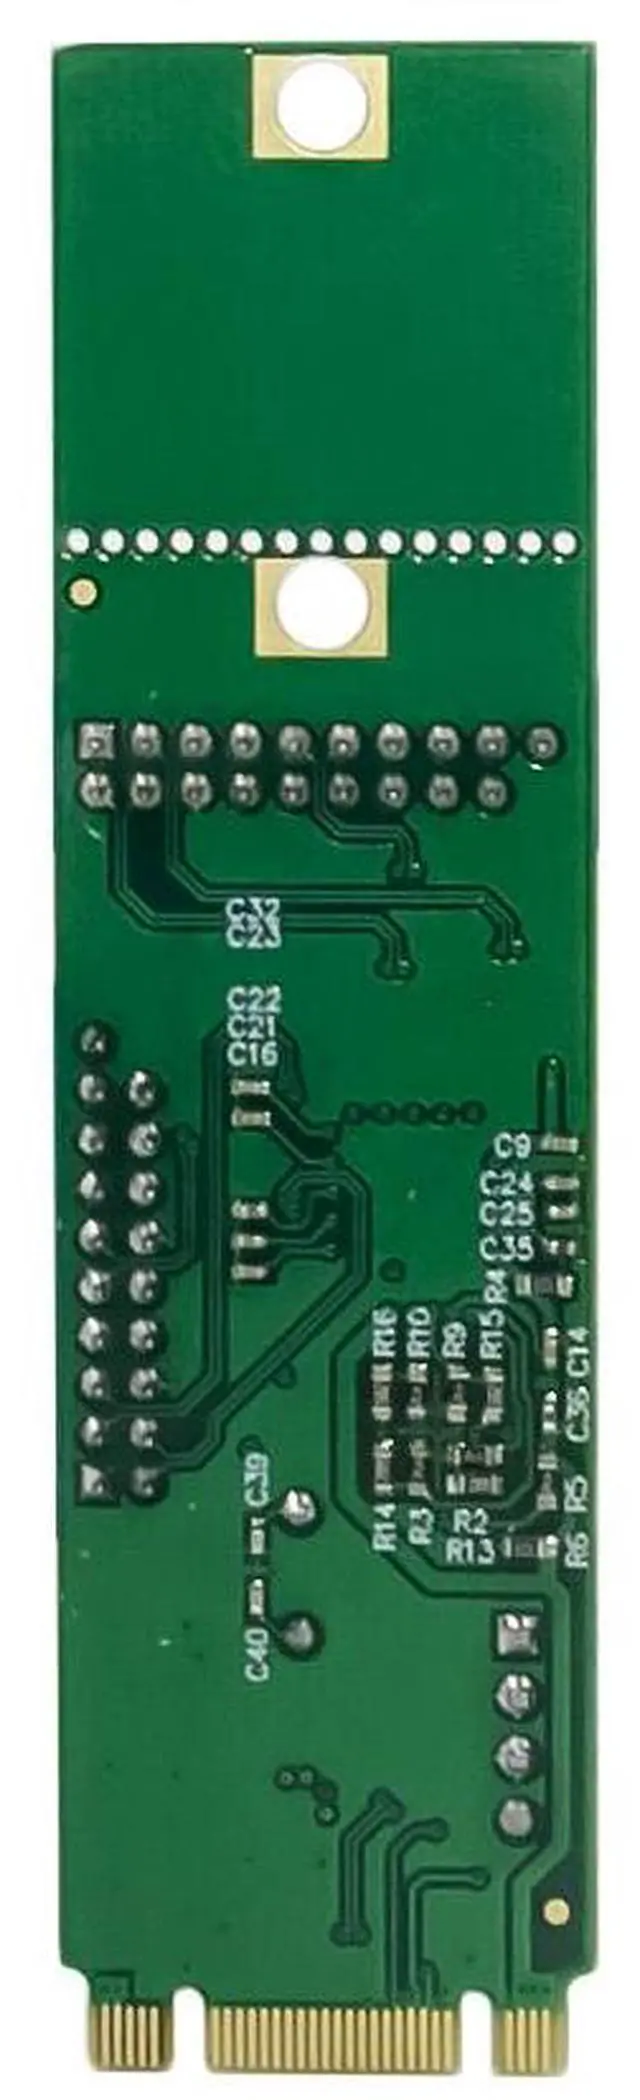
Compliant with M.2 Key B+M standard
Transfer protocol: PCIe x1
Fits m.2 slot size :2260MM.2280MM
Complies with PCI Express Base Specification Revision 2.0
Fully compliant with PCI Express Base Specification Revision 2.0
Single-lane (x1) PCI Express throughput rates up to 5Gbps
Compliant with Universal Serial Bus 3.0 specification Revision 1.0
Supports simultaneous operation of multiple USB 3.0, USB 2.0 and USB 1.1 devices Supports the following speed data rates as follows: Low-speed (1.5Mbps) / Full-speed (12Mbps) / High-speed (480Mbps) / Super-speed (5Gbps)
Supports 4 downstream ports for all speeds
Built-in 4-pin power connector for receiving extra power supply from system
Hot-swapping feature allows you to connect/disconnect devices without powering down the system
Support Windows® XP/Vista/7 /8/8.1/10(32/64 bit),Linux
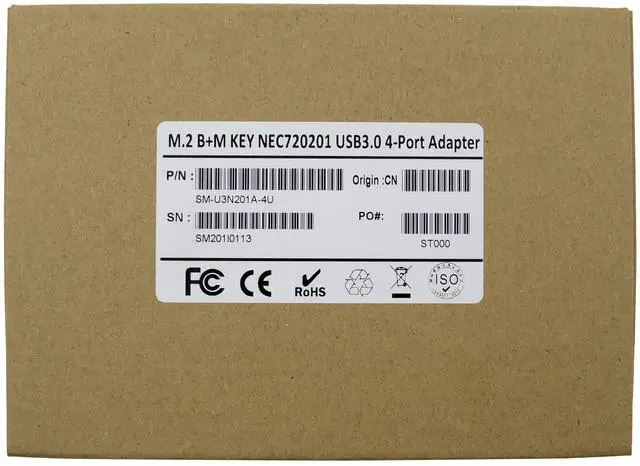
Package content
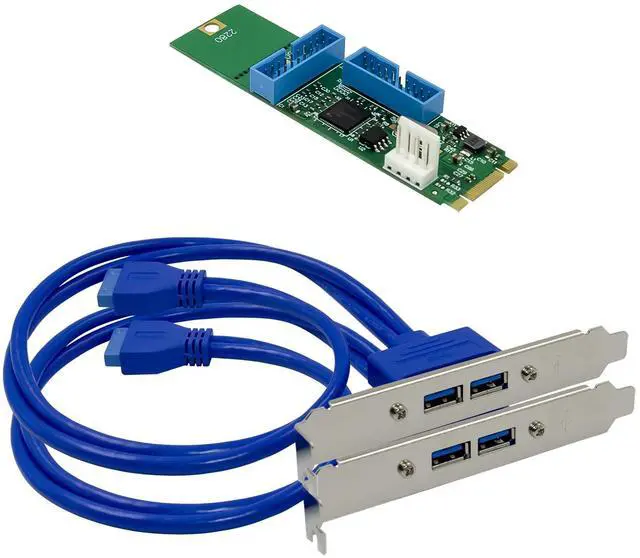
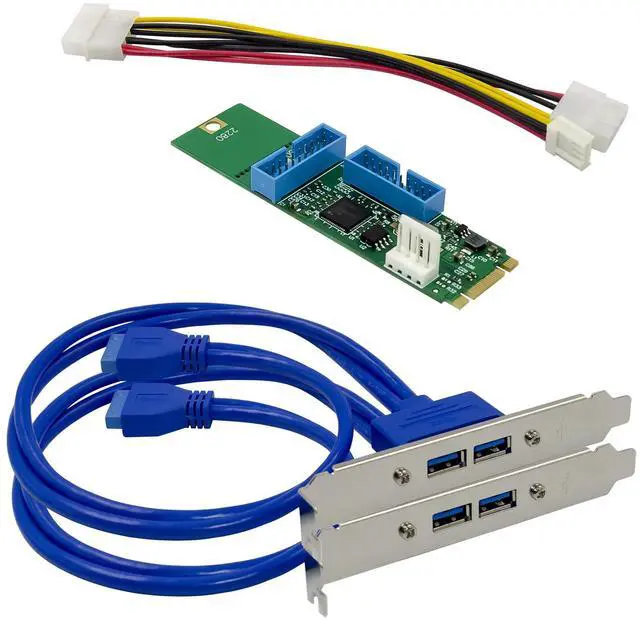
1 x M.2 B+M KEY NEC720201 USB3.0 4-Port card
1 x Users Manual
2 x 19PIN USB3.0 Convertor cable
1 x 4Pin power cable
System Requirements
Linux base OS, Win7/ Win8/Win8.1 /win10, 32 or 64bit
One available M.2 Key B+M or KEY M slot
Hardware Description:
Hardware installation
1.Turn off the power to your computer
2.Unplug the power cord and remove your computers cover
3.Locate to an empty M.2 slot on the motherboard, Move the board against the housing chamber, see figure 1
4.To install the board, Rotate module to 25. Insert it until the board surface reaches the ramp figure2,3
5.Rotate the board to horizontal position, see figure 4.
6.Fix the board by screw, see figure5
7.Connecting the 4-Pin power cable and 19Pin USB3.0 convertor cable to the USB3.0 controller card
8.Replace the computer cover and reconnect the power cord
Install Drivers
Windows Operating Systems
9.For Windows® XP/Vista/Win7 (32/64 bit)
10.1. Please insert the CD driver bound with USB 3.0 Card into your CD-ROM Drive.
11.2. At the Windows desktop, click Start, Run.
12.3. Type D:\ USB3.0 NEC D720201-202\EXE \Setup.exe, click OK. (Change D: to match your CD-ROM drive letter)
13.4. Follow the on-screen instructions to complete the installation.
Support
More information and settings, please refer to the User Guides or you can contact us.
 , Power Supply, FDB Fan, SF-1300F14XG, Black version")