

Your Browsing History

Meet Your Seller



Visit EmpressTech Store
FOLLOW
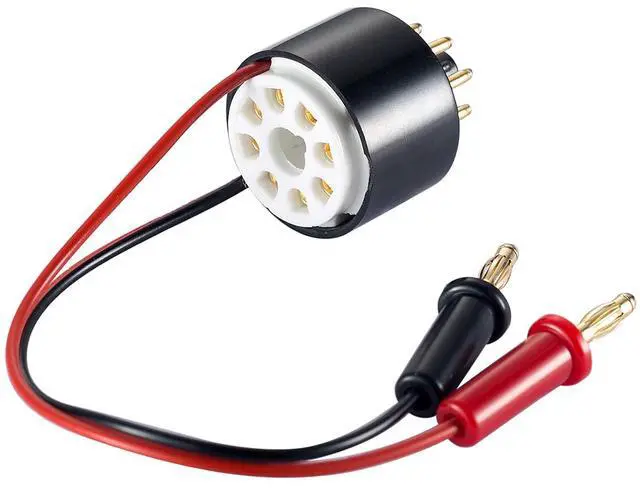
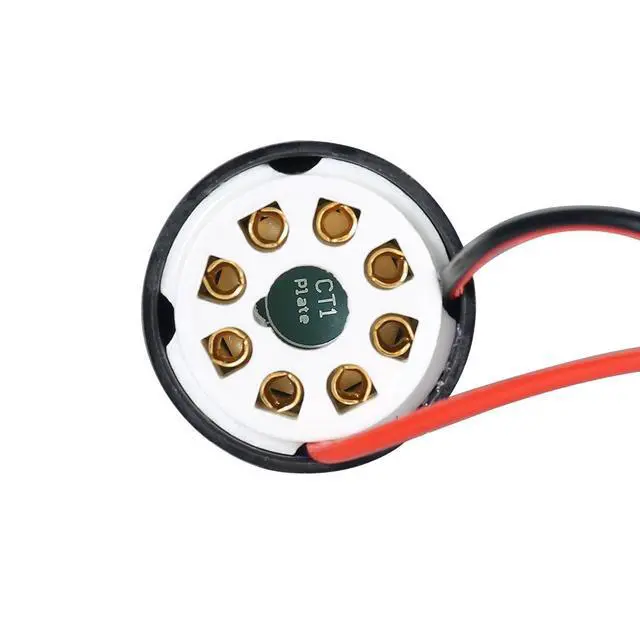
Nobsound Vacuum Tube Amp Amplifier Plate Bias Current Probe Tester 8 Pin Socket for EL34, KT88, 6L6, 6V6, 5881, 6550, KT66, KT100, KT120, 7027 (CT1-C, Cathode Current)
Limited time offer, ends 10/15 By EmpressTech
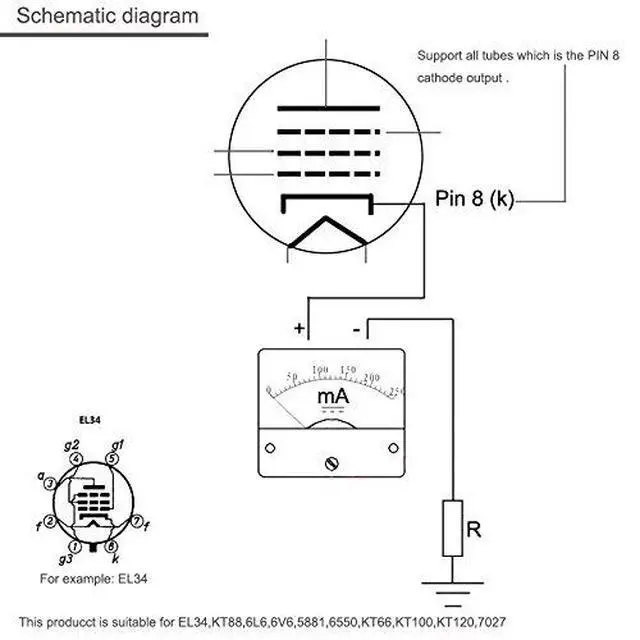
- Universal Compatibility: Designed to test cathode current in a wide range of vacuum tubes including EL34, KT88, 6L6, 6V6, 5881, 6550, KT66, KT100, KT120, and 7027 (CT1-P), ensuring precise measurements for various amplifier setups.
- Easy-to-Use Interface: Featuring a straightforward procedure, simply insert the probe, connect the multimeter, and obtain accurate readings in milliamps. No complex setup required, making it user-friendly for technicians and hobbyists alike.
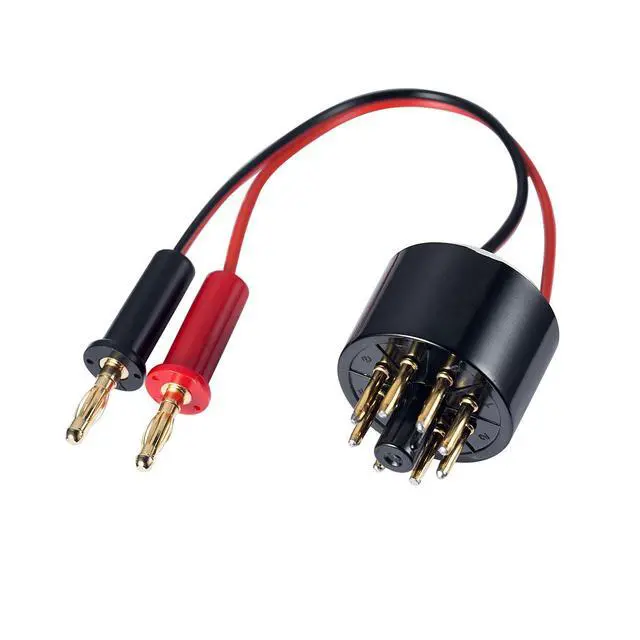
- High-Quality Construction: Crafted with a durable copper body for superior conductivity and a ceramic socket with gold pins for reliable and long-lasting performance. The 23cm tube socket cable provides flexibility during testing.
- Direct Reading in mA: Get a clear, direct reading of the bias current in milliamps with your multimeter set to the mA range, allowing for quick and efficient testing without the need for conversions or calculations.
- Comprehensive Package & Customer Support: Each purchase includes a fully assembled cathode current probe ready for immediate use.
+
+
Overview
Specs
Reviews

Any questions? Our AI mode will help you find out quickly.
Try me now
Product description Douk Audio CT1-C Douk Audio CT1-C is the version for testing CATHODE current. How to use?
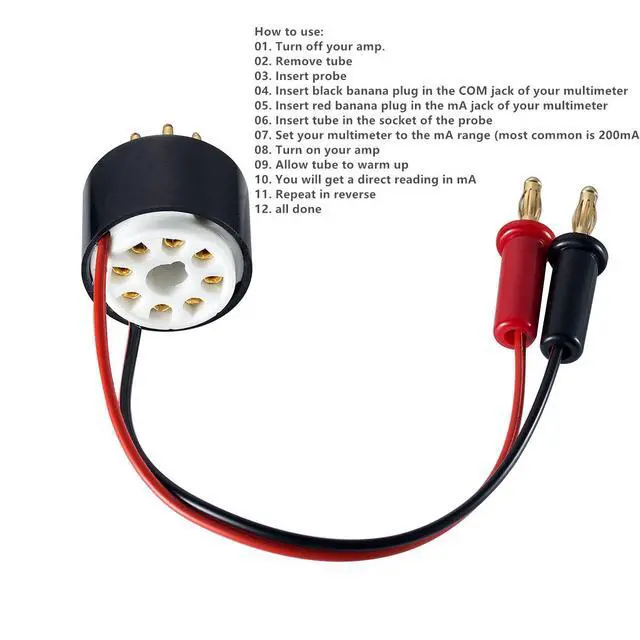
Power Down: Ensure your amplifier is switched off.
Remove the Tube: Carefully take out the vacuum tube from the amp.
Attach the Probe: Insert the probe into the appropriate socket.
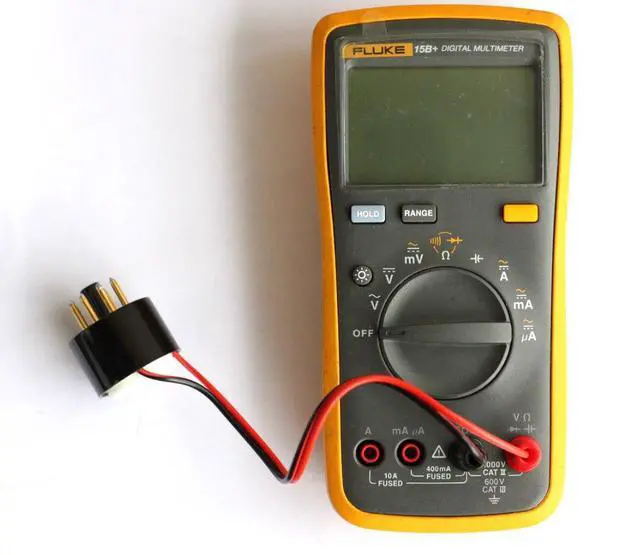
Connect Multimeter: Plug the black banana plug into the COM port of your multimeter.
Set Multimeter Mode: Place the red banana plug into the mA (milliampere) port on the multimeter.
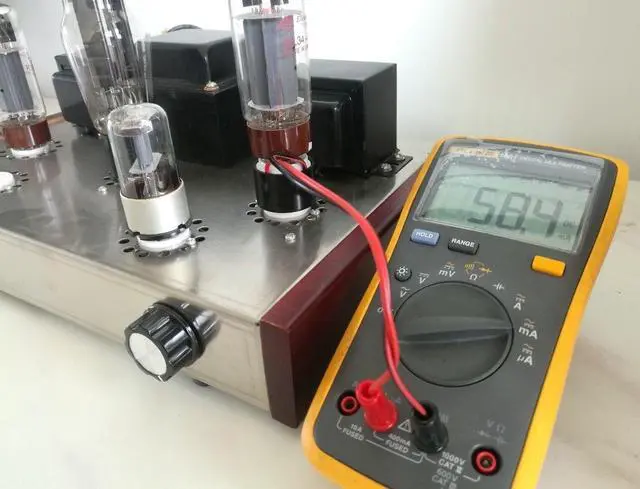
Tube in Probe Socket: Position the vacuum tube back into the socket on the probe.
Adjust Multimeter: Set your multimeter to measure current in the mA range, commonly 200mA.
Power Up: Turn the amplifier back on.
Warm Up: Let the tube heat up to operating temperature.
Read the Current: Obtain the bias current reading directly in mA on the multimeter.
Reverse the Process: Once done, power off the amp and carefully remove the probe and tube in the reverse order of assembly.
Complete: Your testing procedure is finished. Universal Design Compatible with multiple vacuum tubes such as EL34, KT88, 6L6, ensuring a broad application for audio testing. User-Friendly Testing Streamlined for quick bias current measurements with direct milliamp readings, simplifying the testing process. High-Quality Build Constructed with a copper body and gold-plated ceramic socket for superior conductivity and longevity. Practical Cable Length The 23cm cable ensures flexibility and ease during testing for a wide range of setups. See More
Power Down: Ensure your amplifier is switched off.
Remove the Tube: Carefully take out the vacuum tube from the amp.
Attach the Probe: Insert the probe into the appropriate socket.
Connect Multimeter: Plug the black banana plug into the COM port of your multimeter.
Set Multimeter Mode: Place the red banana plug into the mA (milliampere) port on the multimeter.
Tube in Probe Socket: Position the vacuum tube back into the socket on the probe.
Adjust Multimeter: Set your multimeter to measure current in the mA range, commonly 200mA.
Power Up: Turn the amplifier back on.
Warm Up: Let the tube heat up to operating temperature.
Read the Current: Obtain the bias current reading directly in mA on the multimeter.
Reverse the Process: Once done, power off the amp and carefully remove the probe and tube in the reverse order of assembly.
Complete: Your testing procedure is finished. Universal Design Compatible with multiple vacuum tubes such as EL34, KT88, 6L6, ensuring a broad application for audio testing. User-Friendly Testing Streamlined for quick bias current measurements with direct milliamp readings, simplifying the testing process. High-Quality Build Constructed with a copper body and gold-plated ceramic socket for superior conductivity and longevity. Practical Cable Length The 23cm cable ensures flexibility and ease during testing for a wide range of setups. See More
Warranty & Returns
Warranty, Returns, And Additional Information
Warranty
- Please contact the Seller directly for warranty information. Warranty information may also be found on the Manufacturer's website.
- CONTACT
Return Policies
- Return for refund within: 30 days
- Return for replacement within: 30 days
- This item is covered by EmpressTech Return Policy
Manufacturer Contact Info
- For a directory of all our manufacturers, please click below.
- Manufacturers Directory
LOADING...