

")
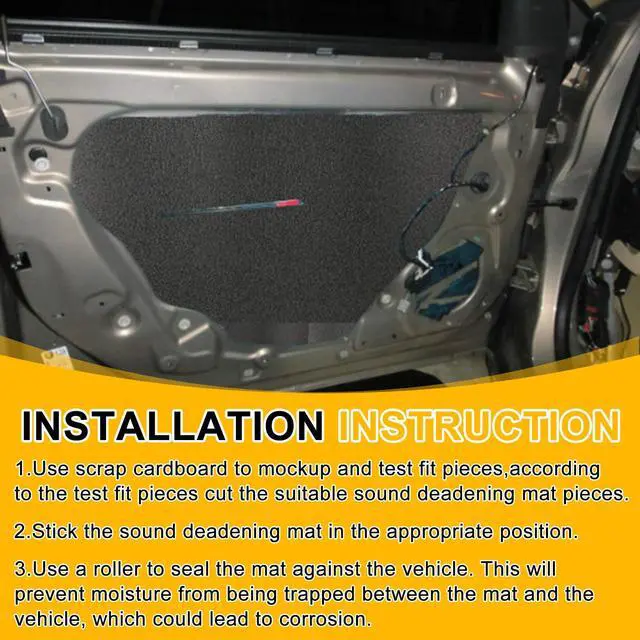


Installation Instruction
STEP1. Use scrap cardboard to mockup and test fit pieces,according to the test fit pieces cut the suitable sound deadening mat pieces.
STEP2. Clean the installation surface thoroughly and keep it dry. Stick the sound deadening mat in the appropriate position.
STEP3. Use a roller to seal the mat against the vehicle. This will prevent moisture from being trapped between the mat and the vehicle, which could lead the mat falls off
Noted:Make sure do not spend too much time on the mats after installing in case cause it tears. Lay towels down after installing if doing any work before added carpet.
IT IS RECOMMENDED TO USE A GLUE REMOVER IF YOU WANT TO REMOVE IT AFTER USE.
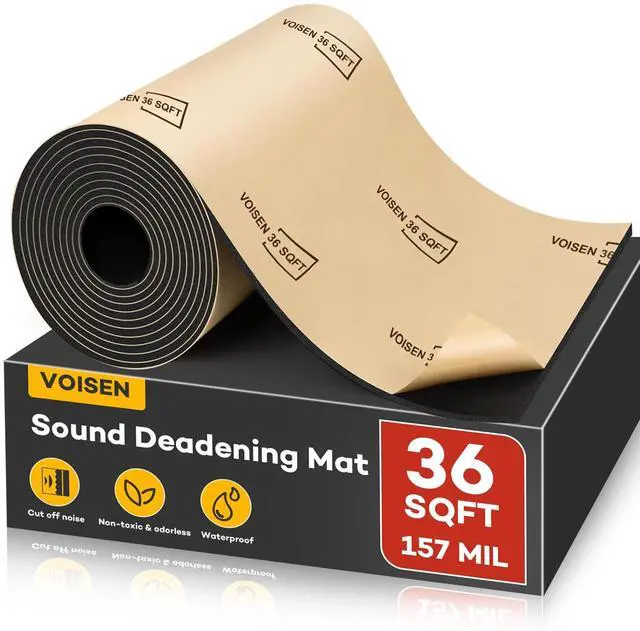
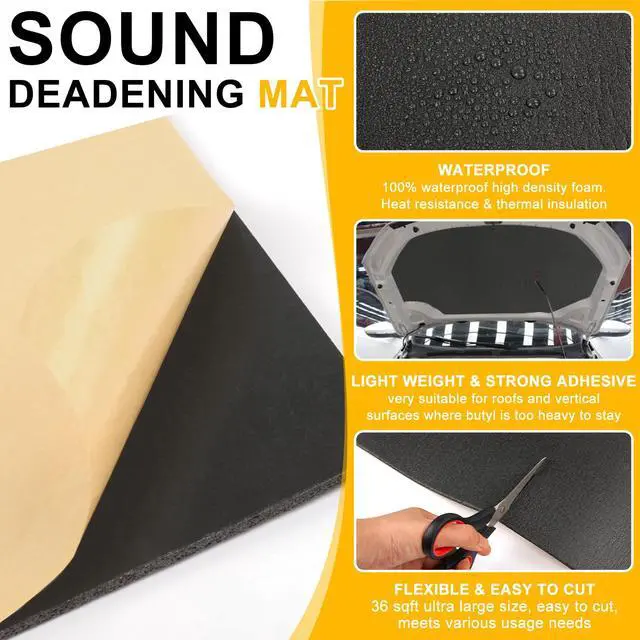
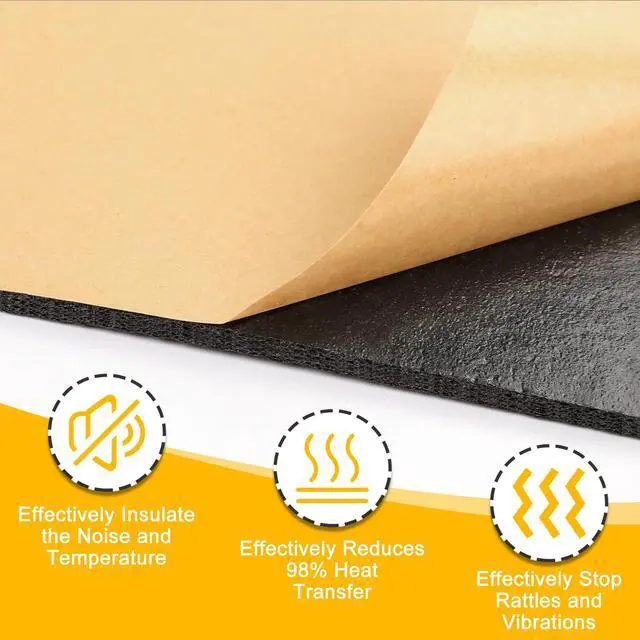
This sound deadening mat is suitable for sound insulation, noise reduction, and shock absorption in vehicles, and is not suitable for floors or other areas.


Installation Instruction
STEP1. Use scrap cardboard to mockup and test fit pieces,according to the test fit pieces cut the suitable sound deadening mat pieces.
STEP2. Clean the installation surface thoroughly and keep it dry. Stick the sound deadening mat in the appropriate position.
STEP3. Use a roller to seal the mat against the vehicle. This will prevent moisture from being trapped between the mat and the vehicle, which could lead the mat falls off
Noted:Make sure do not spend too much time on the mats after installing in case cause it tears. Lay towels down after installing if doing any work before added carpet.
IT IS RECOMMENDED TO USE A GLUE REMOVER IF YOU WANT TO REMOVE IT AFTER USE.
This sound deadening mat is suitable for sound insulation, noise reduction, and shock absorption in vehicles, and is not suitable for floors or other areas.


