Your Browsing History
Meet Your Seller
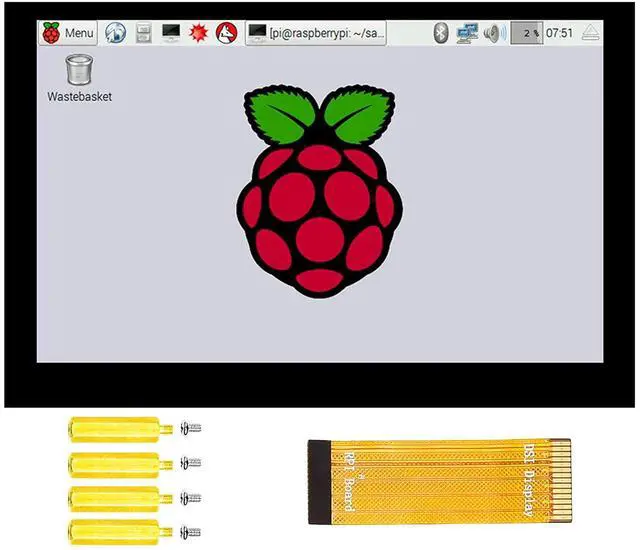
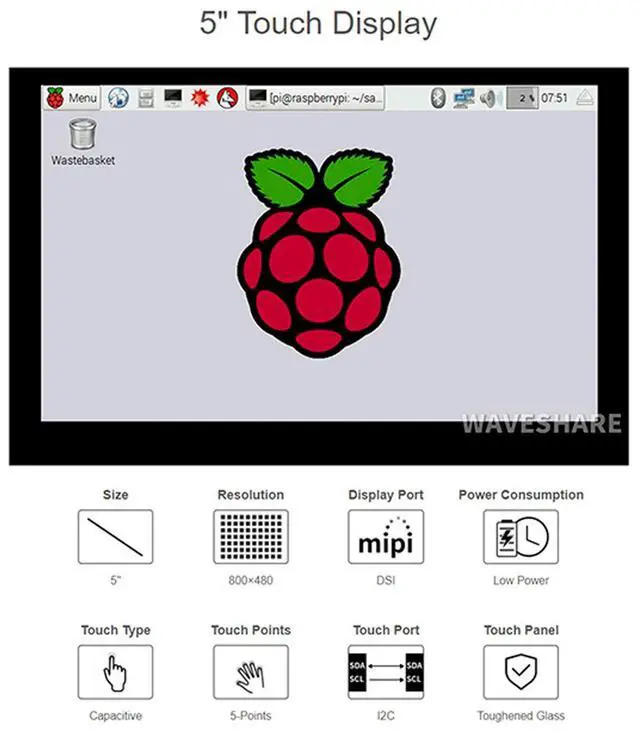
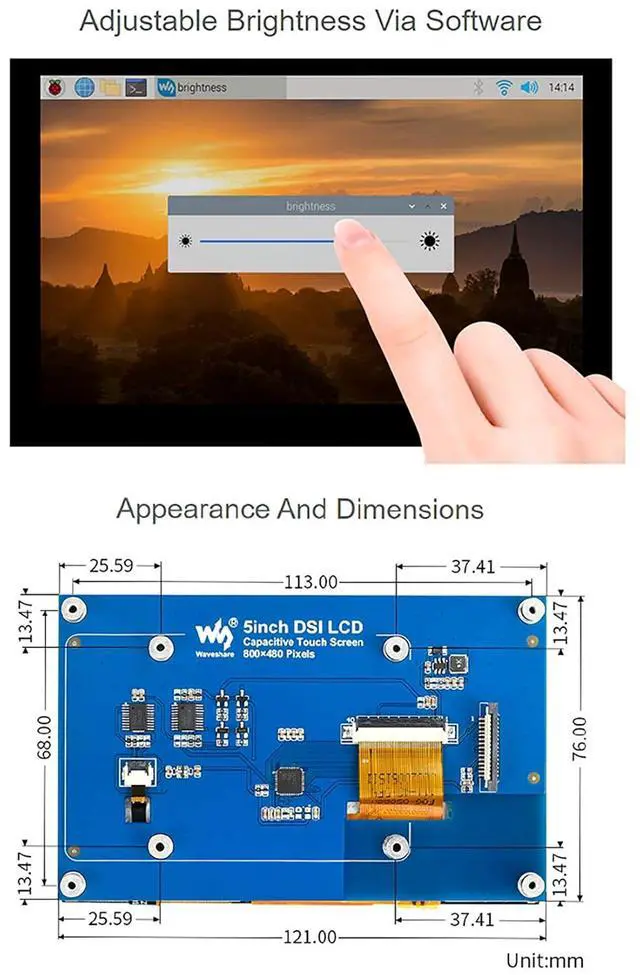
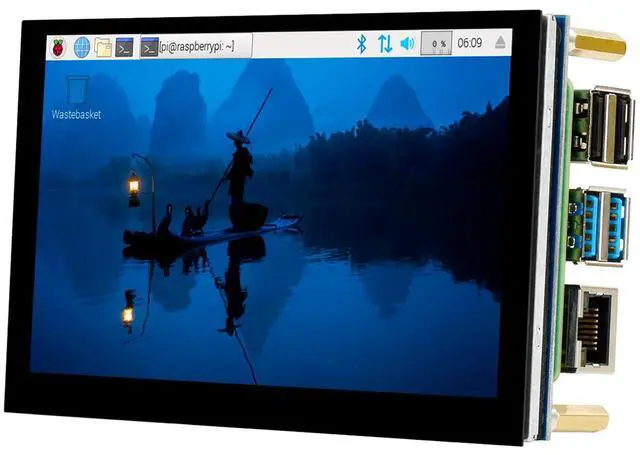
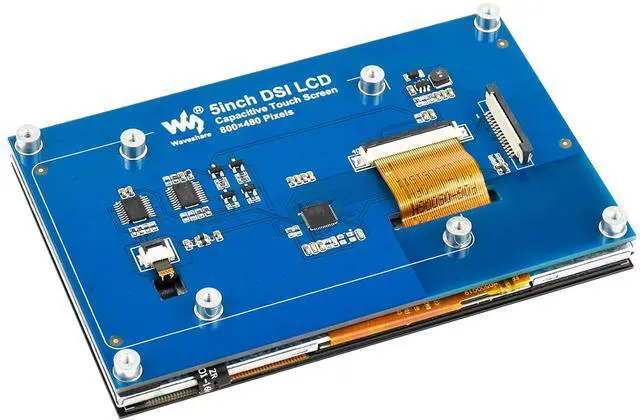
Compatible with Raspberry Pi Touchscreen 5inch DSI LCD Touch Screen 800×480 Resolution TFT LCD Display Monitor for Raspberry Pi Model 4B/3B+/3A+/3B/2B/B+/A+,CM3/3+
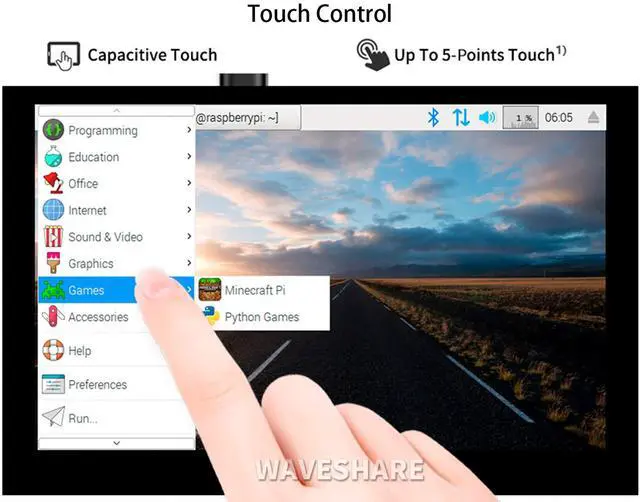
- 5inch TFT screen. 800x480 hardware resolution; Supports Pi 4B/3B+/3A+/3B/2B/B+/A+. Another adapter board is required for CM3/3+; Capacitive touch panel, support 5-point touch; DSI interface, refresh rate up to 60Hz.; Supports Raspbian/Ubuntu/Kali and WIN 10 IoT, driver-free.
+
+
Overview
Specs
Reviews
Any questions? Our AI mode will help you find out quickly.
Try me now
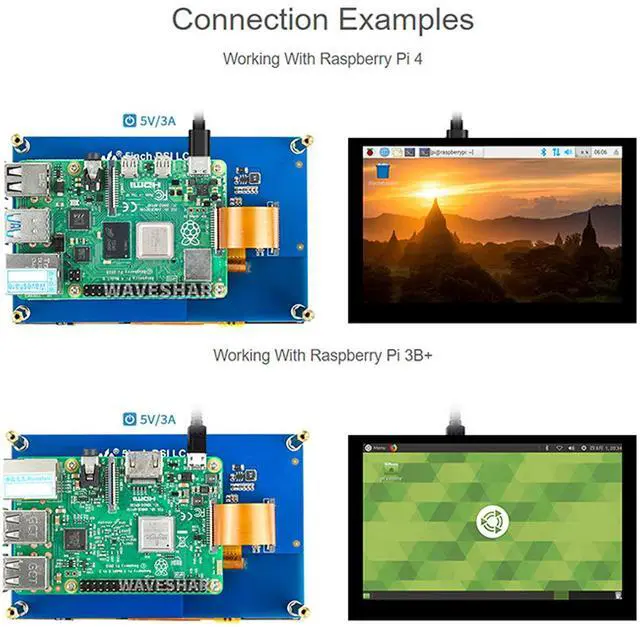
5inch Capacitive Touch Display For Raspberry Pi, 800×480, DSI Interface Features Support Various Device and System 1. Support Raspberry Pi 4B/3B+/3A+/3B/2B/B+/A+ and CM3/3+Board. 2. When connecting with CM3/3+, extra adapter board is required. 3. When working with Raspberry Pi, support various system. Supports Raspbian, 5-points touch, driver free Supports Ubuntu / Kali / WIN10 IoT, single point touch, driver free Supports Retropie, driver free 4. up to 5-points touch, depending on the operating system. Package Content 5inch DSI LCD x1 FPC 15PIN 1.0 pitch 50mm (opposite sides) x1 Screws pack x1 Hardware connection Connect the DSI interface of 4.3 inch DSI LCD to the DSI interface of Raspberry Pi.
For easy use, you can fix the Raspberry Pi on the backside of the 4.3 inch DSI LCD by screws Software setting 1) Download image (Raspbian, Ubuntu, Kali, or WIN 10 IOT) from the Raspberry Pi website. 2) Download the compressed file to the PC, and unzip it to get the. img file. 3) Connect the TF card to the PC, use SDFormatter. exe software to format the TF card. 4) Open the Win32DiskImager. exe software, select the system image downloaded in step 2, and clickWrite to write the system image.
5) After the image has finished writing, save, and quit the TF card safely. 6) Power on the Raspberry Pi and wait for a few seconds until the LCD displays normally. And the touch function can also work after the system starts. Note Online Development Resources are provided, please contact with us if you need.

For easy use, you can fix the Raspberry Pi on the backside of the 4.3 inch DSI LCD by screws Software setting 1) Download image (Raspbian, Ubuntu, Kali, or WIN 10 IOT) from the Raspberry Pi website. 2) Download the compressed file to the PC, and unzip it to get the. img file. 3) Connect the TF card to the PC, use SDFormatter. exe software to format the TF card. 4) Open the Win32DiskImager. exe software, select the system image downloaded in step 2, and clickWrite to write the system image.
5) After the image has finished writing, save, and quit the TF card safely. 6) Power on the Raspberry Pi and wait for a few seconds until the LCD displays normally. And the touch function can also work after the system starts. Note Online Development Resources are provided, please contact with us if you need.
Warranty & Returns
Warranty, Returns, And Additional Information
Warranty
- Please contact the Seller directly for warranty information. Warranty information may also be found on the Manufacturer's website.
- CONTACT
Return Policies
- Return for refund within: 30 days
- Return for replacement within: 30 days
- This item is covered by SlotNeat Return Policy
Manufacturer Contact Info
- For a directory of all our manufacturers, please click below.
- Manufacturers Directory
LOADING...