




 here!
I’m your shopping assistant for PC builds, upgrades, and everything tech.
Got questions? Ask away!
Start a conversation
here!
I’m your shopping assistant for PC builds, upgrades, and everything tech.
Got questions? Ask away!
Start a conversation
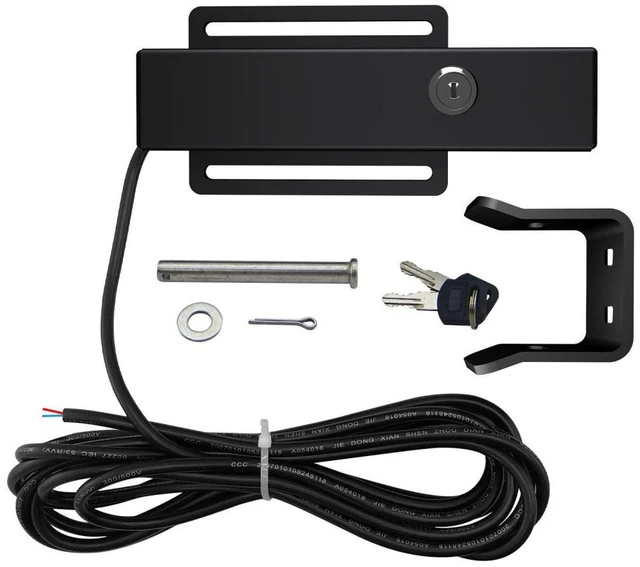
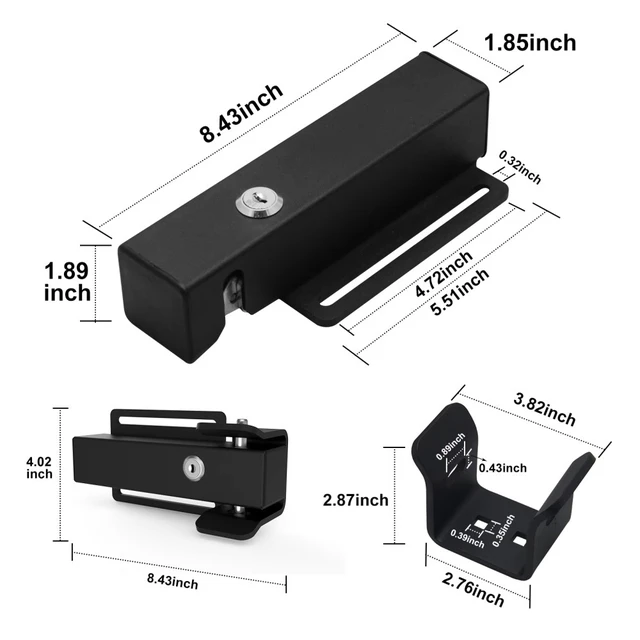
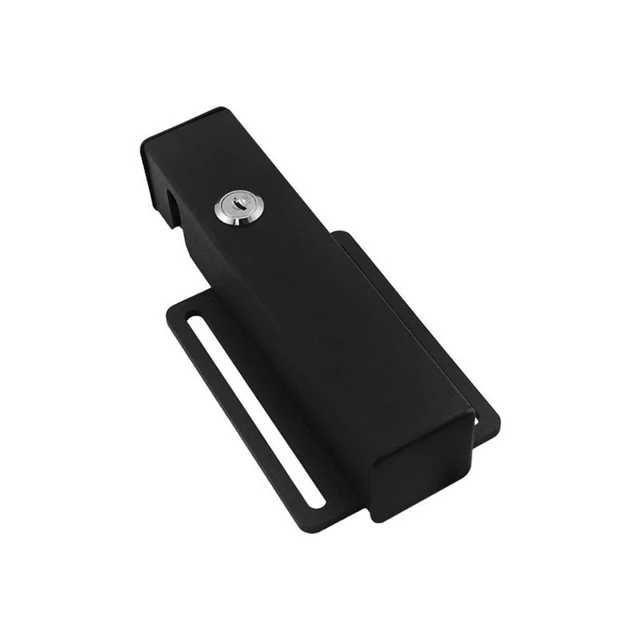
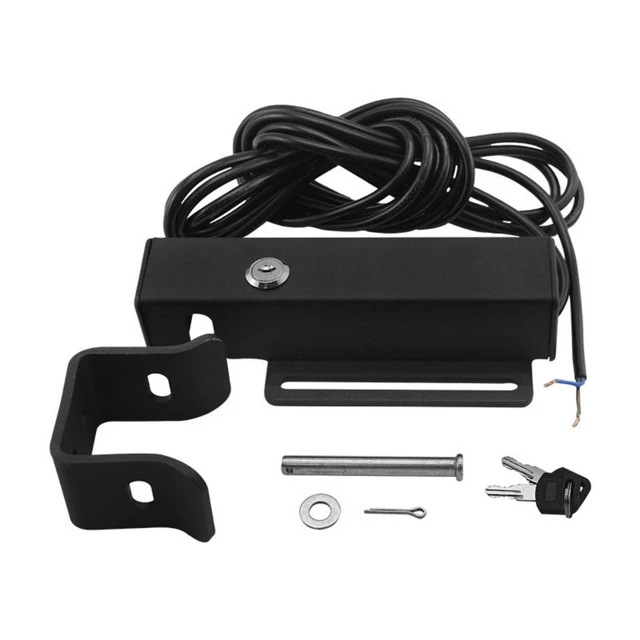



Any questions? Ask CelesteSM will help you find out quickly.
Package includes:
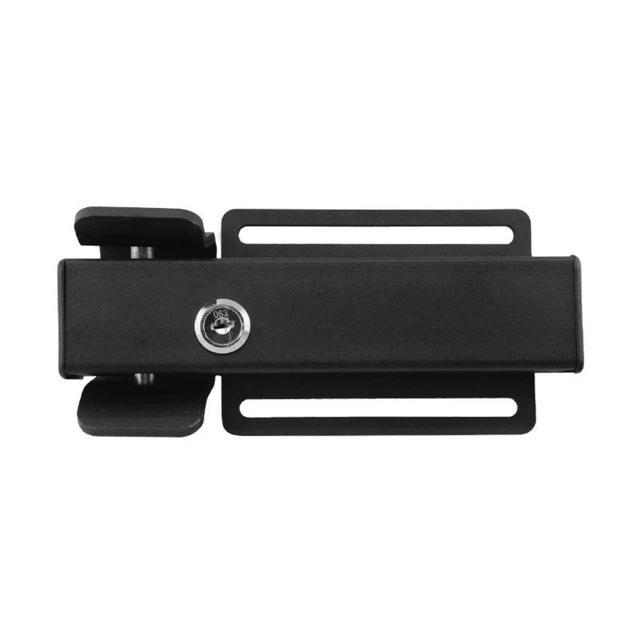
1 lock with 5 metre cable
1 lock recevier
1 Clevins Pin
1 plug pin
1 spacer
2 lock Mechanical keys (Manual release )
Installing The Gate Lock
NOTE: The Automatic Gate Lock can be installed on single and dual gate systems. Use the app instructions for the system you have SINGLE GATE (below) or DUAL GATES (below)
Single Gate Installation
Disconnect gate opener by removing hairpin clip and elevus pin from the gate bracket end of the open. Disconnecting the opener will allow the gate to swing freely during installation of the gate lock.
Step 1: With the gate in the closed position, determine the best location for the lock and the lock receiver. The lock and receiver must be level and aligned with the opener. Also, the lock should have a solid surface or cross member to provide stability.
Step 2: Clamp receiver and lock together (with receiver pin hole and lock slot aligned) to the gates, mark their positions to drill receiver bolts (Illustration B and C, page 3). The receiver must be mounted with carriage bolts, not U-bolts, to allow lock to seat properly.
Step 3: Recheck the lock's position and alignment, then mark its position for drilling holes. Drill the hole gate supports through the slots in the lock bracket. U-bolts and saddles can be used to mount on chain link gate supports. Secure the lock to the gate. Install clevis pin and locking cap by placing clevis pin through slots in lock receiver and hammering the clevis pin into the locking plug, secure the lock bracket and check the alignment again.


