

Your Browsing History
- Free 30-day Returns
$22.99
Ships from China.

Meet Your Seller

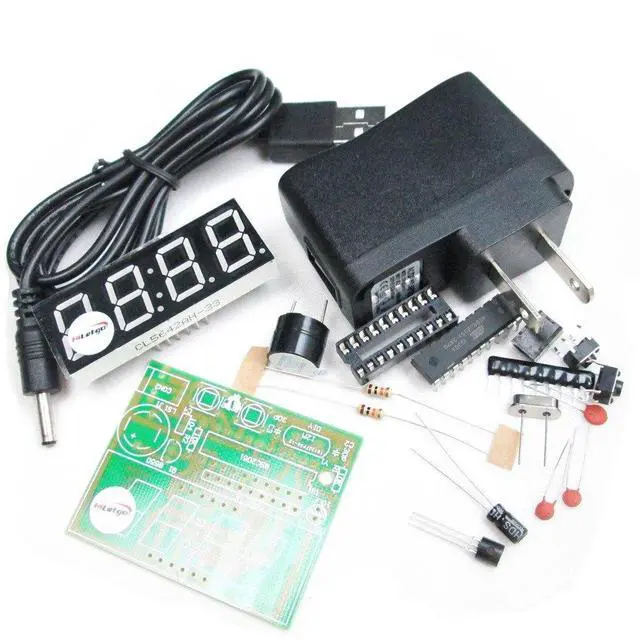
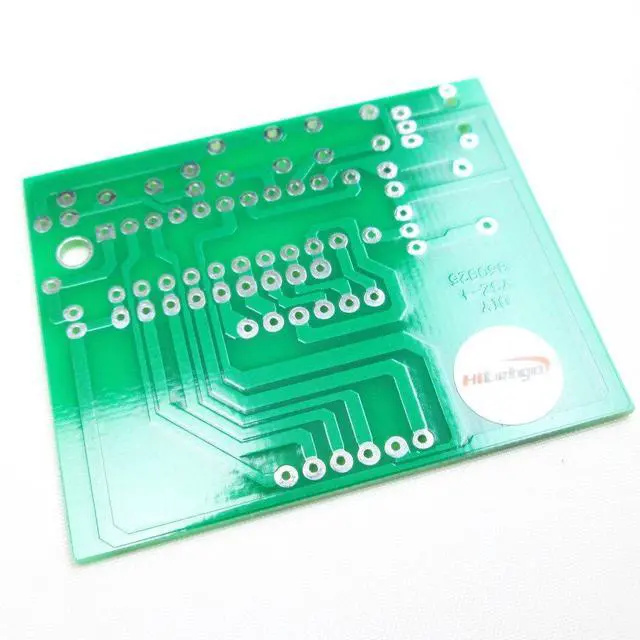
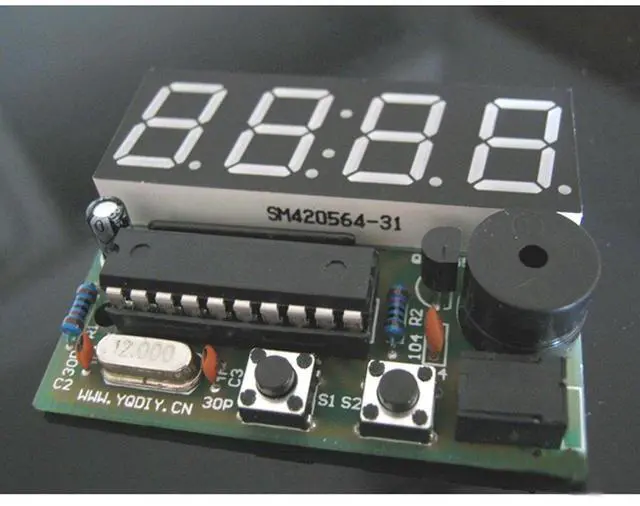
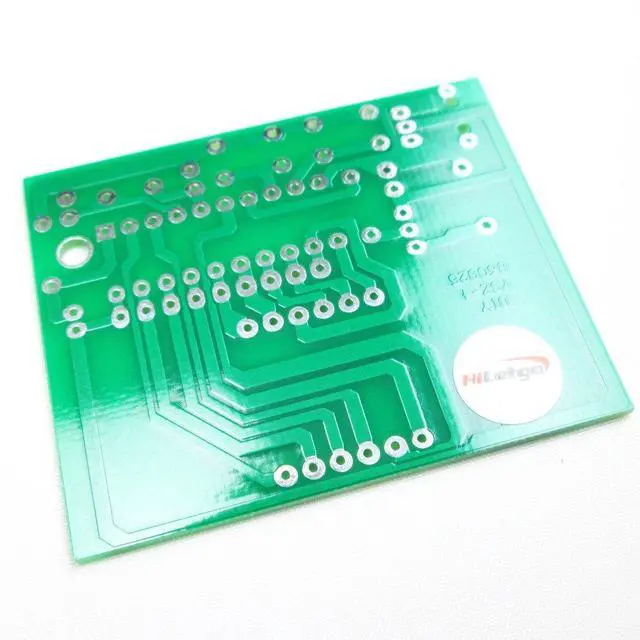


0.56 Inch 4 Bit Red Digital Tube Electronic Clock DIY Kit Clock Electronic Production Suite Time Chip AT89C2051
Limited time offer, ends 10/15 By LUOYIMAN
- A good exercise for students in electronic production; With second correction for precision calibration; Minute and second can be displayed independently; Two-Way alarm clock setting (can turn it off ); Time accuracy: error range ±1 second per 24 hours
+
+
Overview
Specs
Reviews

Any questions? Our AI mode will help you find out quickly.
Try me now
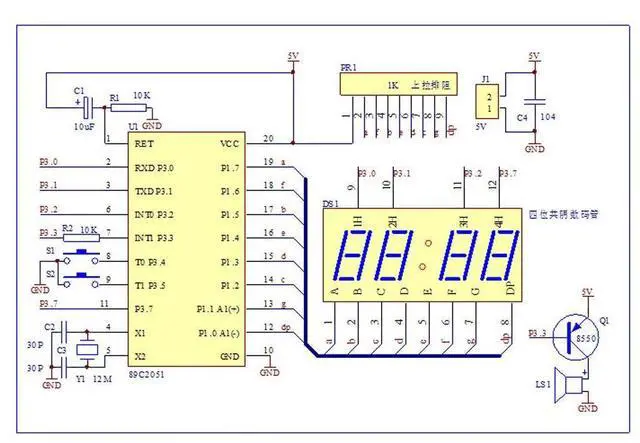
0.56 Inch 4 Bit Red Digital Tube Electronic Clock DIY Electronic Production Suite Main chip: AT89C2051
Power Supply voltage: 3V-6V 1.2 mm thick high quality
FR-4 PCB PCB dimensions: Length 52mm * Width 42mm With second correction for precision calibration Minute and second can be displayed independently 8:00 - 20:00 point hours timekeeping (can close it) Two-Way alarm clock setting (can turn it off )
Time accuracy: error range ±1 second per 24 hours With a USB to 3.5 mm power cable, plug in the USB charger can be used, easy to power supply. How to set it?
1. As your looking at the LCD there are two buttons under the screen. The left button is S1, the right button is S2. S1 advances the sub menus, S2 changes the value. 2. Hold S1 to enter clock setting mode ""A"" Set hour ""B"" (looks like the number 8 on the screen) Set minutes ""C"" Set Chime On/Off ""D"" Set Alarm 1 On/Off ""E"" Set Alarm 1 Hour ""F"" Set Alarm 1 Minute ""G"" Set Alarm 2 ON/OFF ""H"" Set Alarm 2 Hour ""I"" Set Alarm 2 Minute
Power Supply voltage: 3V-6V 1.2 mm thick high quality
FR-4 PCB PCB dimensions: Length 52mm * Width 42mm With second correction for precision calibration Minute and second can be displayed independently 8:00 - 20:00 point hours timekeeping (can close it) Two-Way alarm clock setting (can turn it off )
Time accuracy: error range ±1 second per 24 hours With a USB to 3.5 mm power cable, plug in the USB charger can be used, easy to power supply. How to set it?
1. As your looking at the LCD there are two buttons under the screen. The left button is S1, the right button is S2. S1 advances the sub menus, S2 changes the value. 2. Hold S1 to enter clock setting mode ""A"" Set hour ""B"" (looks like the number 8 on the screen) Set minutes ""C"" Set Chime On/Off ""D"" Set Alarm 1 On/Off ""E"" Set Alarm 1 Hour ""F"" Set Alarm 1 Minute ""G"" Set Alarm 2 ON/OFF ""H"" Set Alarm 2 Hour ""I"" Set Alarm 2 Minute
Warranty & Returns
Warranty, Returns, And Additional Information
Warranty
- Please contact the Seller directly for warranty information. Warranty information may also be found on the Manufacturer's website.
- CONTACT
Return Policies
- Return for refund within: 30 days
- Return for replacement within: 30 days
- This item is covered by LUOYIMAN Return Policy
Manufacturer Contact Info
- For a directory of all our manufacturers, please click below.
- Manufacturers Directory
LOADING...