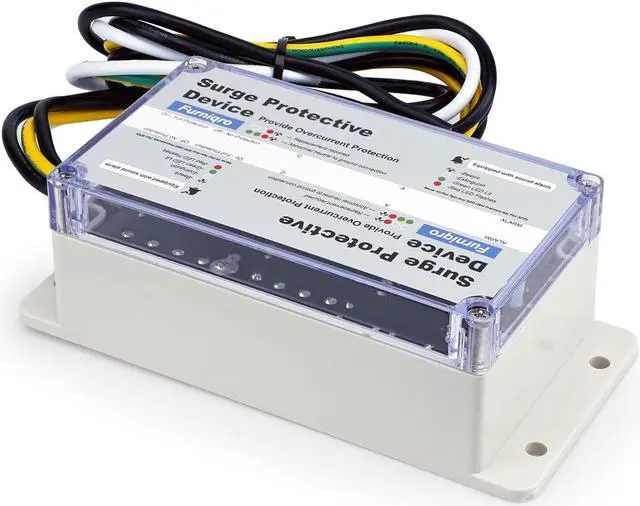
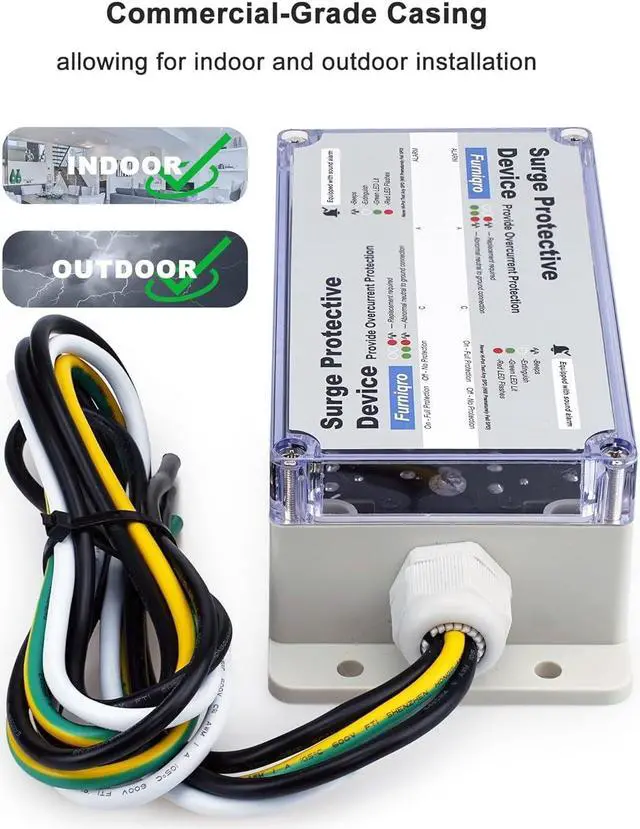
Line Voltage120/240 Split Phase, 50/60 HzSurge Spike Capacity140,000 AmpsAlarm methodBeeps and Red Service Light FlashesUL 1449 3rd Ed VPRL-N: 600 V, L-G: 600 V, N-G: 600 V, L-L: 900 VRated Voltage (MCOV)150V L-N, L-G, and N-G; 300V L-LResponse Time<1 nanosecondEnclosure Indoor and Outdoor RatedInstallation TypeChase NippleRecommended breaker size20 A Featuring a durable commercial-grade casing, it is suitable for both indoor and outdoor installation.
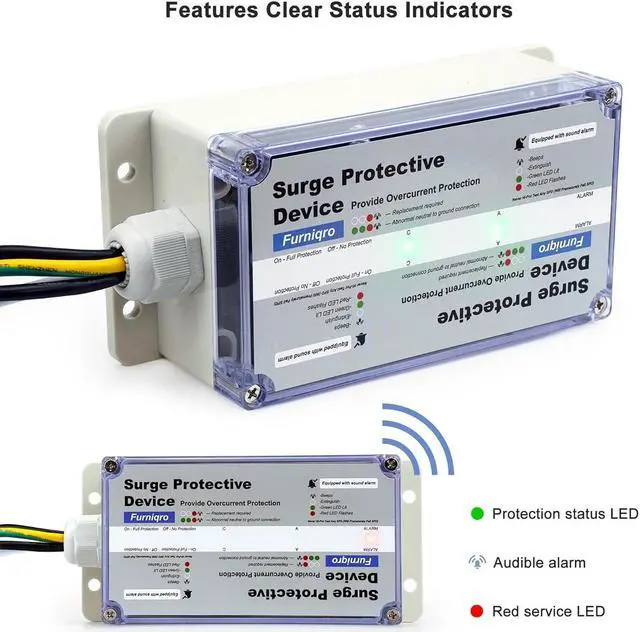
Features protection status LED, audible alarm, as well as a red service LED.
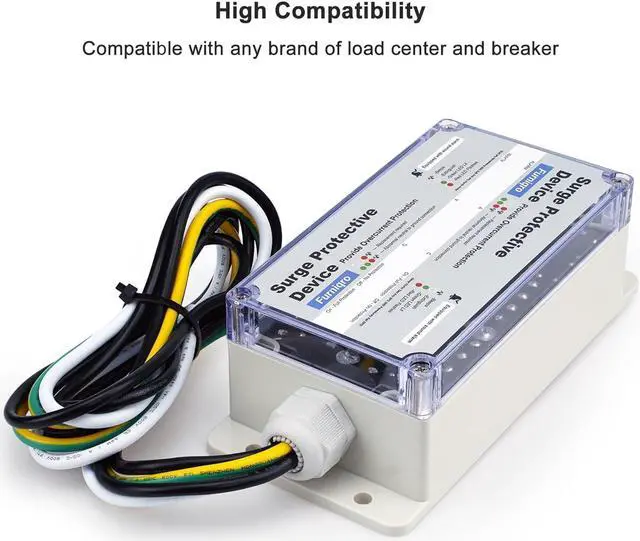
Compatible with any brand of load center and breaker, designed for surge protection in standard residential split-phase 120/240V, 60Hz system voltage.
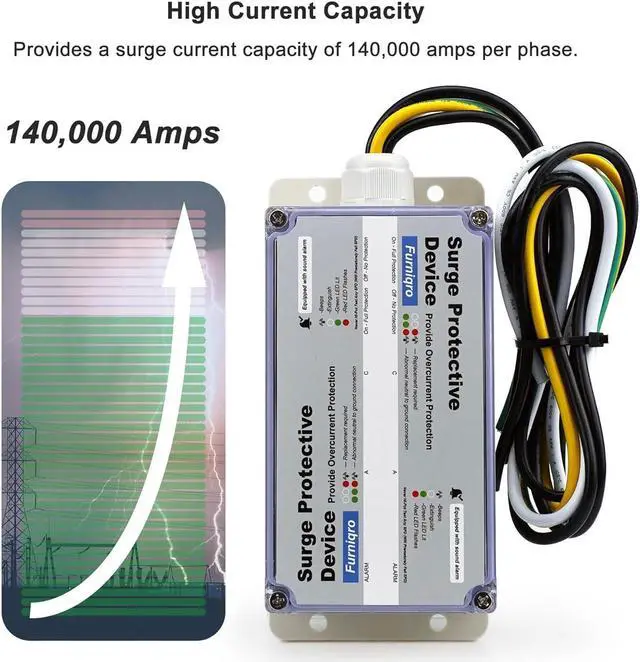
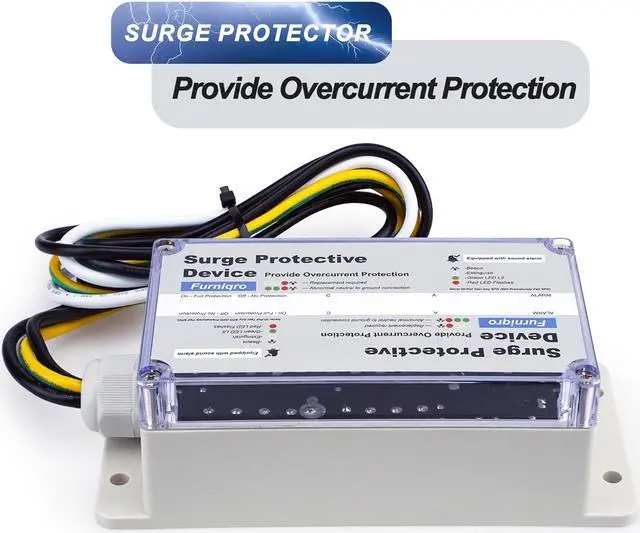
Provides a surge current capacity of 140,000 amps per phase.
Know you're protected with Surge Protective Device's 3-stage notification system. When replacement is needed:
Audible Alarm: Beeps
Green LED(s): Extinguish
Red Service Light: Flashes
Ground Reference Monitoring (GRM) by Surge Protective Device. When notifying you a rare safety hazard exists due to a compromised electrical system neutral to ground bond:
Audible Alarm: Beeps
Green LED(s): Remain Lit
Red Service Light: Flashes
Use the nearest breaker to the SPD. Position the SPD close to its intended breaker.
Keep leads short and avoid sharp bends.
Rotate the SPD for optimal LED visibility.
For outdoor installation, ensure weather sealing at the nipple (using gaskets or sealing conduit).
Never Hi-Pot test Any SPD. (will prematurely fail SPD).
HomeSurge is a Type 2 SPD. It is suitable for use downstream of the service disconnect.Pre-Plan your installation. You need to accomplish the following:
Meet all National and Local codes (NEC Article 285 andUL 1449 address SPDs).
Confirm System voltage to SPD voltage (120V SPD will fail instantly on 240V, 277V, etc.).
Mount SPD as close to panel or equipment as possible to keep leads short. (long leads hurt performance).
Ensure leads are as short and straight as possible, including neutral and ground. Use a breaker position that is close to the SPD and the panels neutral and ground.
Make sure system is grounded per NEC and clear of faults before energizing SPD. (inadvertent system problem may fail SPD).
Installation Steps:
Use voltmeter to check voltages and ensure correct SPD.
Determine Mounting location weather resistant equipment may be required.
If SPD has optional Flush Mount Kit, pre-plan its installation.
Remove power from panel/source. Confirm panel/source is deenergized.
Identify breaker location and SPD location. Position SPD such that LEDs are best visible.If Flush Mount Kit was ordered, follow Flush Mount instructions and then proceed at #6.
Mount SPD weather resistant applications require additional sealing, etc. (not included) Remove an appropriately sized knockout from panel. Connect conductors as appropriate short and straight as possible.
Label or mark conductors as appropriate (neutral: white, ground: green, energized: black).
Make sure system is bonded per NEC and is clear of hazards or faults before energizing (N-G bonding not per NEC will fail SPDs: #1 cause of SPD failures).
Energize and confirm proper operation of green LED indicators. If any connected phase LED does not illuminate, remove power, check all connections and test again.
The SPD is equipped with an audible alarm which will sound in the event of an alarm condition. This indicates a problem with the SPD which requires further evaluation. There is no test or silence switch. Deenergizing the SPD will silence the alarm.
If the SPD encounters issues during startup, ground/misuse problems are likely. Ensure that any electrician working in your home understands surge protector protocols.
Commercial-Grade Casing Features clear status indicators High Compatibility High Current Capacity Installation Instruc
 TM8FFE004T0C129")


 M.2 2280 1TB PCIe 4.0 x4 with NVMe 1.4 TLC Internal Solid State Drive (SSD) TM8FFH001T0C128")