



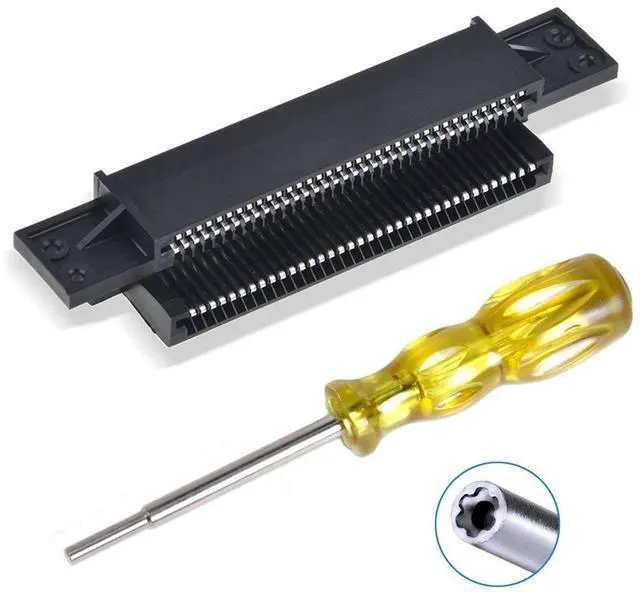
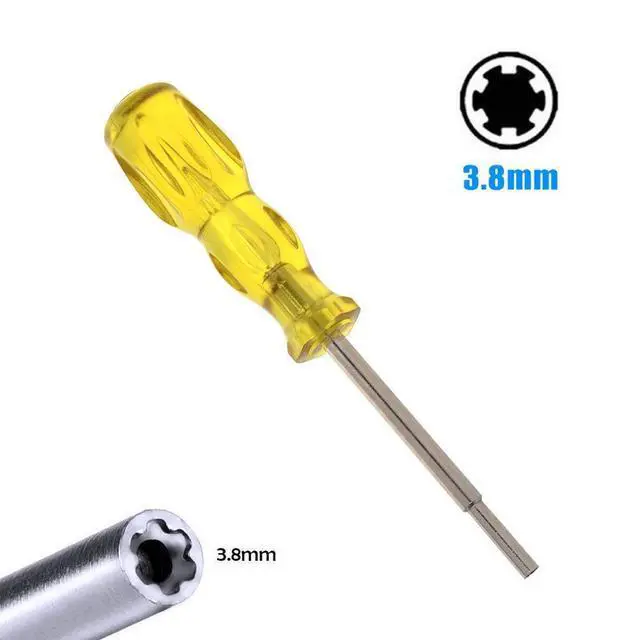
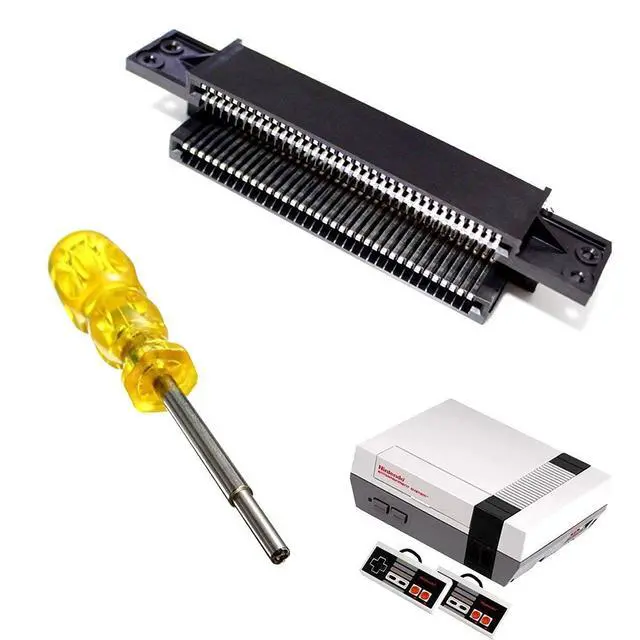


Is the flashing red power light driving you crazy because you can't play your favorite games? Decades ago, do you think cartridges can magically fix any problem in your system? You may need a 72-pin adapter, which is what caused the original NES to be cursed. Choose our 72-pin adapter, it will perfectly solve your troubles.A 3.8mm gamebit screwdriver or a standard gamebit screwdriver is recommended for safely removing proprietary screws during installation.
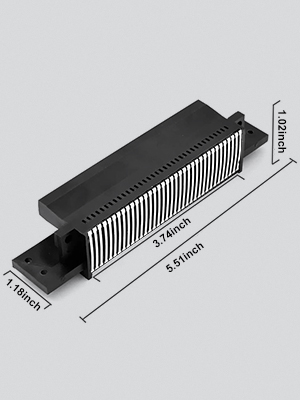
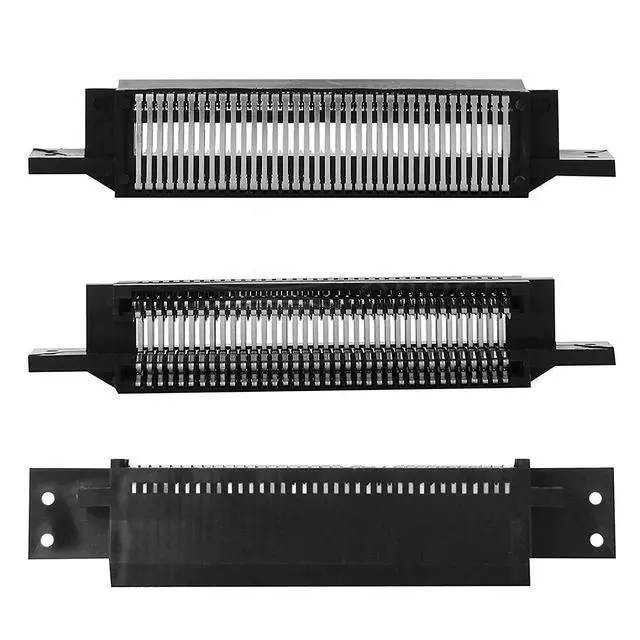
Game Console 72 Pin Slot Socket Converter Adapter
Sturdy: Stronger and more wear-resistant than the original.
Easy to install: It can be installed easily without professional skills.
No need for welding: Just plug it in and use it perfectly fits the ink cartridge. Perfect repair connector: Install it to bring your ONES back to life.
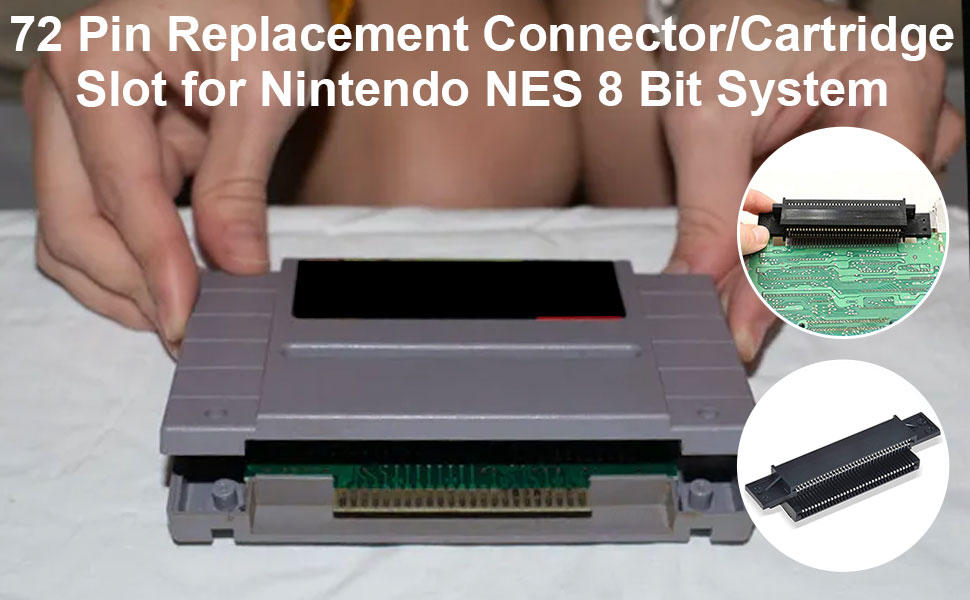
72 pin replacement connector carttidge slot
For nintendo console NES 8 bit entertainment system accessories games repair part
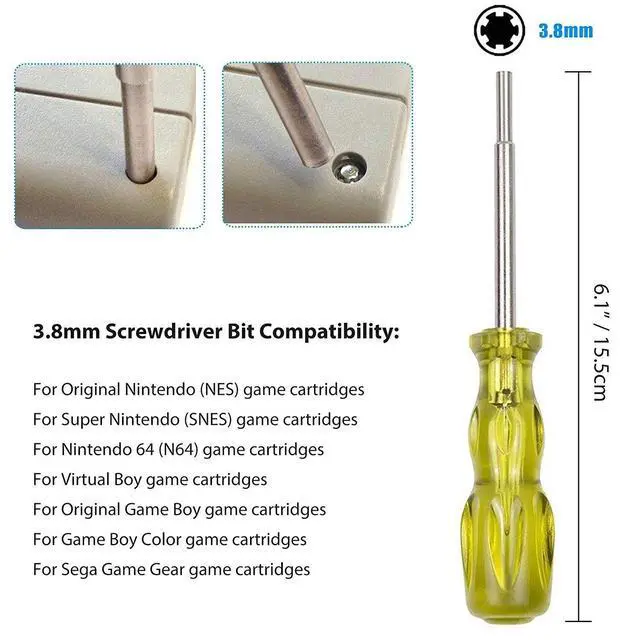
Widely compatible with original Nintendo (NES) game cartridge / Super Nintendo (SNES) game cartridge / Nintendo 64 (N64) game cartridge / Virtual Boy game cartridge / original Game Boy game cartridge / Game Boy Color game cartridge / Sega Game Gear game cartridge, etc.
Model: NES
Specifications:CH-NES-001 NES
Interface type:72pin
Applicable products:NES/FC
Scope of application:NES game machine
Operating system: 8 bit
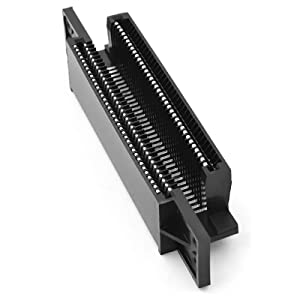
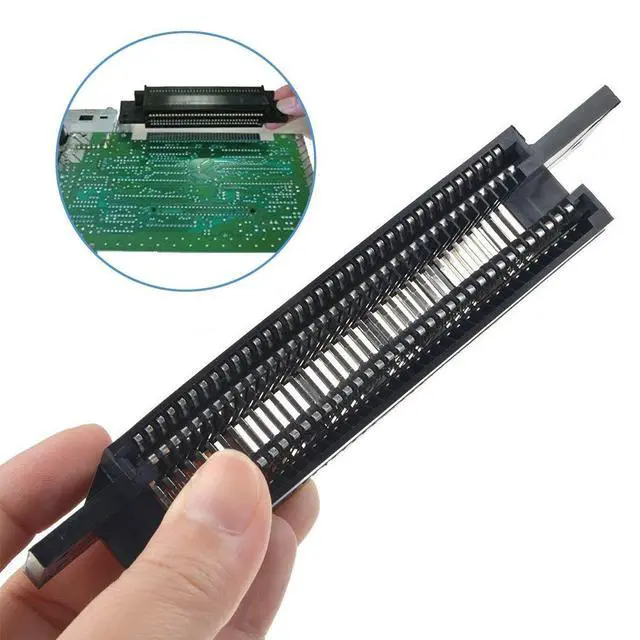
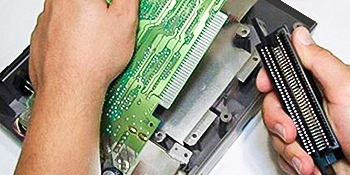
Disassemble your NES. It is recommended that you wear rubber gloves to ground yourself and keep skin oils away from the electronics. Open the case, remove the shield and cartridge cover, and remove the motherboard. Carefully remove the old 72-pin connector.A gamebit screwdriver will help safely remove the screws if needed.
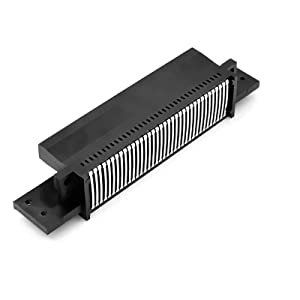
Before installing the new connector, clean the contacts with isopropyl (topical) alcohol and a cotton swab, then polish them with brass cleaner and a clean, soft cloth to make them shine like new. Connect the new 72-pin connector and reassemble the NES. Note: Do the same for your cartridge. You may need a safety drill to remove the proprietary screws in some NES cartridges.Carefully remove the old 72-pin connector using a 3.8mm gamebit screwdriver if required.
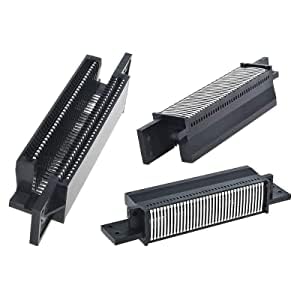
When you insert the cartridge into the NES using this new 72-pin connector, you do not have to press it. Simply push the cartridge straight in, close the dust cover, and then open the NES. don't worry if you feel some resistance when placing the game pack into the console; the connector will loosen over time.You may need a safety drill or gamebit screwdriver to remove the proprietary screws in some NES cartridges.

EEEKit 72 Pin Replacement Connector Cartridge Slot Makes Your Gaming Experience Better
Is the flashing red power light driving you crazy because you can't play your favorite games? Decades ago, do you think cartridges can magically fix any problem in your system? You may need a 72-pin adapter, which is what caused the original NES to be cursed. Choose our 72-pin adapter, it will perfectly solve your troubles.A 3.8mm gamebit screwdriver or a standard gamebit screwdriver is recommended for safely removing proprietary screws during installation.
72 pin replacement connector carttidge slot
Game Console 72 Pin Slot Socket Converter Adapter
Sturdy: Stronger and more wear-resistant than the original.
Easy to install: It can be installed easily without professional skills.
No need for welding: Just plug it in and use it perfectly fits the ink cartridge. Perfect repair connector: Install it to bring your ONES back to life.
For nintendo console NES 8 bit entertainment system accessories games repair part
Widely compatible with original Nintendo (NES) game cartridge / Super Nintendo (SNES) game cartridge / Nintendo 64 (N64) game cartridge / Virtual Boy game cartridge / original Game Boy game cartridge / Game Boy Color game cartridge / Sega Game Gear game cartridge, etc.
Model: NES
Specifications:CH-NES-001 NES
Interface type:72pin
Applicable products:NES/FC
Scope of application:NES game machine
Operating system: 8 bit
Disassemble your NES. It is recommended that you wear rubber gloves to ground yourself and keep skin oils away from the electronics. Open the case, remove the shield and cartridge cover, and remove the motherboard. Carefully remove the old 72-pin connector.A gamebit screwdriver will help safely remove the screws if needed.
Before installing the new connector, clean the contacts with isopropyl (topical) alcohol and a cotton swab, then polish them with brass cleaner and a clean, soft cloth to make them shine like new. Connect the new 72-pin connector and reassemble the NES. Note: Do the same for your cartridge. You may need a safety drill to remove the proprietary screws in some NES cartridges.Carefully remove the old 72-pin connector using a 3.8mm gamebit screwdriver if required.
When you insert the cartridge into the NES using this new 72-pin connector, you do not have to press it. Simply push the cartridge straight in, close the dust cover, and then open the NES. don't worry if you feel some resistance when placing the game pack into the console; the connector will loosen over time.You may need a safety drill or gamebit screwdriver to remove the proprietary screws in some NES cartridges.
EEEKit 72 Pin Replacement Connector Cartridge Slot Makes Your Gaming Experience Better