




How to Install Switches on Hot-Swap Keyboards
Step 1: Preparation – Before installing, disconnect the keyboard from your computer. Gather a keycap puller and a switch puller.
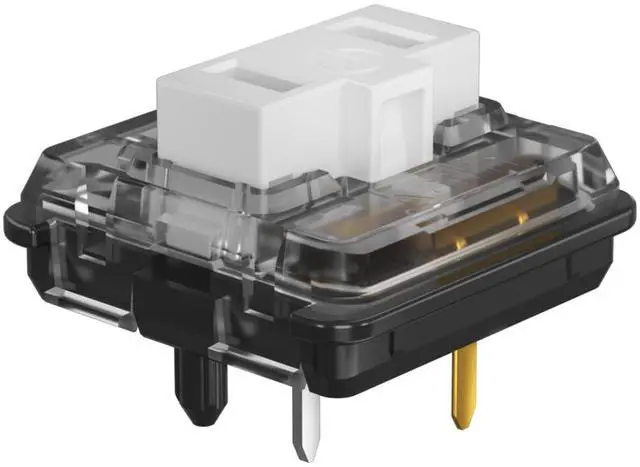
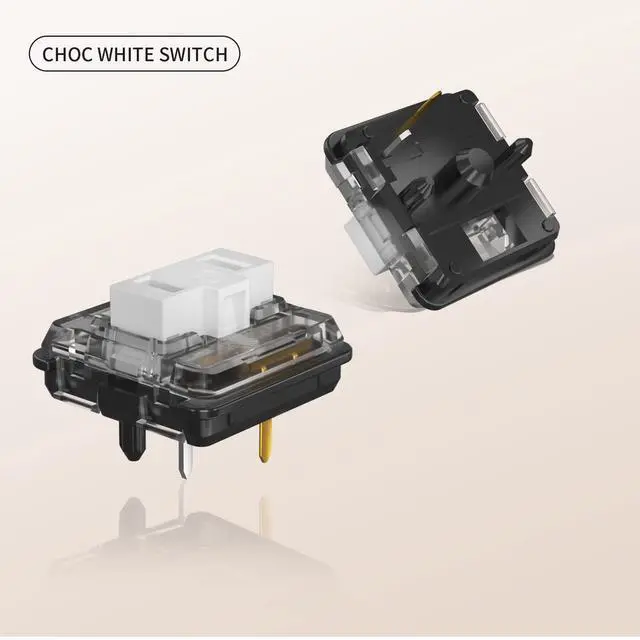
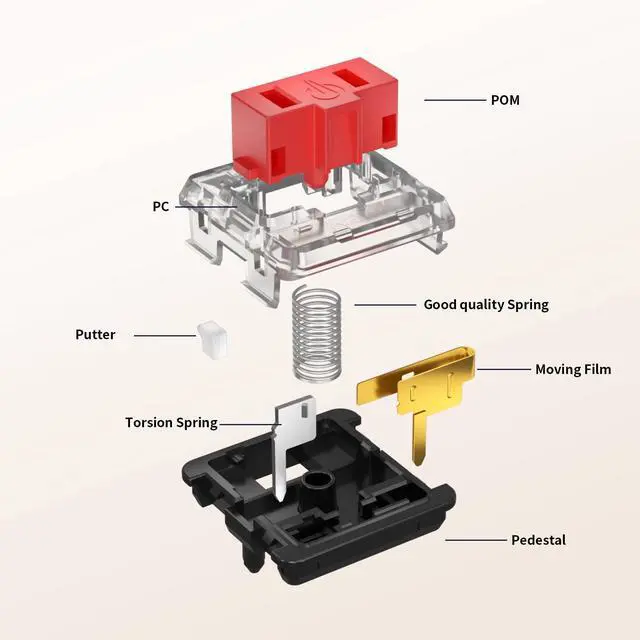
Step 2: Pin Alignment – Align the metal pins on the bottom of the switch with the corresponding sockets on the hot-swap PCB. The plastic center post aligns with the round hole. For 5-pin switches, the extra guide pins also have matching holes.
Step 3: Switch Insertion – Insert the switch by pressing down firmly and evenly on the top of the housing. The switch should lock into place without excessive force.
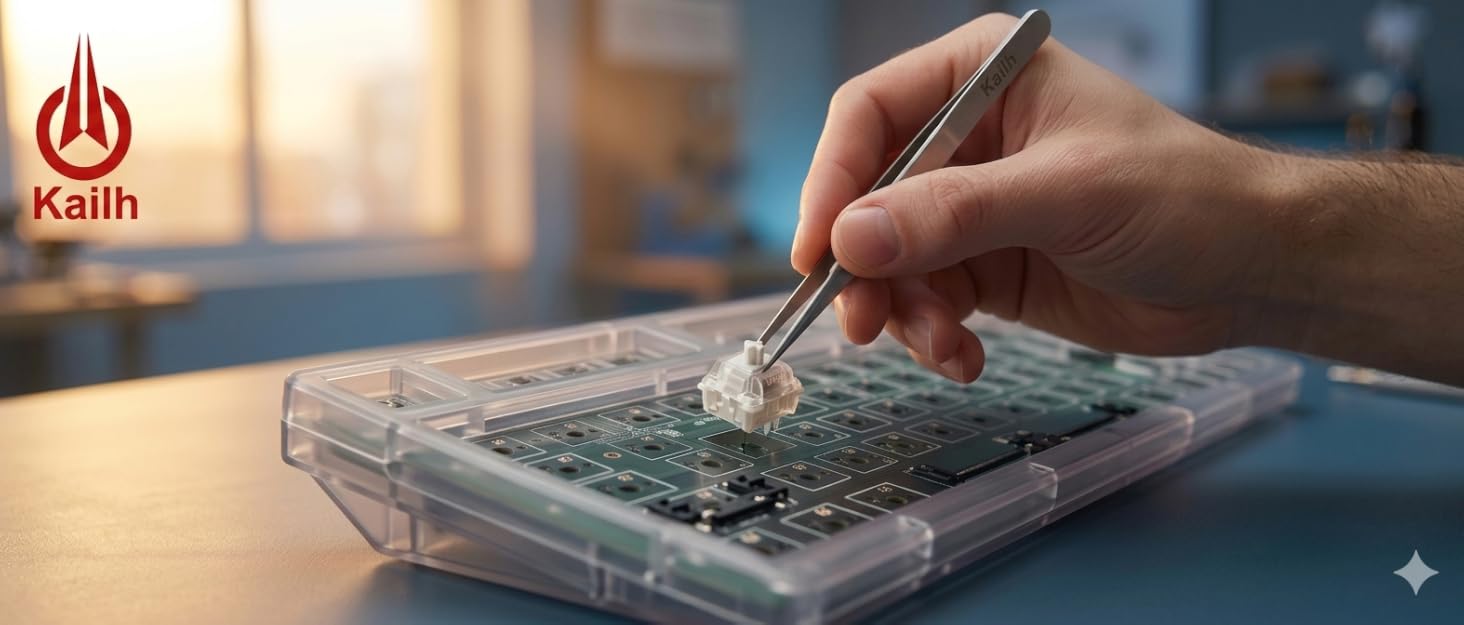
Step 4: Handling Bent Pins – If the switch does not insert easily, remove it. Inspect the pins. Slightly bent pins can be straightened using tweezers. If a pin is severely bent or missing, do not force installation.
Step 5: Testing – After installation, plug the keyboard back in. Use an online key tester to verify that every switch registers correctly.
Packaging Safety and Delivery Information
Secure Sealing – Each package is sealed with waterproof pouch to prevent accidental opening during shipping.
Moisture-Resistant Materials – Packaging materials are moisture-resistant to protect electronic components during transit.
Replacement Shipment Process – When a return or replacement is initiated, shipment is processed through standard logistics channels. Replacement tracking information is provided upon dispatch.
Kailh
Engineering the Purest Feel
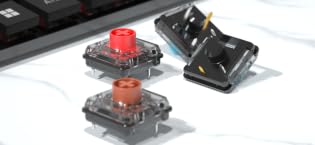
Who We Are:
Kailh is not just a manufacturer; we are the unseen artisans behind your every click. For over 36 years, we have dedicated ourselves to perfecting the engineering that connects your intentions to your screen. From high-performance gaming key-switches to ultralight mouse micro-switches, Kailh defines the intersection of performance and tactile feedback.
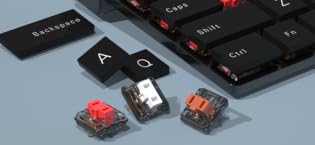
Our Mission:
To provide the custom keyboard and mouse community with the purest, most responsive mechanical components possible. We empower users to design their own typing or gaming experience, ensuring every keystroke and click is exactly as they intend.
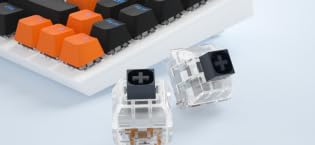
What Makes Us Unique:
Unwavering Precision & Global Standard Testing. Every Kailh switch, from the initial design to final mass production, undergoes rigorous testing and iterative refinement in our state-of-the-art facilities. Our switches power some of the world’s most prestigious gaming peripherals, bringing a new dimension of feel to global users.

Responsibility:
Durability is Sustainability. Our products are designed for extreme lifespan, reducing e-waste by allowing users to maintain and upgrade their devices, rather than replacing them.
How to Install Switches on Hot-Swap Keyboards
Step 1: Preparation – Before installing, disconnect the keyboard from your computer. Gather a keycap puller and a switch puller.
Step 2: Pin Alignment – Align the metal pins on the bottom of the switch with the corresponding sockets on the hot-swap PCB. The plastic center post aligns with the round hole. For 5-pin switches, the extra guide pins also have matching holes.
Step 3: Switch Insertion – Insert the switch by pressing down firmly and evenly on the top of the housing. The switch should lock into place without excessive force.
Step 4: Handling Bent Pins – If the switch does not insert easily, remove it. Inspect the pins. Slightly bent pins can be straightened using tweezers. If a pin is severely bent or missing, do not force installation.
Step 5: Testing – After installation, plug the keyboard back in. Use an online key tester to verify that every switch registers correctly.
Packaging Safety and Delivery Information
Secure Sealing – Each package is sealed with waterproof pouch to prevent accidental opening during shipping.
Moisture-Resistant Materials – Packaging materials are moisture-resistant to protect electronic components during transit.
Replacement Shipment Process – When a return or replacement is initiated, shipment is processed through standard logistics channels. Replacement tracking information is provided upon dispatch.
Kailh
Engineering the Purest Feel
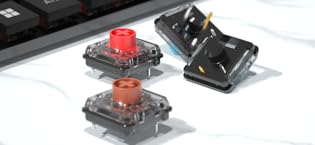
Who We Are:
Kailh is not just a manufacturer; we are the unseen artisans behind your every click. For over 36 years, we have dedicated ourselves to perfecting the engineering that connects your intentions to your screen. From high-performance gaming key-switches to ultralight mouse micro-switches, Kailh defines the intersection of performance and tactile feedback.
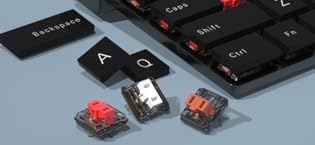
Our Mission:
To provide the custom keyboard and mouse community with the purest, most responsive mechanical components possible. We empower users to design their own typing or gaming experience, ensuring every keystroke and click is exactly as they intend.
What Makes Us Unique:
Unwavering Precision & Global Standard Testing. Every Kailh switch, from the initial design to final mass production, undergoes rigorous testing and iterative refinement in our state-of-the-art facilities. Our switches power some of the world’s most prestigious gaming peripherals, bringing a new dimension of feel to global users.
Responsibility:
Durability is Sustainability. Our products are designed for extreme lifespan, reducing e-waste by allowing users to maintain and upgrade their devices, rather than replacing them.
