

Your Browsing History

Meet Your Seller

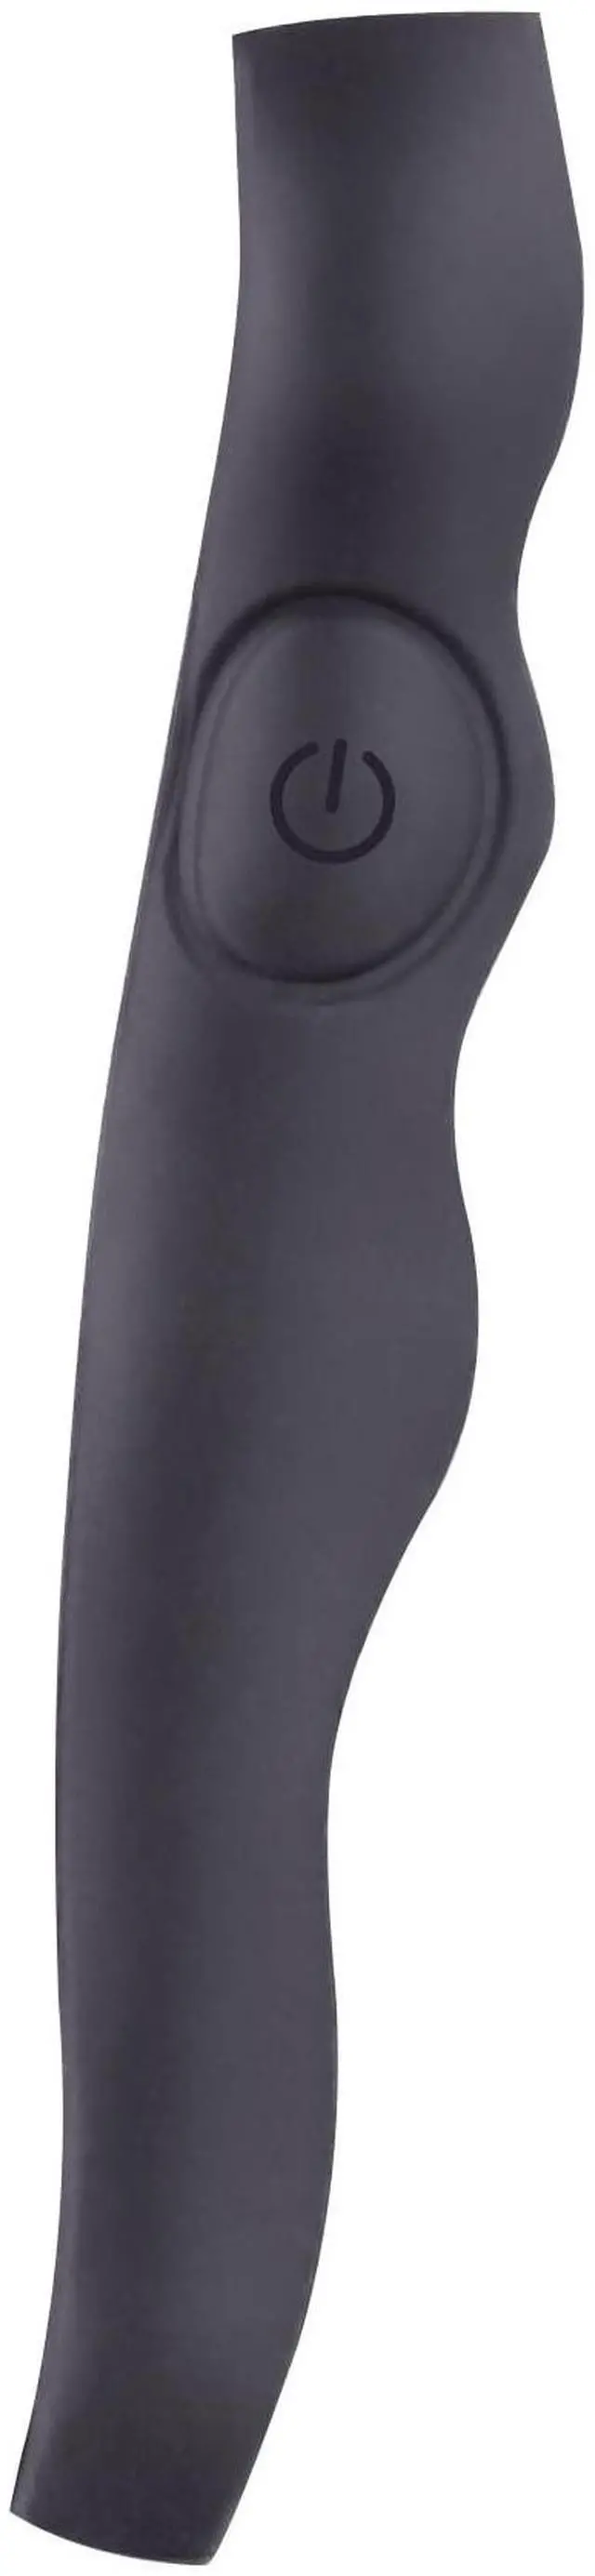
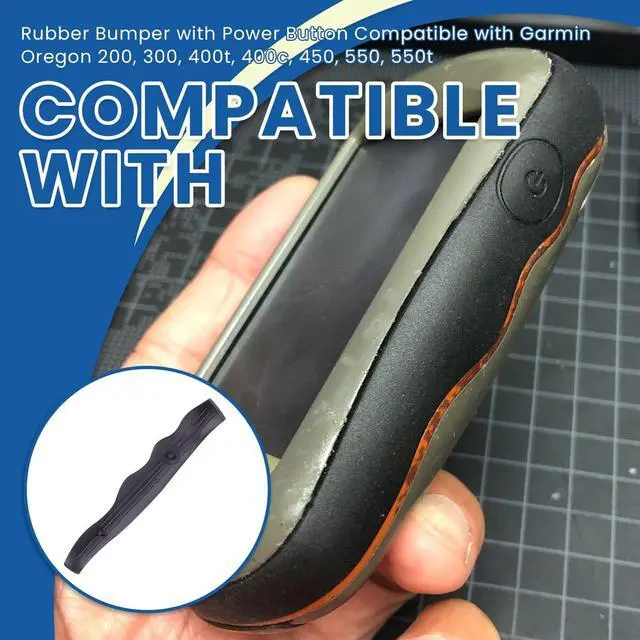
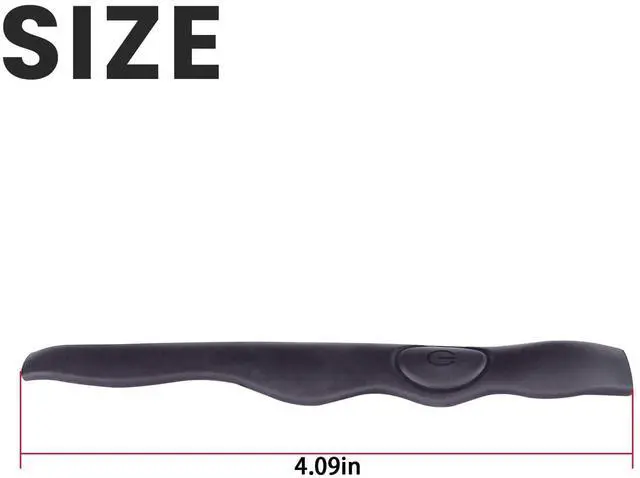
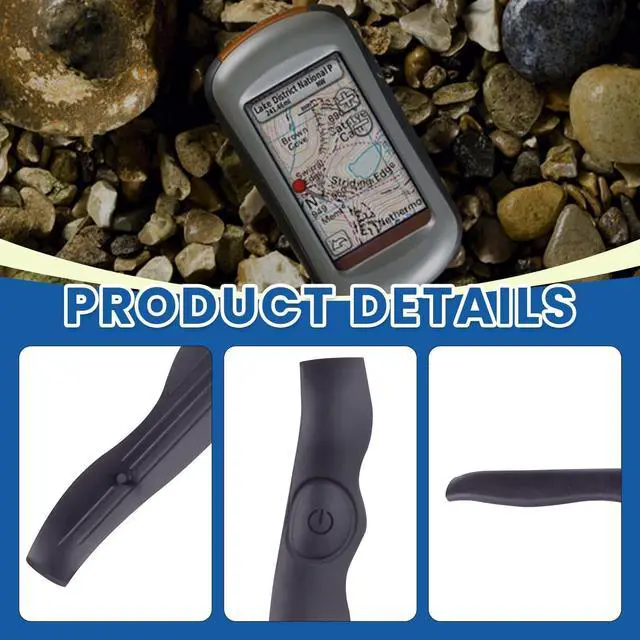


Ciuouient 1Pc GP03264 Rubber Bumper with Power Button Compatible with Garmin Oregon 200, 300, 400T, 400C, 450, 550, 550T (Black)
- COMPATIBLE WITH: Rubber Bumper with Power Button Compatible with Garmin Oregon 200, 300, 400T, 400C, 450, 550, 550T
- PACKAGE INCLUDES: 1Pcs Rubber Bumper with Power Button, Black
- QUALITY MATERIALS: The Rubber Bumper With Power Button Is Made of Quality Rubber Material, Which Has Wear Resistance, Flexibility, and Waterproofness, and a Long Service Life
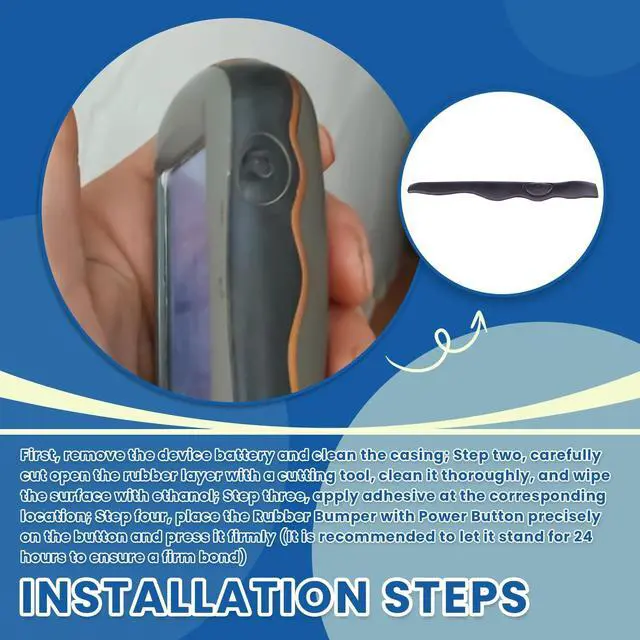
- INSTALLATION STEPS: First, Remove the Device Battery and Clean the Casing; Step Two, Carefully Cut Open the Rubber Layer With a Cutting Tool, Clean It Thoroughly, and Wipe the Surface With Ethanol; Step Three, Apply Adhesive at the Corresponding Location; Step Four, Place the Rubber Bumper With Power Button Precisely on the Button and Press It Firmly (It Is Recommended to Let It Stand for 24 Hours to Ensure a Firm Bond)
+
+
Overview
Specs
Reviews

Any questions? Our AI mode will help you find out quickly.
Try me now
COMPATIBLE WITH: Rubber Bumper with Power Button Compatible with Garmin Oregon 200, 300, 400T, 400C, 450, 550, 550T ^^
PACKAGE INCLUDES: 1Pcs Rubber Bumper with Power Button, Black ^^
QUALITY MATERIALS: The Rubber Bumper With Power Button Is Made of Quality Rubber Material, Which Has Wear Resistance, Flexibility, and Waterproofness, and a Long Service Life ^^
INSTALLATION STEPS: First, Remove the Device Battery and Clean the Casing; Step Two, Carefully Cut Open the Rubber Layer With a Cutting Tool, Clean It Thoroughly, and Wipe the Surface With Ethanol; Step Three, Apply Adhesive at the Corresponding Location; Step Four, Place the Rubber Bumper With Power Button Precisely on the Button and Press It Firmly (It Is Recommended to Let It Stand for 24 Hours to Ensure a Firm Bond)
PACKAGE INCLUDES: 1Pcs Rubber Bumper with Power Button, Black ^^
QUALITY MATERIALS: The Rubber Bumper With Power Button Is Made of Quality Rubber Material, Which Has Wear Resistance, Flexibility, and Waterproofness, and a Long Service Life ^^
INSTALLATION STEPS: First, Remove the Device Battery and Clean the Casing; Step Two, Carefully Cut Open the Rubber Layer With a Cutting Tool, Clean It Thoroughly, and Wipe the Surface With Ethanol; Step Three, Apply Adhesive at the Corresponding Location; Step Four, Place the Rubber Bumper With Power Button Precisely on the Button and Press It Firmly (It Is Recommended to Let It Stand for 24 Hours to Ensure a Firm Bond)
Warranty & Returns
Warranty, Returns, And Additional Information
Warranty
- Please contact the Seller directly for warranty information. Warranty information may also be found on the Manufacturer's website.
- CONTACT
Return Policies
- Return for refund within: 30 days
- Return for replacement within: 30 days
- This item is covered by ApexDash Return Policy
Manufacturer Contact Info
- For a directory of all our manufacturers, please click below.
- Manufacturers Directory
LOADING...