• $28.99
  • Free 30-day Returns
  • Volume Discounts Available
    • $28.39 ea.
    • $27.59 ea.
    Ships from China.
    Price alert
    Shop it at NeweggBusiness.

    Meet Your Seller

    DDR4 / DDR5 2-in-1 Laptop Memory Tester Diagnostic Tool with LED Indicators for RAM Module Testing

    Limited time offer, ends 05/05 By ElectroWorks JV

    • Product Features Memory Module Fault Diagnosis
    • This memory diagnostic tool is designed to identify common RAM module failures:
    • Gold Finger Wear & Contamination Repeated insertion and removal causes gold finger wear; high humidity leads to oxidation; dust accumulation results in poor contact.
    • Resistor Array (RN) Damage Resistor arrays on the memory module are prone to cracking or damage during insertion/removal, or may degrade over time, causing increased resistance.
    • PCB Trace Breakage Improper insertion (misalignment with the motherboard slot) or excessive force can bend the PCB. With PCB traces as fine as 0.1mm, improper handling can easily cause trace breakage.
    • To address the above failure points, this memory diagnostic tool has been developed. It features over 100 LED indicators, each monitoring individual data lines on the memory module. By observing the LED brightness levels, technicians can quickly and easily locate the faulty area.
    +
    +
    Overview
    Specs
    Reviews
    avatar

    Any questions? Our AI beta will help you find out quickly.

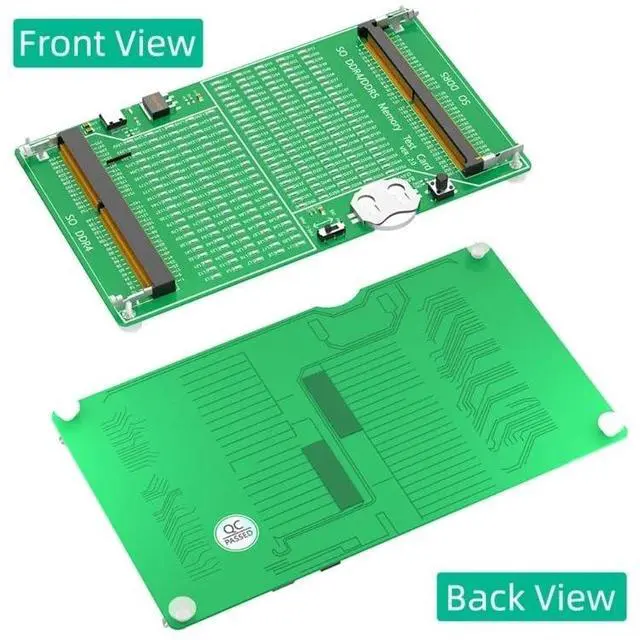
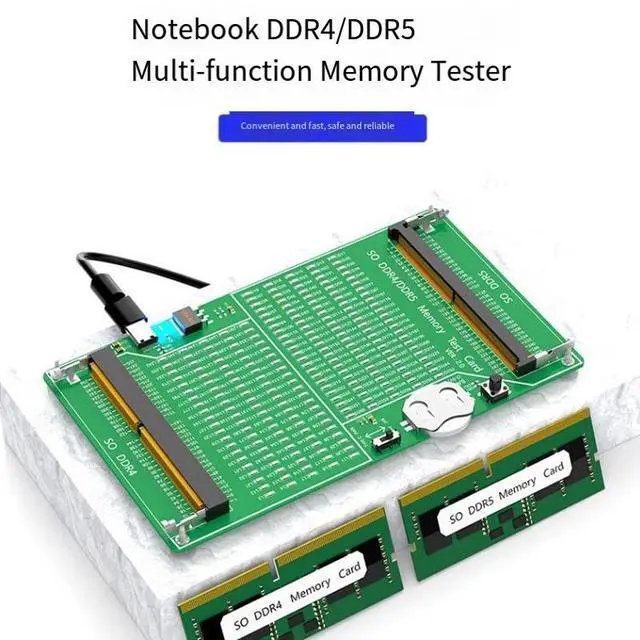
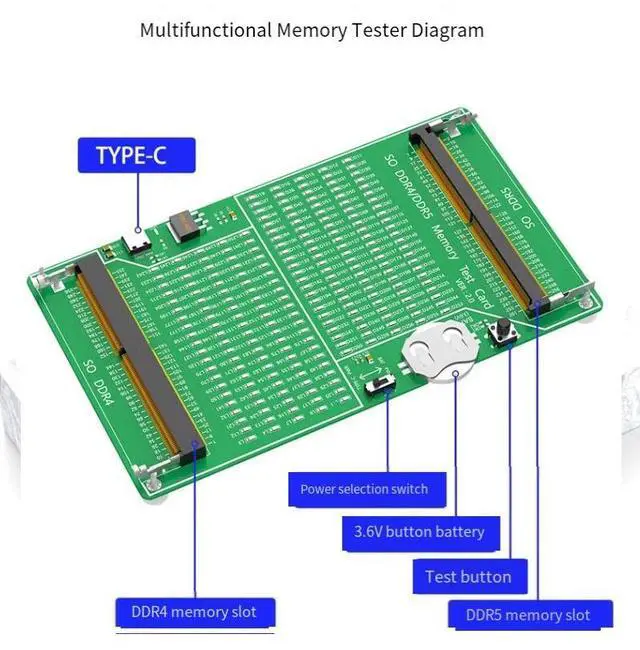
    Notebook DDR4/DDR5 Memory Testing Steps

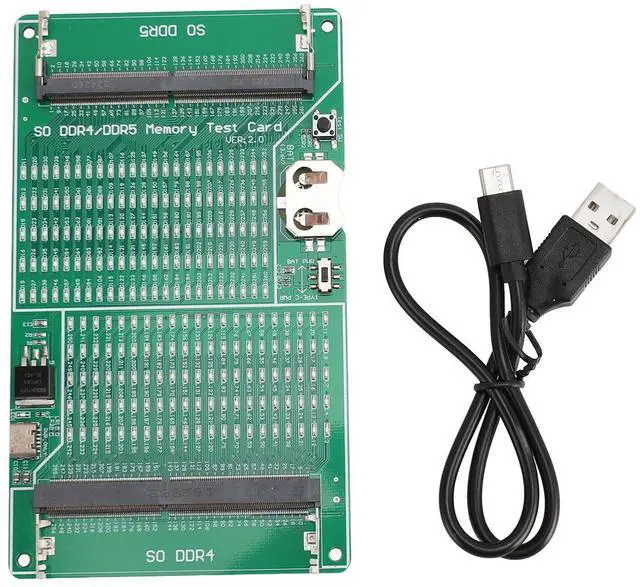
    1. Take out the CR2032 button battery from the shipping accessory package and install it horizontally into the battery slot on the test card. Make sure the side with the printed pattern is facing upwards (it must not be installed upside down).

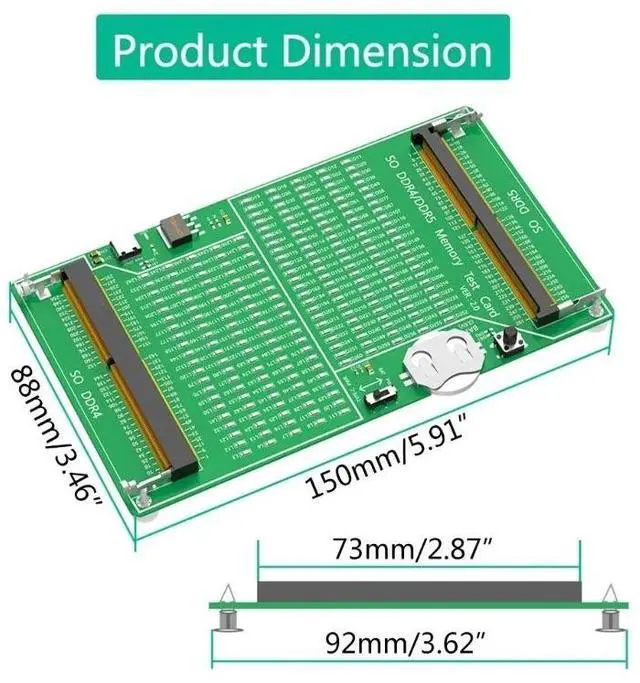
    2. According to the specification and model of the memory module (the U-shaped notch in the middle of the DDR4/DDR5 pins is different), insert the memory module at a 45-degree angle into the black slot. Insert it all the way in and press it down to make the silver metal tabs of the memory module catch the slot.

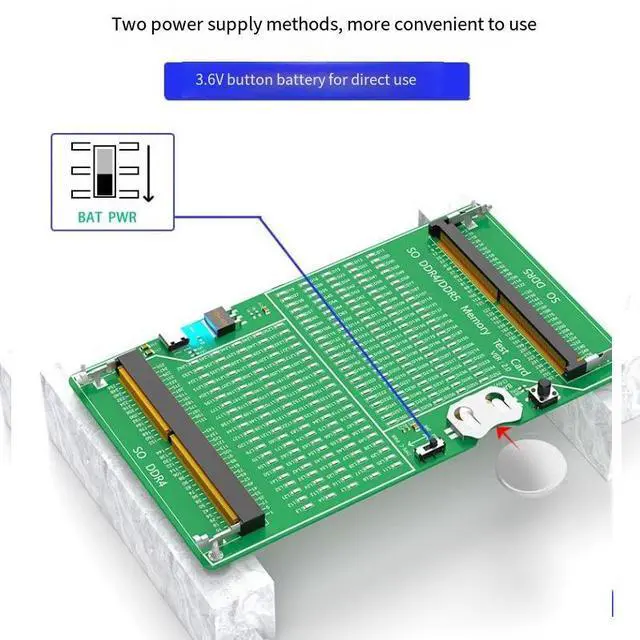
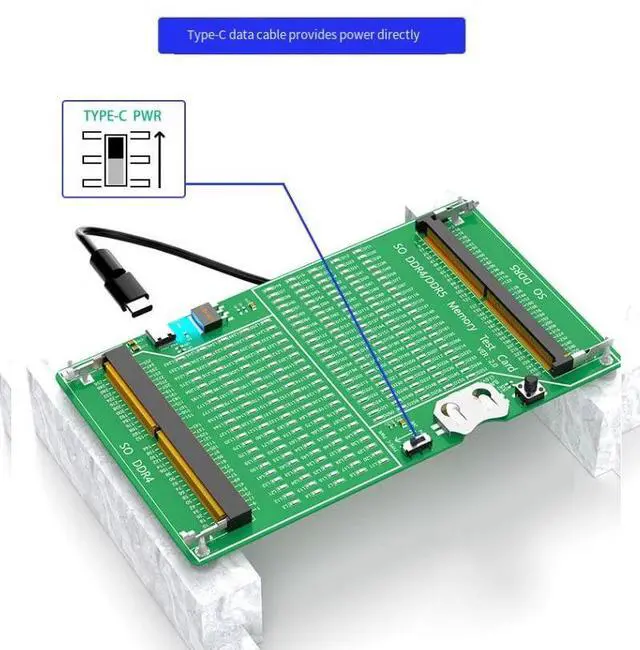
    3. Select the voltage switch position. One side is powered by the CR2032 button battery, and the other side is powered by an external TYPE-C port (a TYPE-C data cable needs to be connected).

    4. Then press the black button on the test card (Test SW). If the memory module is a good product, all the LEDs on the test card will light up. If the memory module is a defective product, the corresponding LED will not light up. According to the number on the unlit LED, you can find the defective position of the memory module pins.

    5. When the test is completed, release the black button. At the same time, use both hands to gently pull apart the silver metal tabs of the memory slot outward and pull out the memory module at a 45-degree angle.

    Warranty & Returns

    Warranty, Returns, And Additional Information

    Warranty

    • Please contact the Seller directly for warranty information. Warranty information may also be found on the Manufacturer's website.
    • CONTACT

    Return Policies

    Manufacturer Contact Info

    LOADING...