

Your Browsing History

Meet Your Seller

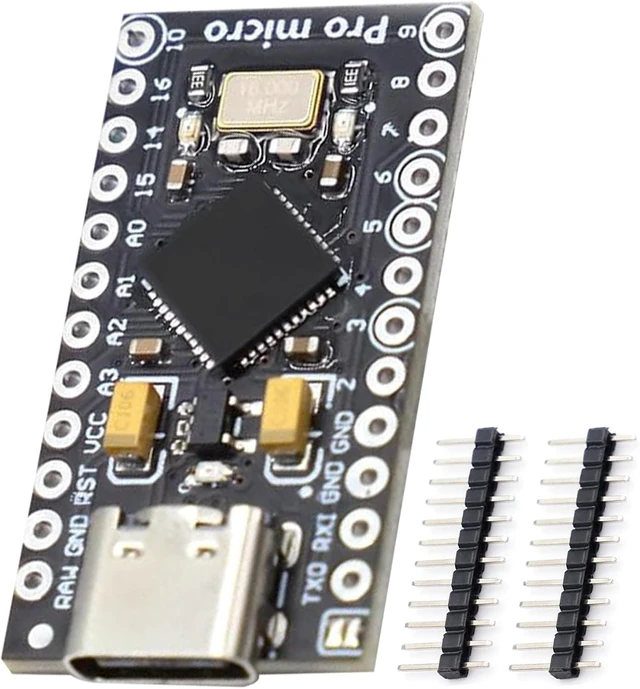
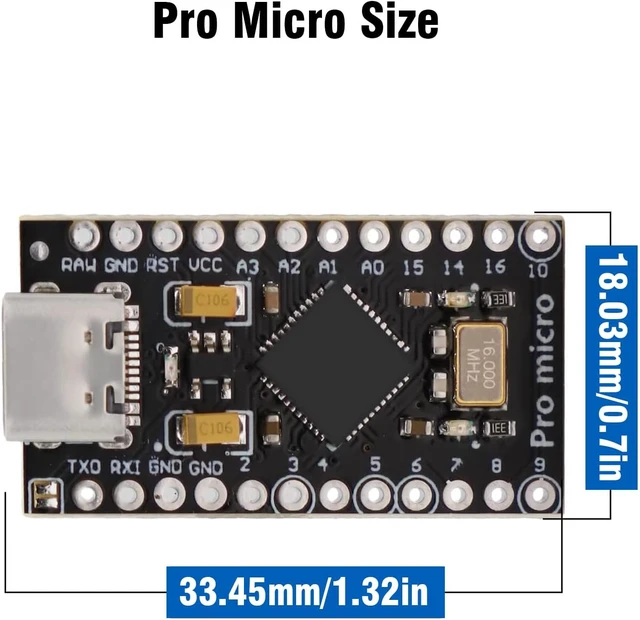


Pro Micro with Atmega32U4 chip Development Board, AYWHP 1 PCS Pro Micro 5V/16MHz Nano microcontroller Development Board with Built-in USB updater Type-C Interface Compatible with Arduino IDE-5pcs
- Maximum performance: the Pro micro microcontroller development board runs at 5 V/16 MHz and supported by IDE V1.0.1 for smooth programming. Suitable for Arduino.
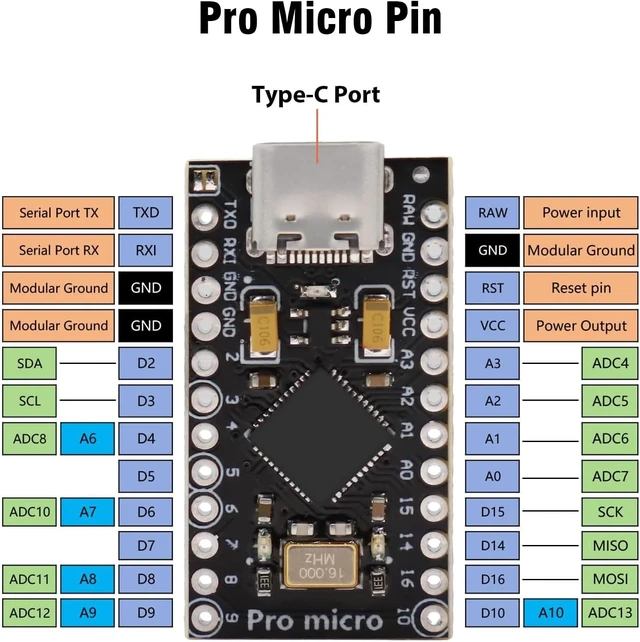
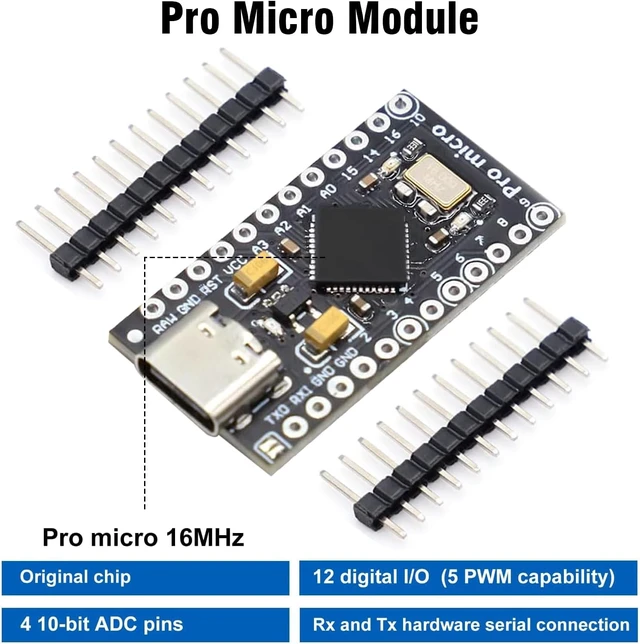
- Versatile connections: Pro micro with 4 x 10-bit ADC pins, 12 x digital I/Os and serial Rx and Tx hardware connections, you have all the ports you need.
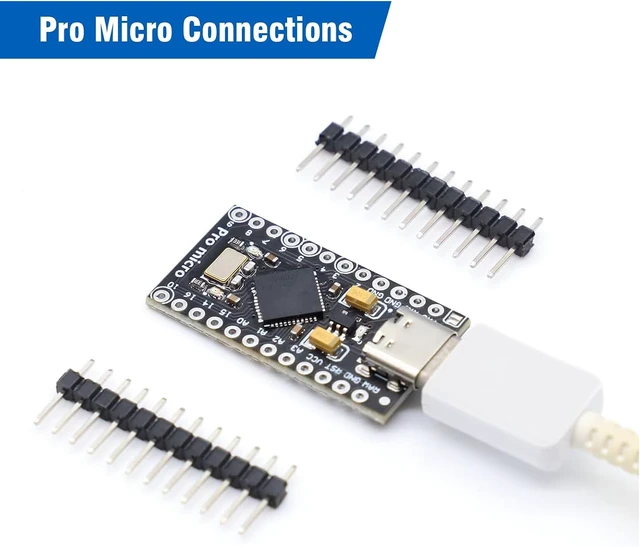
- Easy programming: Pro micro simply connect the motherboard to the on-board micro USB port and program it. If it is not detected, just install the driver.
- Multifunctional I/O: Pro micro there are 54 digital input/output pins available, including analogue inputs/outputs, as well as interfaces such as PWM, SPI, I2C etc., which offer a wealth of hardware connection options.
- Good compatibility: the seamless integration with the Arduino IDE and the extensive development tools and libraries ensure a smooth learning curve and make it a good choice for beginners.
+
+
Overview
Specs
Reviews

Any questions? Our AI mode will help you find out quickly.
Try me now
Description: How to use?
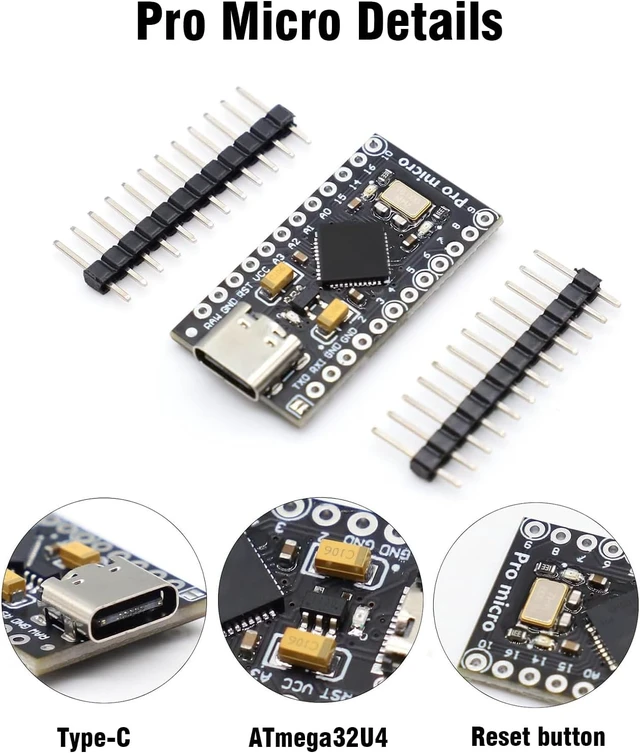
- Pro Micro development board adopts ATmega32U4 microcontroller, which supports connecting directly with computer through Type-C interface for programming and communication.
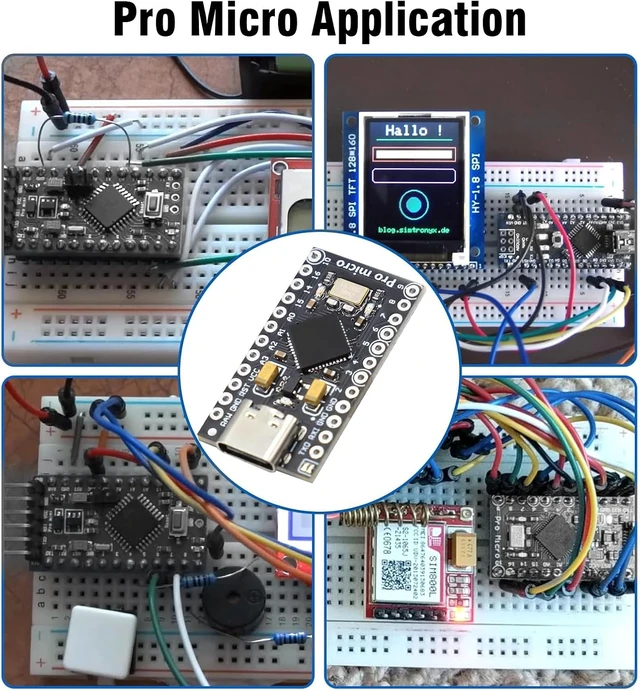
- Pro Micro supports 5V/16MHz operating voltage and frequency for Arduino development, with multiple I/O interfaces to support rich sensor and peripheral connections.
SRAM: 2.5 KB
EEPROM: 1 KB
Analog inputs: 9
Operating voltage: 5 V
Clock frequency: 16 MHz
Current per I/O pin: 40mA
Microcontroller: ATmega32U4
Recommended input voltage: 5 - 12 V
Flash memory: 32 KB, of which 4 KB is used for bootloaders
Digital inputs and outputs (I/O pins): 18 (including 5 PWM outputs)
Pro Micro Details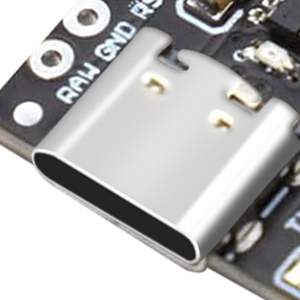
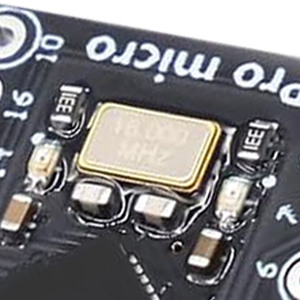

Features:
- The Pro Micro ATmega32U4 runs at 5 V/16 MHz
- Recommended power supply for the board: 6-7V, less than 9V
- On-board micro USB port for programming
- 4 x 10-bit ADC pins, 12 x digital I/Os
- Serial hardware ports Rx and Tx
How to use?- Connected to the computer. (If the module is not recognized by your computer, please install the driver first)
- Open IDE and load the blink skit.
- Set the board to Leonardo and select the appropriate COM port (it has already been identified as Leonardo in the list).
- One LED connected to pin 9 and modified the sketch accordingly.
- Press upload and have flashing LED within a few seconds.
Warranty & Returns
Warranty, Returns, And Additional Information
Warranty
- Please contact the Seller directly for warranty information. Warranty information may also be found on the Manufacturer's website.
- CONTACT
Return Policies
- Return for refund within: 30 days
- Return for replacement within: non-replaceable
- This item is covered by Glovibe Tech Return Policy
Manufacturer Contact Info
- For a directory of all our manufacturers, please click below.
- Manufacturers Directory
LOADING...