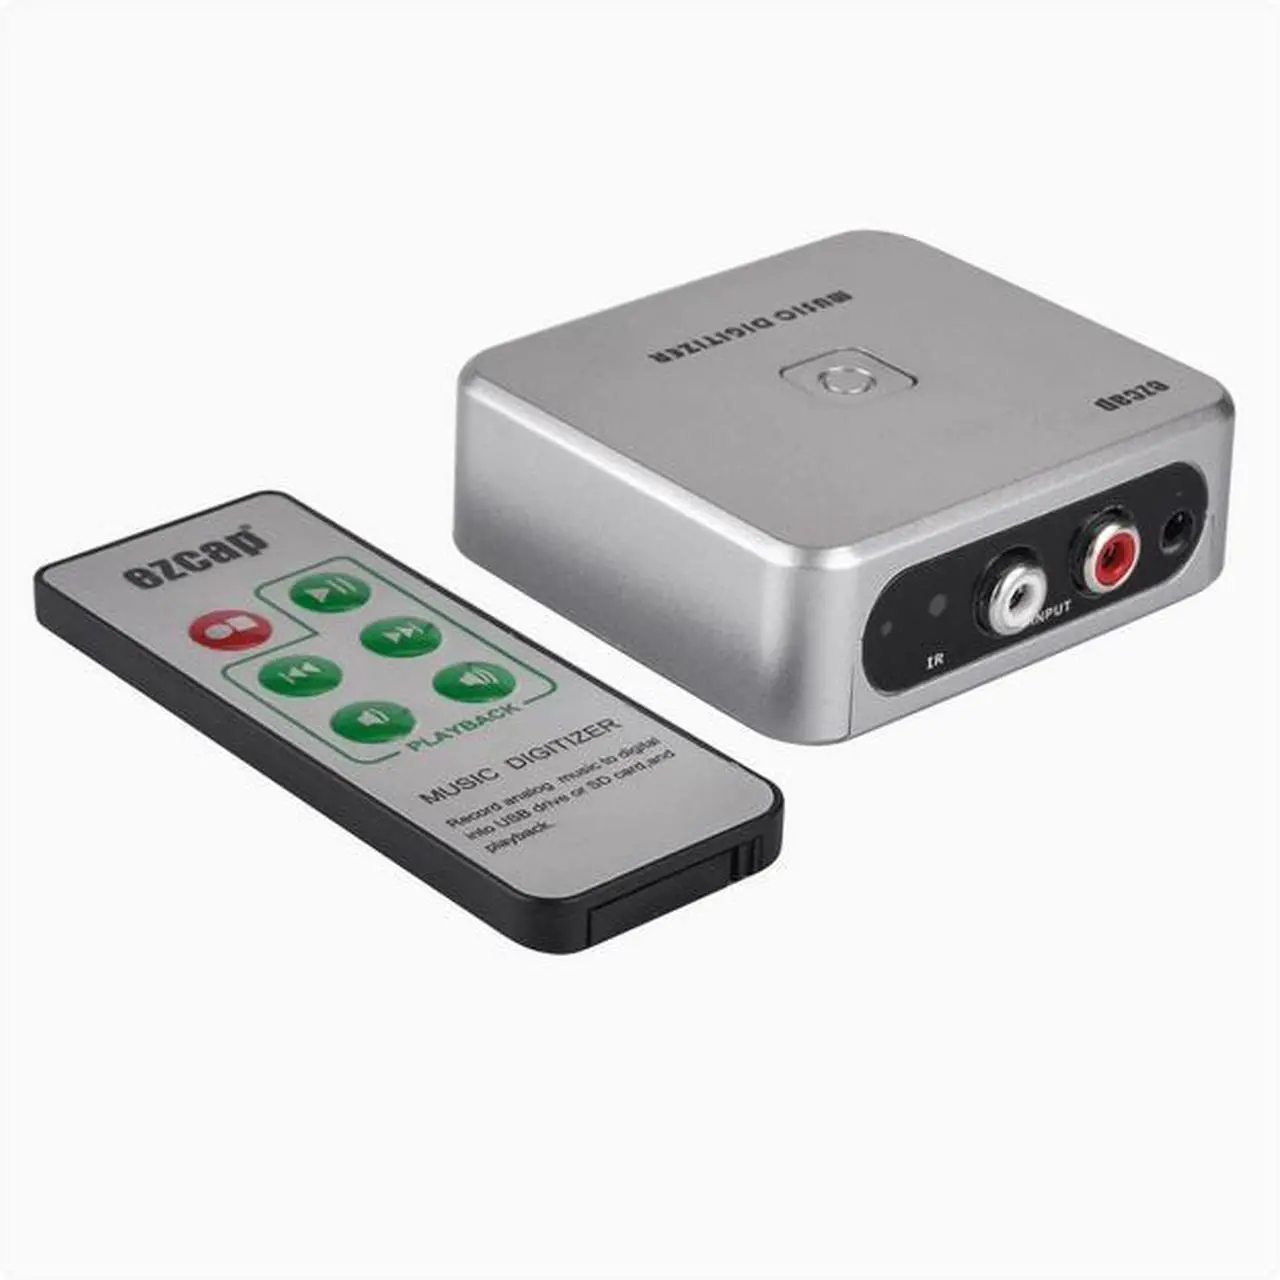
Connect one end of the mini USB cable to the power supply of the ezcap241 audio recording box and the other end to a computer USB or other ordinary 5V USB power supply (the vast majority of USB interfaces provide 5V DC power). Use a 35mm connection cable or an RCA left and right channel connection cable. One end is connected to the 3.5 mm audio line input jack or RCA left and right channel input jack of the ezcap241 audio recording box, and the other end is connected to the audio output interface of the audio source you need to record.
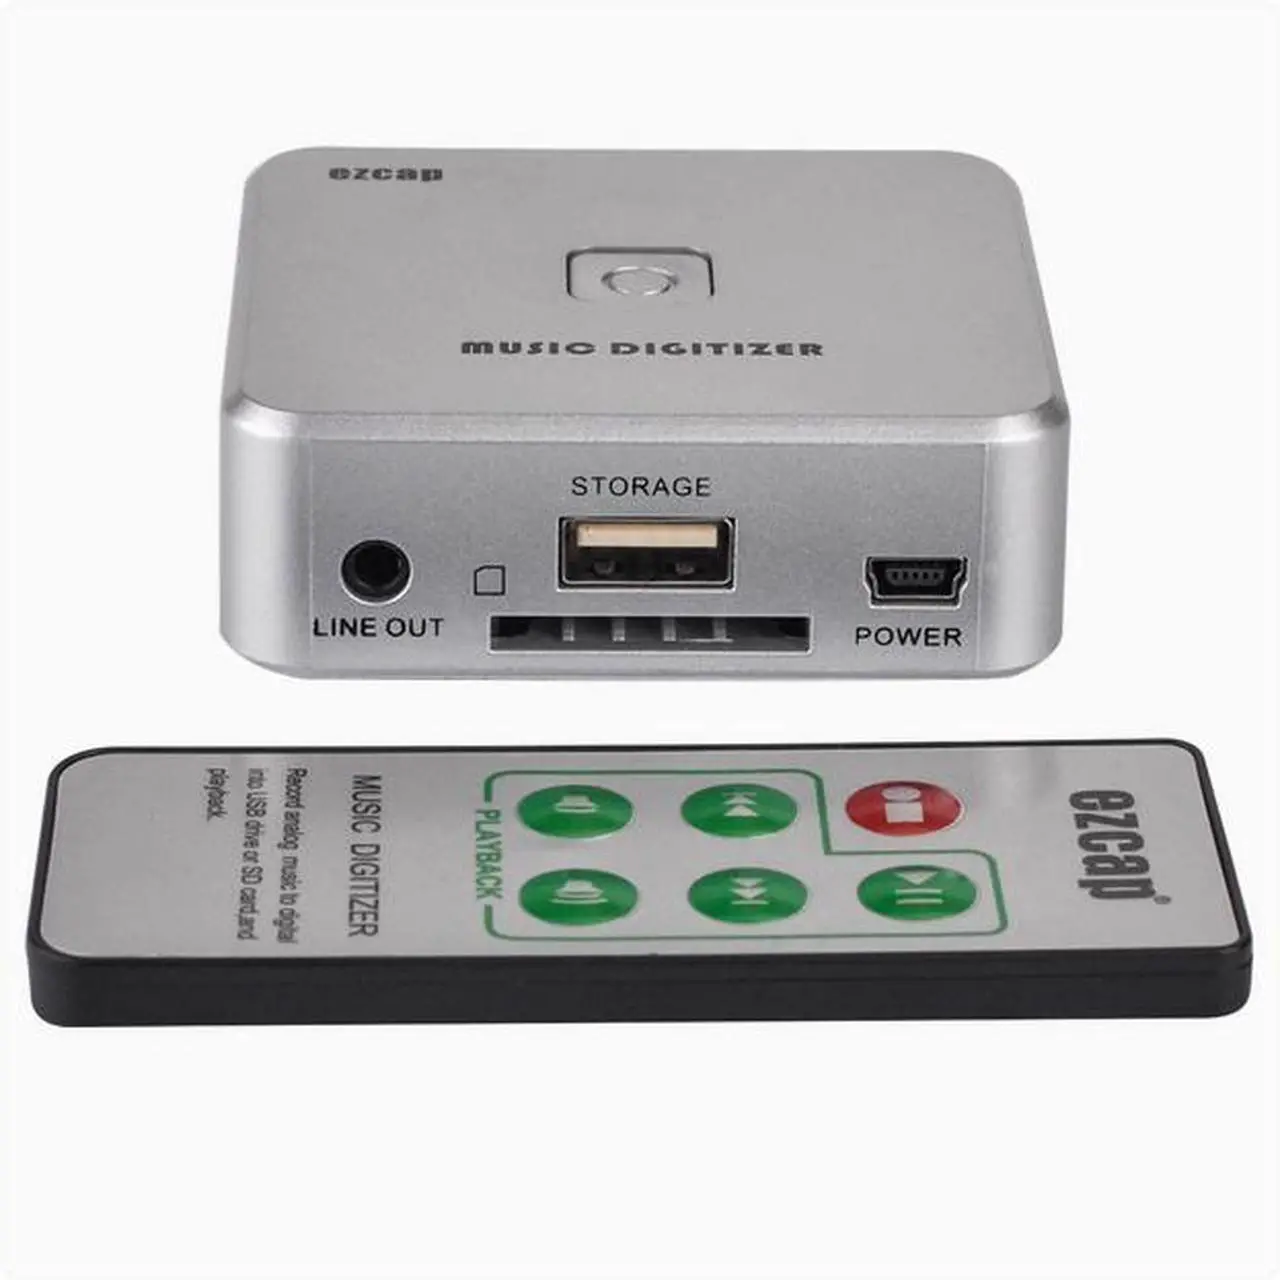
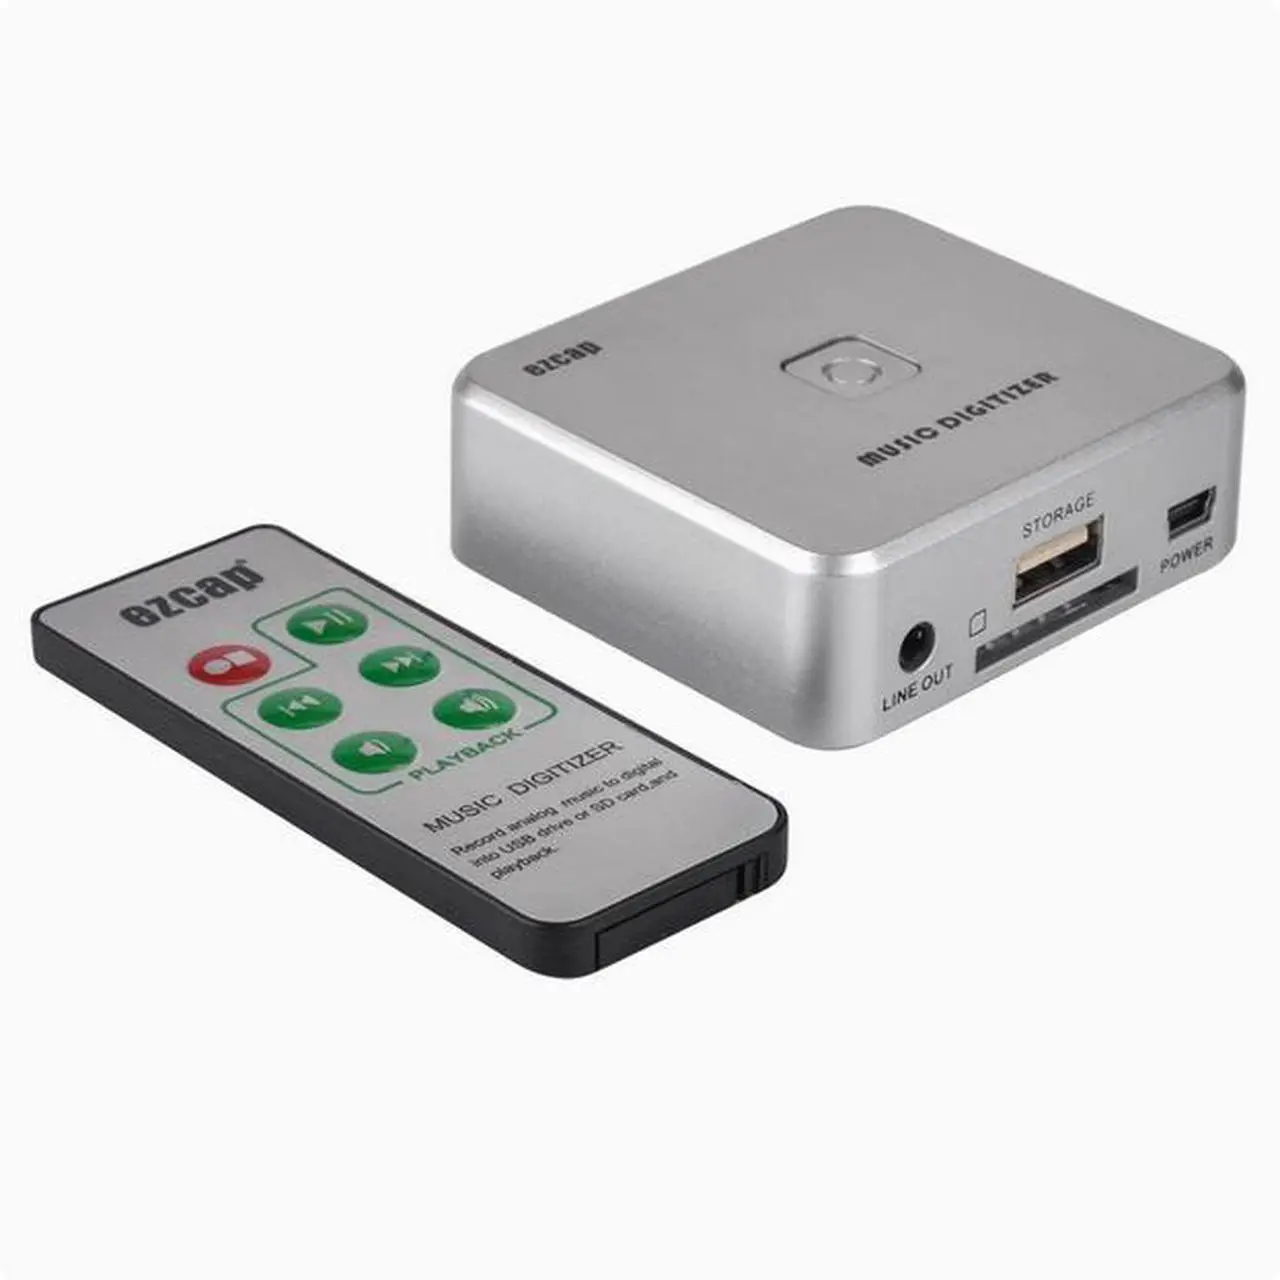
Connect the headphones to the 3.5 mm cable output jack for monitoring and other purposes. Insert a USB flash drive into the USB port or an SD card into the SD card slot to store the recorded audio files. Please ensure that the USB flash drive and SD card are not connected to the device simultaneously. Before inserting into the memory, please confirm that it is in FAT32 (FAT) format or exFAT format. The device does not support NTFS format. It is best to format it before use. At the same time, try not to keep any files or leave them empty inside.
Otherwise, if there are too many files, it may cause recording errors.
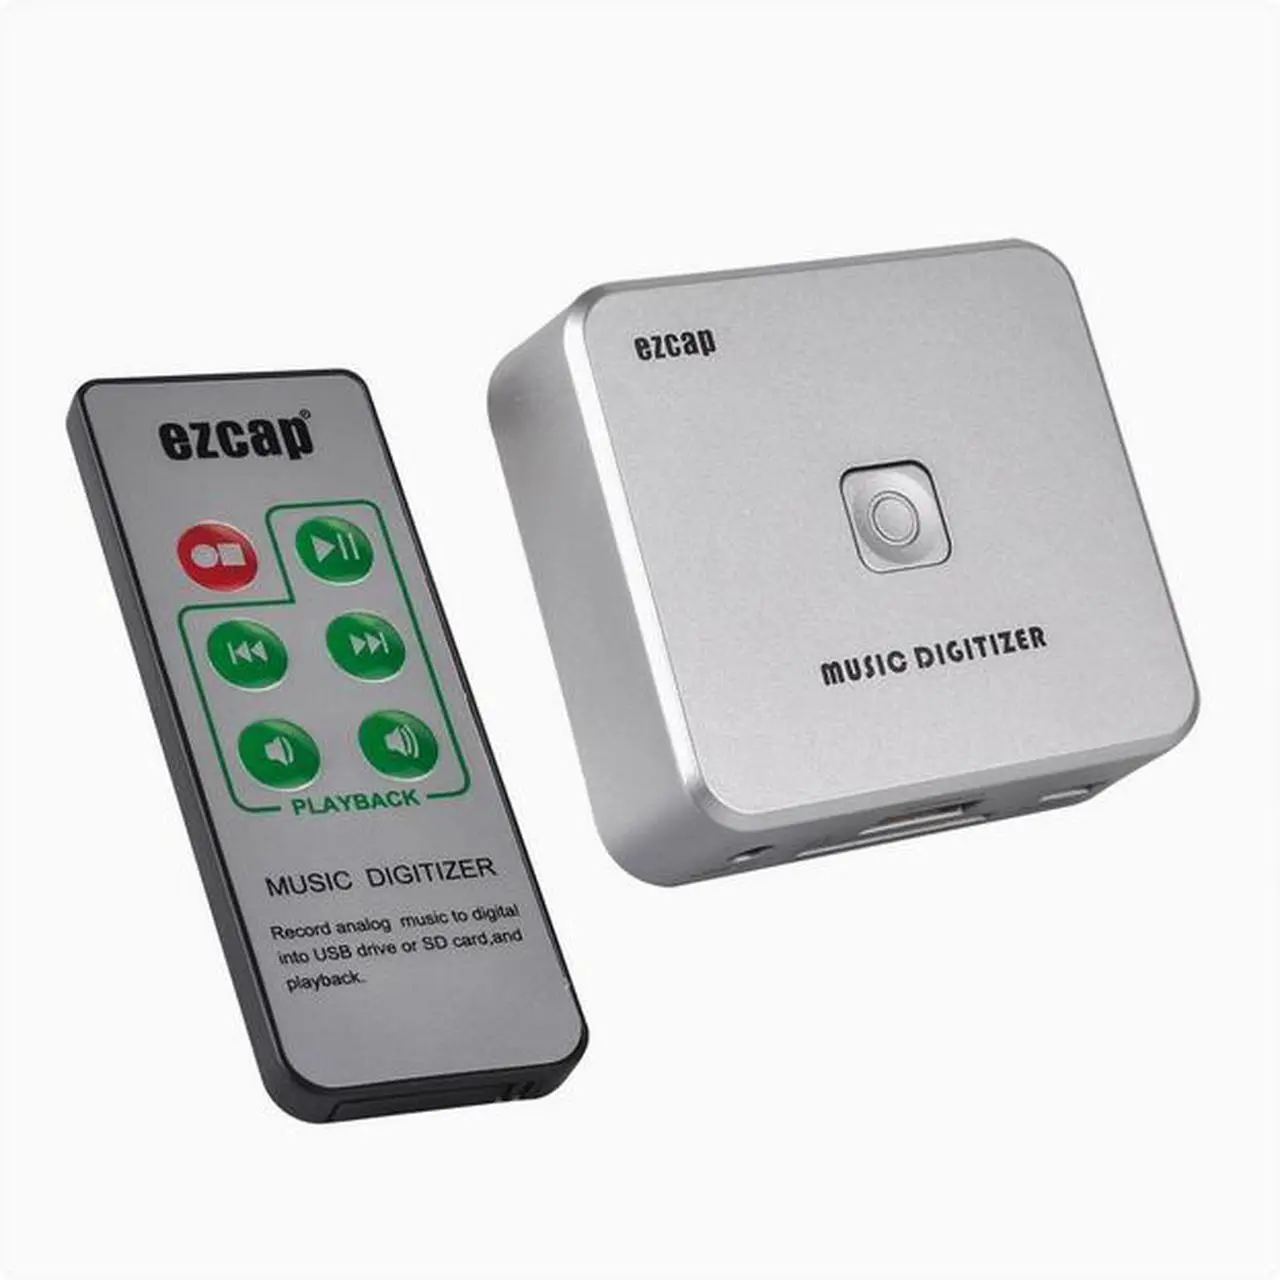
Now the ezcap241 audio recording box is in standby mode, with the green indicator light constantly on. This is the default state of the recording box. Just gently press the recording button on the recording box or the remote control. At this time, the green indicator light should be in a flashing state, indicating that the ezcap241 audio recording box has started to record the music being played on the audio source device. If the green indicator light is not flashing, it indicates that the recording has not started. Please reinplug or unplug the USB flash drive or SD card and try pressing the recording button again to start recording.
Pressing the recording button again will stop the recording. The ezcap241 audio recording box will save the recorded music in MP3 format and store it on the USB flash drive or SD card you insert. At this time, the green indicator light should be constantly on and the device should return to the standby state. Between two songs, if you want to save the previous song as a separate MP3 and start recording the NEXT song, please press the "Next Next" button on the remote control. At this time, the green indicator light will go off for about two seconds and start flashing again, indicating that the separate saving of the previous song has been completed and the recording of the next song has begun.