


Shyeeh, the guardian of safety since 2023. We are dedicated to developing carbon monoxide alarms that provide consumers with peace of mind. With high sensitivity, low false alarms and high cost-effectiveness, we strive to make every product precise and accurate to protect the safety of every family. Choose Shyeeh, choose a peace of mind and responsibility.
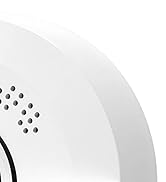
Smoke Detector
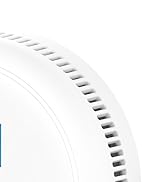
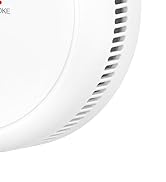
Smoke Carbon Monoxide Detector

Carbon Monoxide Detectors
CO Detector Plug in

2 in 1 CO&Gas Detector Plug in


Smoke Detector Portable
Carbon Monoxide Detectors


Smoke Carbon Monoxide Detector
Carbon Monoxide Detectors
Smoke Carbon Monoxide Detector
Carbon Monoxide Detectors Mini


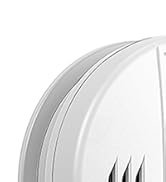
Easy Installation In Seconds
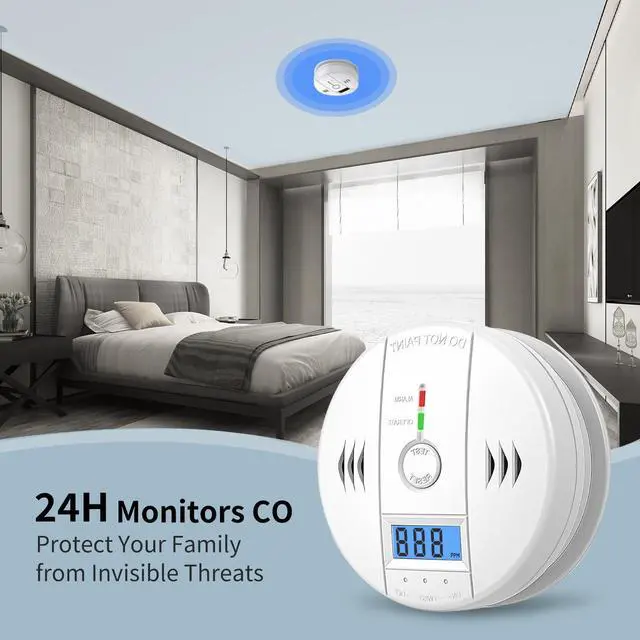
Installing the carbon monoxide detectors battery powered is easy and convenient. You can choose to mount co detector on the ceiling or wall using either the provided screws.

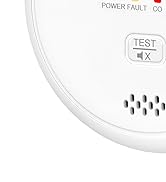
Self Test Funcation
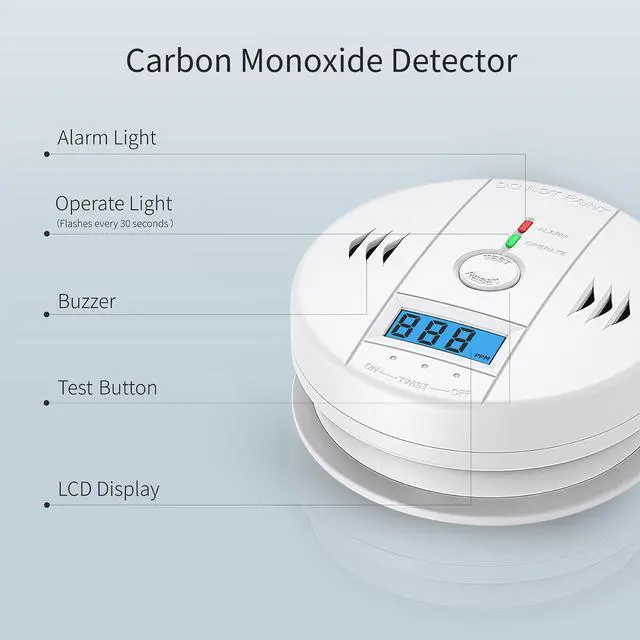
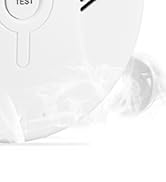
The Test/Reset button is used to test the co alarm, verify that the unit is functioning properly.
The carbon monoxide detectors needs to be tested weekly!

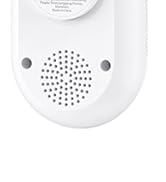
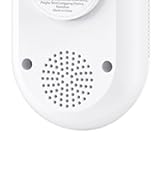
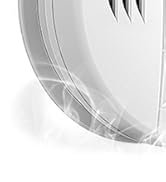
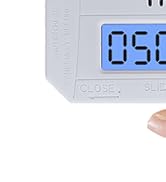
Loud 85 dB Alarm Sound
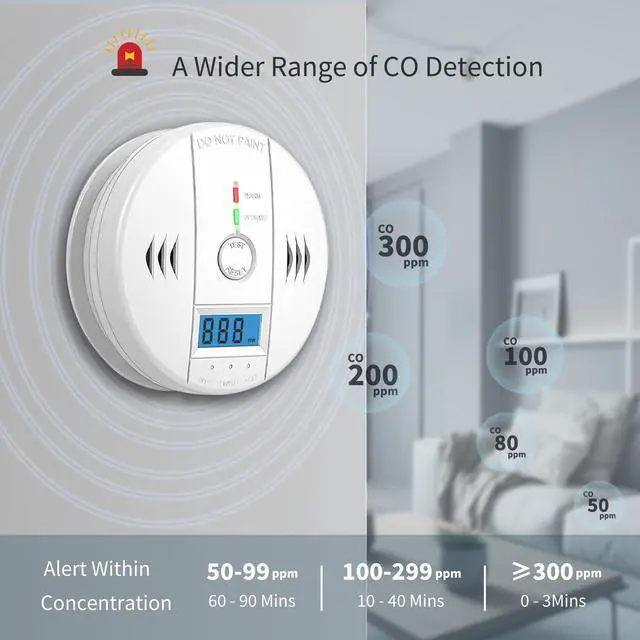
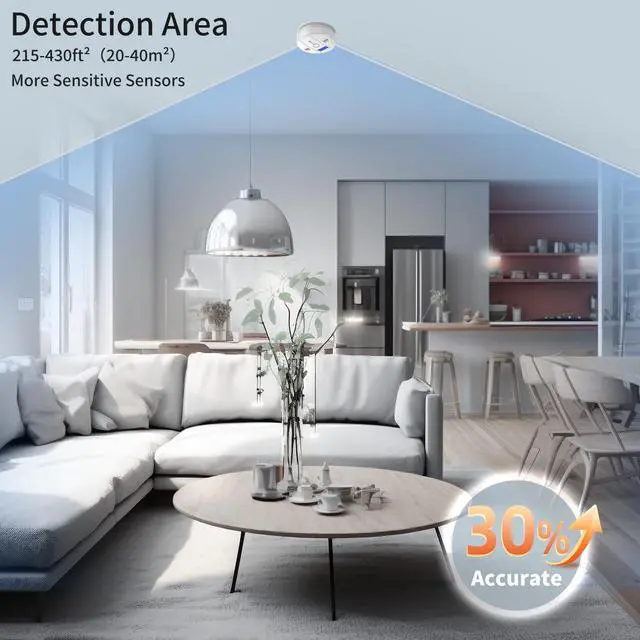
When the concentration of CO is = 50PPM, the co detector can quickly recognise and sound an alarm of 85dB or more. The co alarm can wake you up even when you are sleeping, which can win more time for you to escape.

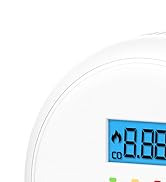
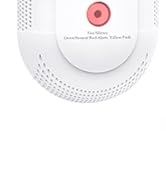
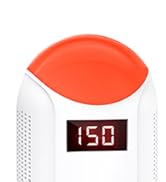
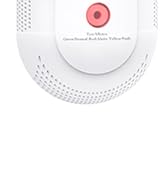
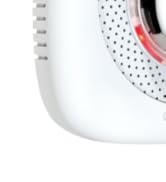
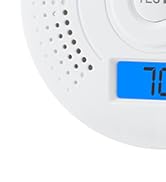
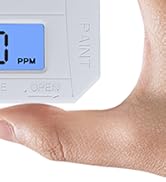
Intuitive LCD Display and LED
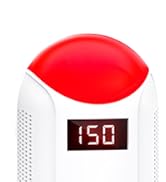
The LCD screen is clearly readable and can be used at any time to alert the surrounding carbon monoxide concentration changes.
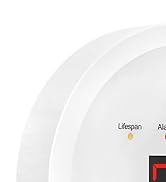
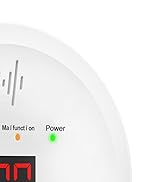
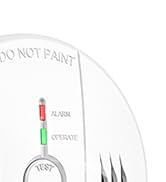
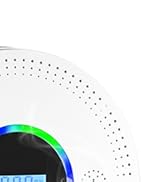
The green LED flashes every 30s to indicate the unit is operating properly; red LED is used to show the alarm status of the co detector.

Powering On
When three 1.5V AA batteries are inserted into the detector and powered on, the device will emit a “beeps” sound, the red LED will flash once, and “888” will be displayed on the LCD. At this time, press the test button, the device enters the self-test mode. During the self-test, the LCD will display “000”, the red LED will flash with 4 “beeps”, lasting two times in total. After that, the display will go dark and the green LED will flash once every thirty seconds, indicating that the alarm is functioning normally.
If the alarm does not show the above normal state, it means that the device is faulty. Please contact after-sales support.
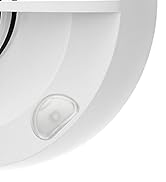
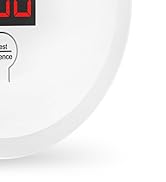
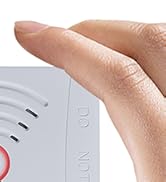
Test Button
After installation, press the test button to put the unit into self-test mode. During the self-test, the LCD will display “000” and the red LED of the alarm will flash with 4 “beeps” for a total of two times. After that, the display will go dark and the green LED will flash once every thirty seconds, indicating that the alarm is operating normally.
If the alarm does not show the above normal state, it means that the device is faulty. Please contact after-sales support.
Note: The device needs to be tested once a week!

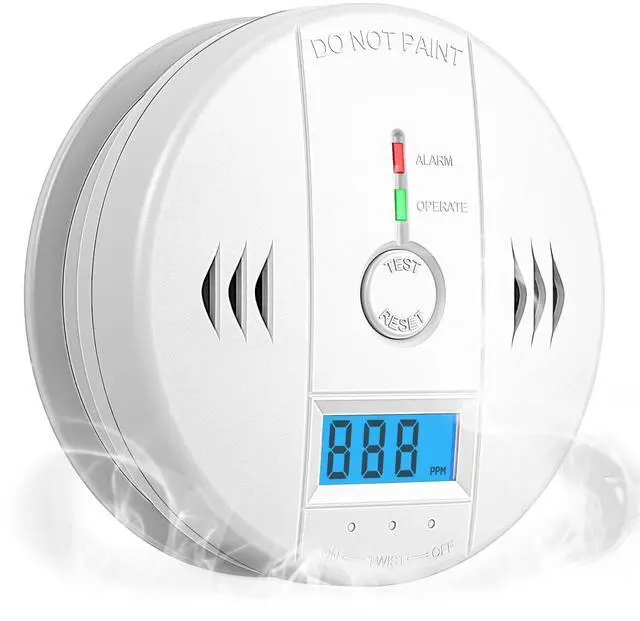
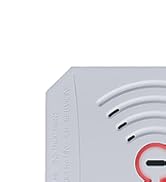
NOTE: This product is Carbon Monoxide Detectors, not a smoke alarm.
Installation and Guide:
- Remove the back cover from the back of the alarm by twisting the alarm.
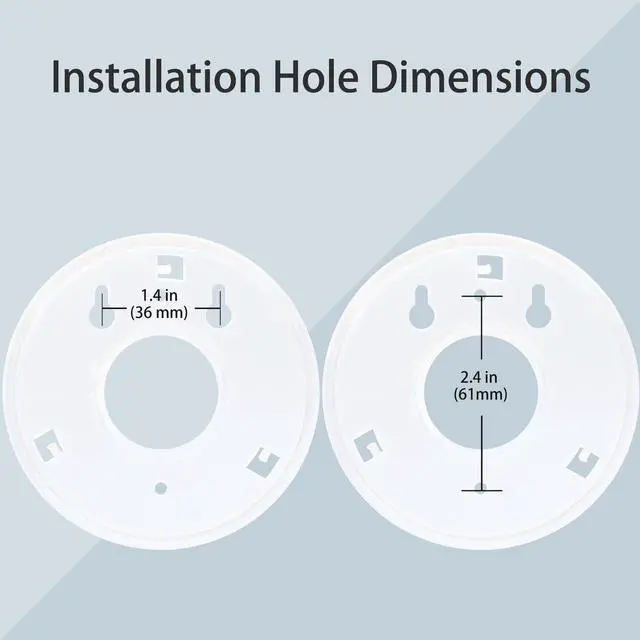
- After selecting the proper location for you CO Alarm, drilling two 5mm holes in the ceiling or wall vertically with the distance of 60mm.
- The order of installation is in order: plastic plugs, back cover (arrow facing down), screws, carbon monoxide detectors body.Matching the arrow on the back of the alarm with the arrow on the back cover to snap the alarm on the bracket by twisting the alarm.
- To test the alarm, press the test button, the LCD displays "000 "and the red LED blinks and sound "chirp" three times for a few seconds. Then the green LED blinks once every 30 seconds to indicate that the unit is operating normally.
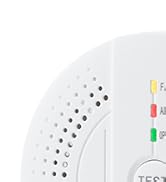
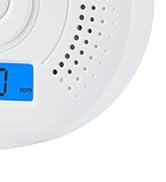
3 digits LCD displayer:
- "Err" on the LCD indicates that the unit is malfunctioning.
- Blue back light will be lighted when pressing the test botton or alarming.
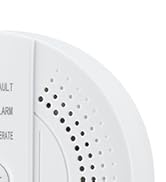
LED indicator Operation
Green LED: The green LED flashes every 30 seconds to indicate the unit is operating properly
Red LED: When a dangerous level of carbon monoxide is detected the red LED will flashes and the alarm pattern will sound.
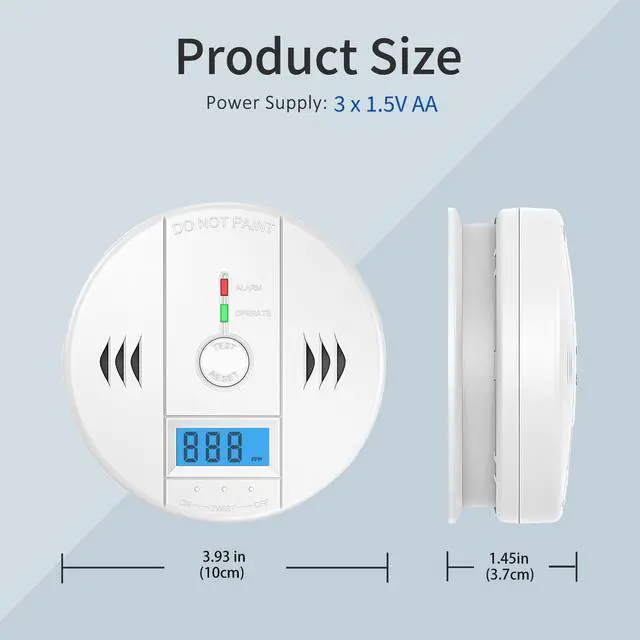
Battery Supply:3* AA 1 .5V batteries;Package Includes 1 x Carbon Monoxide Detectors ,2 x Expansion Screws ,2 x Anchor Plugs,1 x User Manual
 Smoke Detectors |  Carbon Monoxide Detectors |  2 in 1 Smoke and Carbon Monoxide Detectors |  Carbon Monoxide Detectors Plug in |  Gas & Carbon Monoxide detectors Plug in |  Smoke Detector | |
|---|---|---|---|---|---|---|
| Customer Reviews | — | — | — | — | — | — |
| Price | — | — | — | — | — | — |
| Detect Type | Smoke | CO | Smoke&CO | CO | CO&Gas | Smoke |
| Powered Source | 2*1.5V AA Batteries | 2*1.5V AA Batteries | 2*1.5V AA Batteries | 90V-240V AC | 90V-240V AC | 3*1.5V AAA Batteries |
| Battery Replacement Cycle | 18-24 Months | 18-24 Months | 18-24 Months | no data | no data | 8-12 Months |
| Item Size | Ø 3.85 x 1.65in | Ø 3.45 x 1.2in | Ø 4.1 x 1.33in | 4.7 × 2.75 × 2.2in | 4.7 × 2.75 × 2.2in | Ø3.75 x 1.65in |
| Mute Function | ? | ? | ? | ? | ? | ? |
| Memory Function | no data | no data | no data | no data | no data | no data |
Shyeeh, the guardian of safety since 2023. We are dedicated to developing carbon monoxide alarms that provide consumers with peace of mind. With high sensitivity, low false alarms and high cost-effectiveness, we strive to make every product precise and accurate to protect the safety of every family. Choose Shyeeh, choose a peace of mind and responsibility.
Smoke Detector
Smoke Carbon Monoxide Detector
Carbon Monoxide Detectors
CO Detector Plug in
2 in 1 CO&Gas Detector Plug in
Smoke Detector Portable
Carbon Monoxide Detectors
Smoke Carbon Monoxide Detector
Carbon Monoxide Detectors
Smoke Carbon Monoxide Detector
Carbon Monoxide Detectors Mini
Easy Installation In Seconds
Installing the carbon monoxide detectors battery powered is easy and convenient. You can choose to mount co detector on the ceiling or wall using either the provided screws.
Self Test Funcation
The Test/Reset button is used to test the co alarm, verify that the unit is functioning properly.
The carbon monoxide detectors needs to be tested weekly!
Loud 85 dB Alarm Sound
When the concentration of CO is = 50PPM, the co detector can quickly recognise and sound an alarm of 85dB or more. The co alarm can wake you up even when you are sleeping, which can win more time for you to escape.
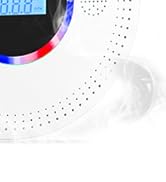
Intuitive LCD Display and LED
The LCD screen is clearly readable and can be used at any time to alert the surrounding carbon monoxide concentration changes.
The green LED flashes every 30s to indicate the unit is operating properly; red LED is used to show the alarm status of the co detector.
Powering On
When three 1.5V AA batteries are inserted into the detector and powered on, the device will emit a “beeps” sound, the red LED will flash once, and “888” will be displayed on the LCD. At this time, press the test button, the device enters the self-test mode. During the self-test, the LCD will display “000”, the red LED will flash with 4 “beeps”, lasting two times in total. After that, the display will go dark and the green LED will flash once every thirty seconds, indicating that the alarm is functioning normally.
If the alarm does not show the above normal state, it means that the device is faulty. Please contact after-sales support.
Test Button
After installation, press the test button to put the unit into self-test mode. During the self-test, the LCD will display “000” and the red LED of the alarm will flash with 4 “beeps” for a total of two times. After that, the display will go dark and the green LED will flash once every thirty seconds, indicating that the alarm is operating normally.
If the alarm does not show the above normal state, it means that the device is faulty. Please contact after-sales support.
Note: The device needs to be tested once a week!
NOTE: This product is Carbon Monoxide Detectors, not a smoke alarm.
Installation and Guide:
- Remove the back cover from the back of the alarm by twisting the alarm.
- After selecting the proper location for you CO Alarm, drilling two 5mm holes in the ceiling or wall vertically with the distance of 60mm.
- The order of installation is in order: plastic plugs, back cover (arrow facing down), screws, carbon monoxide detectors body.Matching the arrow on the back of the alarm with the arrow on the back cover to snap the alarm on the bracket by twisting the alarm.
- To test the alarm, press the test button, the LCD displays "000 "and the red LED blinks and sound "chirp" three times for a few seconds. Then the green LED blinks once every 30 seconds to indicate that the unit is operating normally.
3 digits LCD displayer:
- "Err" on the LCD indicates that the unit is malfunctioning.
- Blue back light will be lighted when pressing the test botton or alarming.
LED indicator Operation
Green LED: The green LED flashes every 30 seconds to indicate the unit is operating properly
Red LED: When a dangerous level of carbon monoxide is detected the red LED will flashes and the alarm pattern will sound.
Battery Supply:3* AA 1 .5V batteries;Package Includes 1 x Carbon Monoxide Detectors ,2 x Expansion Screws ,2 x Anchor Plugs,1 x User Manual
Smoke Detectors | Carbon Monoxide Detectors | 2 in 1 Smoke and Carbon Monoxide Detectors | Carbon Monoxide Detectors Plug in | Gas & Carbon Monoxide detectors Plug in | Smoke Detector | |
|---|---|---|---|---|---|---|
| Customer Reviews | — | — | — | — | — | — |
| Price | — | — | — | — | — | — |
| Detect Type | Smoke | CO | Smoke&CO | CO | CO&Gas | Smoke |
| Powered Source | 2*1.5V AA Batteries | 2*1.5V AA Batteries | 2*1.5V AA Batteries | 90V-240V AC | 90V-240V AC | 3*1.5V AAA Batteries |
| Battery Replacement Cycle | 18-24 Months | 18-24 Months | 18-24 Months | no data | no data | 8-12 Months |
| Item Size | Ø 3.85 x 1.65in | Ø 3.45 x 1.2in | Ø 4.1 x 1.33in | 4.7 × 2.75 × 2.2in | 4.7 × 2.75 × 2.2in | Ø3.75 x 1.65in |
| Mute Function | ? | ? | ? | ? | ? | ? |
| Memory Function | no data | no data | no data | no data | no data | no data |