Your Browsing History

- Free 30-day Returns
$39.90
Ships from China.

Meet Your Seller
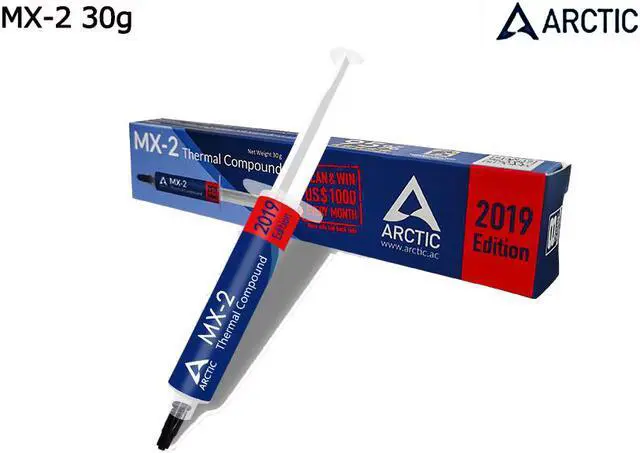
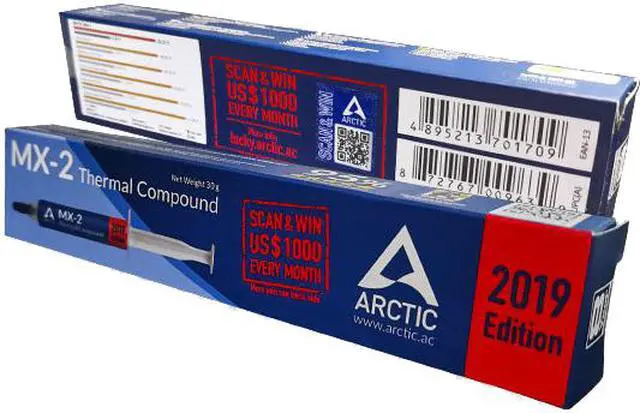
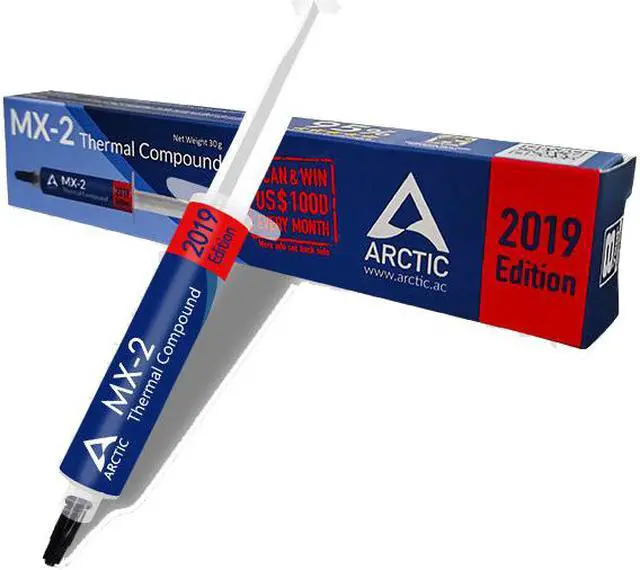


ARCTIC COOLING Carbon-Based Thermal Compound MX-2 30g 2019 Edition Paste Cooler Grease 5.6W/mK Water Cooling Conductive Heatsink Plaster Cooler High Performance Thermal Past
- High long-term stability
- Thermal conductivity5.6 W/mk
- Extremely high thermal conductivity
- Carbon microparticles-based
- Does not degrade like metal or silicon compounds
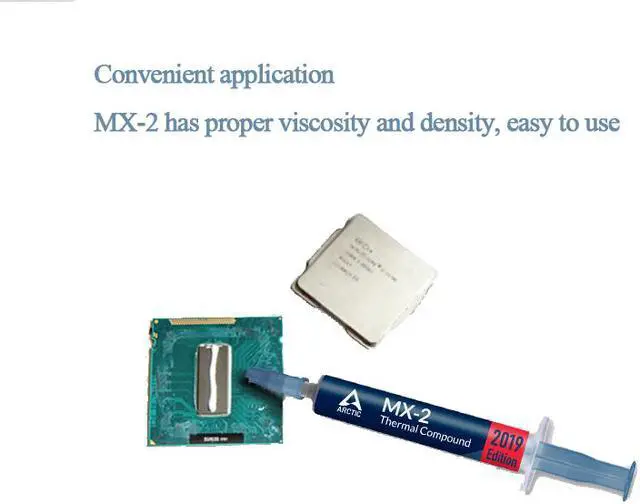
- Convenient 30 gram syringe, making this thermal paste very easy to apply
- Designed with extremely demanding applications
- Popular choice for overclockers and extreme gamers

+
+
Overview
Specs
Reviews
Any questions? Our AI beta will help you find out quickly.
Try me now
MX-2 is a high thermal conductivity and low thermal resistance compound for components that require optimum thermal dissipation. It is ideally suited for use in CPU, GPU cooling and other applications between power semiconductor components and heat sinks where thermal conductivity is a major factor.
Maximizes Heat Transfer
The high-performance Arctic cooling MX-2 thermal compound eliminates minute air gaps between the heat source and the heat sink caused by their uneven surfaces for the optimized heat transfer.
Electrical Insulator
Having no metal or any other conductive material, the Arctic cooling MX-2 thermal compound cannot result in any damage even when it contacts to electrical traces, pins and leads.
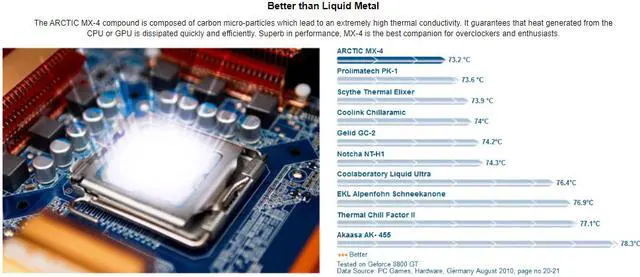
Better than Liquid Metal
The ARCTIC MX-2 compound is composed of carbon micro-particles which lead to an extremely high thermal conductivity. It guarantees that heat generated from the CPU or GPU is dissipated quickly and efficiently. Superb in performance, MX-2is the best companion for overclockers and enthusiasts.
Easy to Apply
With an ideal consistency, the MX-2 is very easy to use, even for beginners.
Safe Application
It does not contain any metallic particles so electrical conductivity would not be an issue. Unlike silver and copper compound, it ensures that contact with any electrical pins would not result in damage of any sort.
High Durability
In contrast to metal and silicon thermal compound, the performance of MX-2 does not compromise over time. Once applied, you do not need to apply it a second time as it will last at least for 8 years.
Features: - Designed especially for overclocking- High Thermal Conductivity Dissipating Heat Efficiently - No cure time- High long-term stability
Electrical conductivity: 0 pS/m
Ideal Applications: CPU / GPU Thermal
Thermal Conductivity: 5.6 Wm / K
Viscosity: 850 poise
Specific gravity: 3.69g/cm³
Content: 30g
Must see before installing CPU:
1. Remove the original CPU, clean up the dust on the fan and heat sink, and clean up the original silicone grease remaining on the heat sink, especially the hardened silicone grease. This is very important!
2. Insert the newly bought CPU in the correct direction and apply a layer of silicone grease on the top of the CPU. Take the small sticks of silicone grease in the needle tube as an example, squeeze 2-3 small grids of silicone grease on it.)
3. Reinstall the heat sink, first press the heat sink with your fingers and move it up and down, left and right, let the silicone grease inside spread out evenly and exhaust air, and then follow the numerical order marked on the fixing screw on the heat sink (or diagonally) Tighten the screws one by one, turn a few times each time, and then unscrew one screw. Don't screw one screw to the end, rotate one by one until the balance is fixed.
Maximizes Heat Transfer
The high-performance Arctic cooling MX-2 thermal compound eliminates minute air gaps between the heat source and the heat sink caused by their uneven surfaces for the optimized heat transfer.
Electrical Insulator
Having no metal or any other conductive material, the Arctic cooling MX-2 thermal compound cannot result in any damage even when it contacts to electrical traces, pins and leads.
Better than Liquid Metal
The ARCTIC MX-2 compound is composed of carbon micro-particles which lead to an extremely high thermal conductivity. It guarantees that heat generated from the CPU or GPU is dissipated quickly and efficiently. Superb in performance, MX-2is the best companion for overclockers and enthusiasts.
Easy to Apply
With an ideal consistency, the MX-2 is very easy to use, even for beginners.
Safe Application
It does not contain any metallic particles so electrical conductivity would not be an issue. Unlike silver and copper compound, it ensures that contact with any electrical pins would not result in damage of any sort.
High Durability
In contrast to metal and silicon thermal compound, the performance of MX-2 does not compromise over time. Once applied, you do not need to apply it a second time as it will last at least for 8 years.
Features: - Designed especially for overclocking- High Thermal Conductivity Dissipating Heat Efficiently - No cure time- High long-term stability
Must see before installing CPU:
1. Remove the original CPU, clean up the dust on the fan and heat sink, and clean up the original silicone grease remaining on the heat sink, especially the hardened silicone grease. This is very important!
2. Insert the newly bought CPU in the correct direction and apply a layer of silicone grease on the top of the CPU. Take the small sticks of silicone grease in the needle tube as an example, squeeze 2-3 small grids of silicone grease on it.)
3. Reinstall the heat sink, first press the heat sink with your fingers and move it up and down, left and right, let the silicone grease inside spread out evenly and exhaust air, and then follow the numerical order marked on the fixing screw on the heat sink (or diagonally) Tighten the screws one by one, turn a few times each time, and then unscrew one screw. Don't screw one screw to the end, rotate one by one until the balance is fixed.
Warranty & Returns
Warranty, Returns, And Additional Information
Warranty
- Please contact the Seller directly for warranty information. Warranty information may also be found on the Manufacturer's website.
- Read full details
- CONTACT
Return Policies
- Return for refund within: 30 days
- Return for replacement within: 30 days
- This item is covered by BRIGHTOR Return Policy
Manufacturer Contact Info
- For a directory of all our manufacturers, please click below.
- Manufacturers Directory
LOADING...