The PC industry has some amazing machines available at all kinds of price points, including desktops and notebooks that cost just a few hundred dollars but can still get real work done. Really, there’s never been a better time to buy or build a PC if you have the budget and the requirements for something higher-end.
However, those are full-size machines with relatively powerful components that are overkill for many projects, and the cost can be prohibitive for someone who wants to try their hand at new things. Because of this, there’s always been a need for extremely low-cost and tiny computers that can be used for anyone whose requirements are a bit less extreme.
That’s where Raspberry Pi came in, as one of the first very inexpensive, single-board computers that squeezes everything one might need to create a “real” PC into a tiny, and still highly configurable, package. Given its size and cost, Raspberry Pi is also very popular among the Maker crowd, or those who are into building technological do-it-yourself projects such as general electronics, robotics, and much more.
In fact, the importance of the Raspberry Pi’s low cost can’t be overstated. Spending a couple of hundred dollars — or more — on an entry-level PC for a hobbyist project is daunting for many people. Spending $25 or so for everything you need to build a fully functional PC is another. And the general flexibility of the Raspberry Pi platform (its “hackability,” if you will) makes that low price of entry even more important.
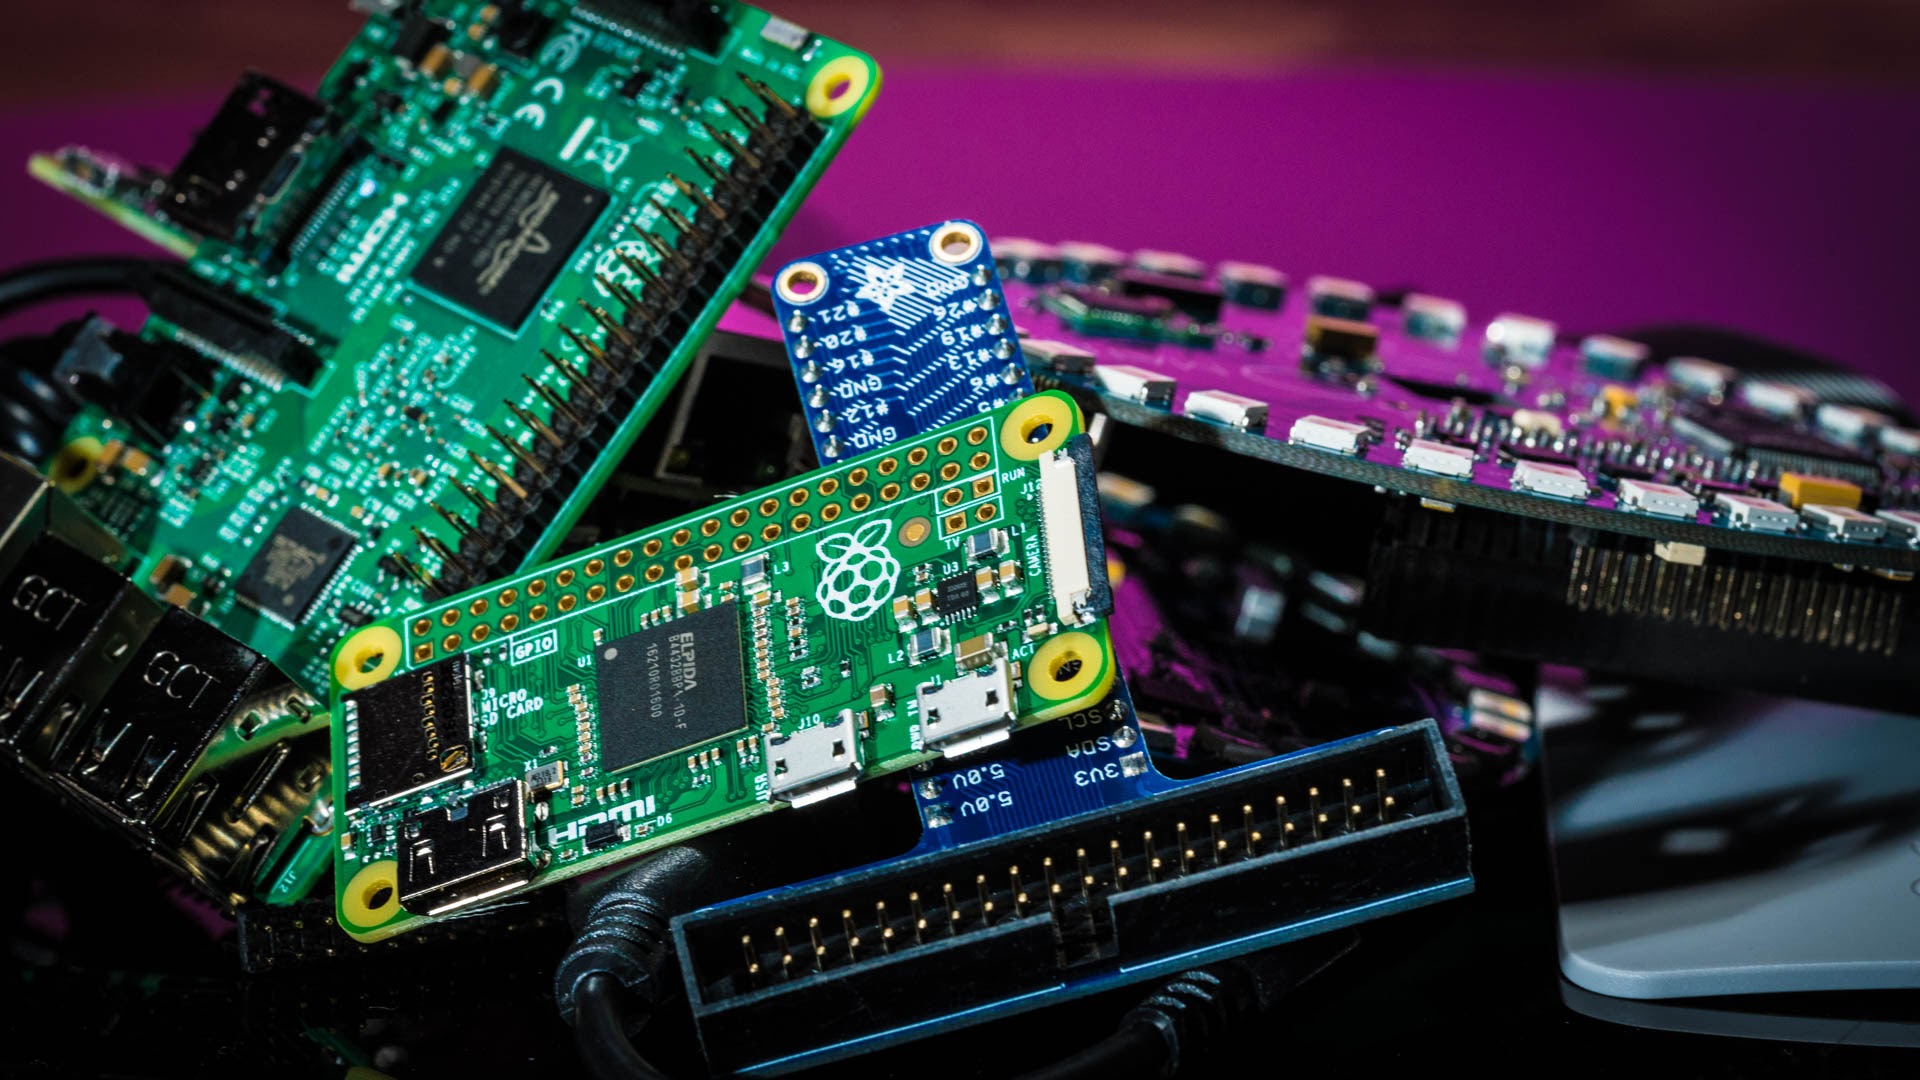
We looked at one low-cost Raspberry Pi offering, the Raspberry Pi Zero Bundle, to explore what can be done with minimal investment. While you can buy the Raspberry Pi Zero by itself for a measly $5 retail price, selecting a bundle removes much of the guesswork involved with picking the right components. One thing to note about Raspberry Pi Zeros— they are in hot demand. Due to the low cost and flexibility you might consider these good buy options rare-finds.
Of course, buying a bundle doesn’t mean you’re finished. There’s an entire cottage industry that’s popped up around the Raspberry Pi, and chances are you’ll think of new ways to use the device and more components that you’ll need.
What is Raspberry Pi Zero?
The Raspberry Pi 1 Model B was the original version introduced in February 2012. The Model A was next, and the Raspberry Pi 2 followed along with expanded memory. The Raspberry Pi 3 is the most modern “full-speed” model and is priced at around $35 by itself, and importantly it maintains complete compatibility with the first two versions.
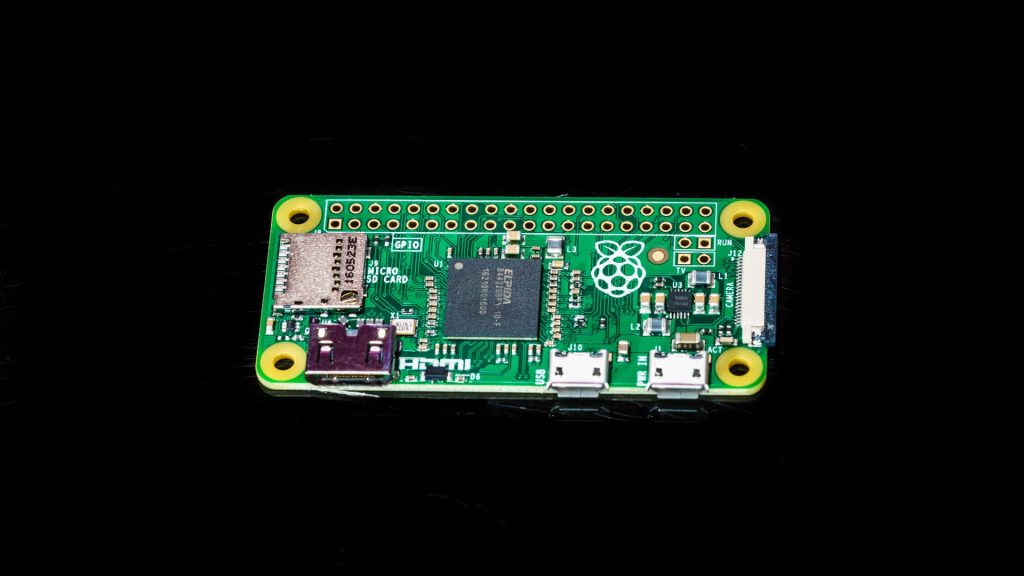
The Raspberry Pi Zero was introduced in 2016 as an extremely low-cost model, and it’s currently at version 1.3. It utilizes the same Broadcom BCM2835 ARM processor as the original Raspberry Pi, running at 1GHz. In addition to the difference in processor speeds between the Raspberry Pi 3 and Zero, the latter includes far less built-in functionality and uses an older version of the ARM architecture and so has some limitations in terms of software support. It’s much smaller in stature as well as in price.
Here are the specifications for each version:
| Raspberry Pi 3 |
Raspberry Pi Zero | |
| System on Chip | Broadcom BCM2837 | Broadcom BCM2835 |
| Architecture | ARMv8-A (64/32-bit) | ARMv6Z (32-bit) |
| Processor cores | 4 | 1 |
| Graphics Processor Unit | Broadcom VideoCore IV | Broadcom VideoCore IV |
| Video Supported | 1080p @ 60Hz | 1080p @ 30Hz |
| CPU Speed | 1.2GHz | 1.0GHz |
| Memory | 1GB RAM | 512GB |
| USB Ports | 4 | 1 |
| Ethernet | 10/100Mb/s Port | None |
| Wi-Fi | 802.11n | None |
| Bluetooth | Bluetooth 4.1 | None |
| Video | HDMI, 3.5mm composite, DSI | Mini-HDMI Composite via PCB |
| Audio | 12S , HDMI, 3.5mm composite | 12S , Mini-HDMI |
| Camera Connection | 15-pin CSI | 15-pin CSI |
| Number of General Purpose Input/Output (GPIO) Pins | 40 | 40 |
| GPIO Functionality | 17 x GPIO UART 12C SPI12S 1-Wire 3.3V/5V/GND EEPROM |
17 x GPIO UART 12C SPI12S 1-Wire 3.3V/5V/GND EEPROM |
| Storage | MicroSD | MicroSD |
| Size | 85.6mm x 56.5mm x 17.0mm | 65mm x 30mm x 5mm |
| Power Requirements | 300mA – 1.3A | 100mA – 350mA |
| Power Supply | microUSB 5V @ 2.5A | microUSB 5V @ 2.5A |
There’s an even newer version of the Raspberry Pi Zero, the Raspberry Pi Zero Wireless, that includes built-in Wi-Fi and Bluetooth. It’s more expensive at $10, but is otherwise identical and saves the need to plug in a Wi-Fi dongle to access the internet.
All of this means that for a fraction of the price, you can opt for a version of the Raspberry Pi that’s a bit slower, has less RAM, and doesn’t build in as much connectivity or software support but that trades all of that for a smaller, simpler design. Depending on your project, the Raspberry Pi Zero might be all that you need.
What can you use it for?
The Raspberry Pi family can be used for a variety of projects. At the very least, it’s an excellent tool for learning about computers, both hardware and software, and for getting your feet wet in the Maker movement. Beyond just its educational value, though, Raspberry Pi can be used to inexpensively create some useful devices.
To get started with the Raspberry Pi, you’ll need to install an operating system. The official OS is Raspbian, which is based on Debian Linux, is optimized for Raspberry Pi, and uses the Raspberry Pi Desktop. It also comes loaded with a number of educational and other software to get you started. The easiest way to install Raspbian is to use NOOBS, the Raspberry Pi Foundation’s installer utility.
When you copy NOOBS to a microUSB card and boot the Raspberry Pi, you’ll be presented with a list of OS options. For newer Raspberry Pi models, the list includes Raspbian, OSMC (Open Source Media Center), OpenELEC, Windows 10 IoT Core, and RISC OS Open. Other OSes are available, but some only work with the more recent version of the ARM architecture that’s used in the Raspberry 2 and 3.
Because the Raspberry Pi Zero uses an older ARM architecture, your best bet is to stick with Raspbian. In addition, regardless of the Raspberry Pi version, which OS you choose might depend on your project.
And speaking of that, here are just a few of the kinds of projects that a Raspberry Pi Zero can power:
- Entry-level PC: Of course, you can always use a Raspberry Pi Zero as the brains of your own PC. It won’t break any speed records, but attach a display, keyboard, and mouse, and you can use it as a low-cost way to get started with Linux and in general learn how computers work. There are even kits available to build your own Raspberry Pi notebook.
- Retro gaming system: Pop the Raspberry Pi Zero in a case, attach it to a display, and connect a USB game pad and you can create your own system that’s capable of emulating a retro gaming system such as the NES, SNES< Nintendo 64, and more. The trick is to install RetroPie and follow along with the instructions on the developer’s site.
- Network-attached storage (NAS) device: Connect the Raspberry Pi to an external hard drive and use it as a very inexpensive way to create some networked storage. Add some media server software, such as Plex, and you can even use it to serve up movies and TV shows.
- Artifical Intelligence assistant: Yes, that’s right. Thanks to Google and its AIY Projects, you can create your own Google Assistant device with its Voice Kit that can use Google’s AI and a voice kit that can recognize natural language. Or, choose the Vision Kit that uses TensorFlow and an camera that can see and recognize objects.
- Networked printer: If you have a non-networked printer sitting around, you can use a Raspberry Pi to connect it to your network and make it available to your network PCs.
- Home theatre PC (HTPC): Install the OSMC or Plex and you can play movies and TV shows on your TV. It’s a more powerful alternative to some other devices such as Chromecast if you have your own collection of videos to access.
In addition, there’s a wealth of educational projects that you can access to learn about computer hardware and software, programming, science, robotics, and hundreds of other topics. Check out the Raspberry Pi Foundation’s list of projects for ideas.
What is included in the bundle?
Now that we’ve covered the basics about the Raspberry Pi Zero itself, let’s look at what’s included in the bundle that’s the centerpiece of this overview. There are scores of bundles available that are aimed at specific projects. This one is a more general collection of components that can be mated with a variety of other parts as needed.
Basically, there are a few components necessary to get started with the Raspberry Pi Zero. In addition to the computer itself, you’ll need the following:
- An SD card for storage
- A display at least to get the OS installed and running
- A USB keyboard and mouse for controlling the computer and entering information and commands
- A USB hub for connecting multiple USB devices
- A power supply
- A wireless or ethernet controller if you want your computer to be networked
- Headphones or speakers if you need audio
The bundle that we are considering here doesn’t include some of these items, such as the display, keyboard, and mouse, but it does include the cabling required to connect many of them along with the electronics needs to expand your project. You can follow these instructions to get started with your Raspberry Pi Zero.
Here’s what’s included in the bundle, along with a simple description of each component’s function:
- Raspberry Pi Zero v1.3: the computer itself
- 1v 2A microUSB power supply: use this to power the computer.
- 8GB microUSB card: For storage and for booting the computer to he chosen operating system.
- USB OTG cable: OTG stands for “On-TheGo,” and a USB OTG cable allows connecting a variety of peripherals to a computer via a USB port. In this case, the cable is a host cable that converts from microUSB to a full-size USB-A port.
- Mini-HDMI to HDMI adapter: Allows connecting the computer to an external display using HDMI, which will transfer both video and audio signals.
- Adafruit T-Cobbler Plus: This is a GPIO (general purpose input-output) breakout that allows you to connect a variety of external devices to your Raspberry Pi Zero. It provides the pin strip, 40-pin ribbon cable, and the T-Cobbler breakout itself that can be plugged into a solderless breadboard. This is fairly technical and something you’ll learn as you complete a project, and so don’t fret if you don’t understand it yet. Think of it as the conduit for passing a variety of electrical signals to allow you to expand your Raspberry Pi computer.
- 6’ HDMI 1.4 cable: This connects from the HDMI adapter to an external display.
Using just this bundle, you could create a simple PC capable of running the Raspbian OS using your own display, keyboard, and mouse. The additional components, including the T-Cobbler Plus, then allow you to expand the computer in a variety of ways – limited only by your imagination.
Pi Time
The Raspberry Pi platform is a great way to break into the Maker community and learn how to build and program a computer. It’s a relatively low-cost entry as well, meaning that if you break something, you won’t be out hundreds of dollars. And if you have more than one project you’d like to undertake, then you can simply pick up a few bundles like the one we’ve described here for less than you’d spend on a single entry-level PC using more mainstream components.