
As a modern operating system, Windows 10 provides comprehensive networking support that spans everything from home wireless networks to large corporate networks. There’s essentially no limit to the types and number of networks you can connect with using a Windows 10 PC.
That introduces a fair amount of complexity to the operating system. It’s no surprise, then, that Windows 10’s tools for managing the networks you use are many and comprehensive. In this guide, we’re going to cover the most important tools that the typical home user might need to keep their Windows 10 PCs connected and communicating. We’ll skip over some of the more detailed topics that require in-depth networking knowledge to understand.
Windows 10 Settings
Windows 10’s networking configuration is so complex that it’s actually distributed between two different settings locations. You can go to Windows 10 Settings for a number of configuration options, while you’ll need to go to the old-school Control Panel for others. It’s not universally true, but chances are that unless you’re looking to do something really complex, you’ll spend most of your time in Settings.
Further complicating matters, some of the options available in Settings will actually send you to a Control Panel tool. We’ll make note of when that’s the case.
Connecting to a wireless network
The task that most users are apt to perform more often than any other is connecting to a wireless network. Usually this is done just once, unless something in the network changes. Make the initial connection, and your PC will reconnect whenever it’s in range.
The easiest way to connect to a wireless network is to click the network icon in the system tray. Doing so will pop up a list of available networks with information about whether they’re open or secure. From this pop-up, you can also turn the wireless radio on and off, switch to airplane mode (which turns off all radios, including Bluetooth), and set up a mobile hotspot for sharing a network connection with other PCs.
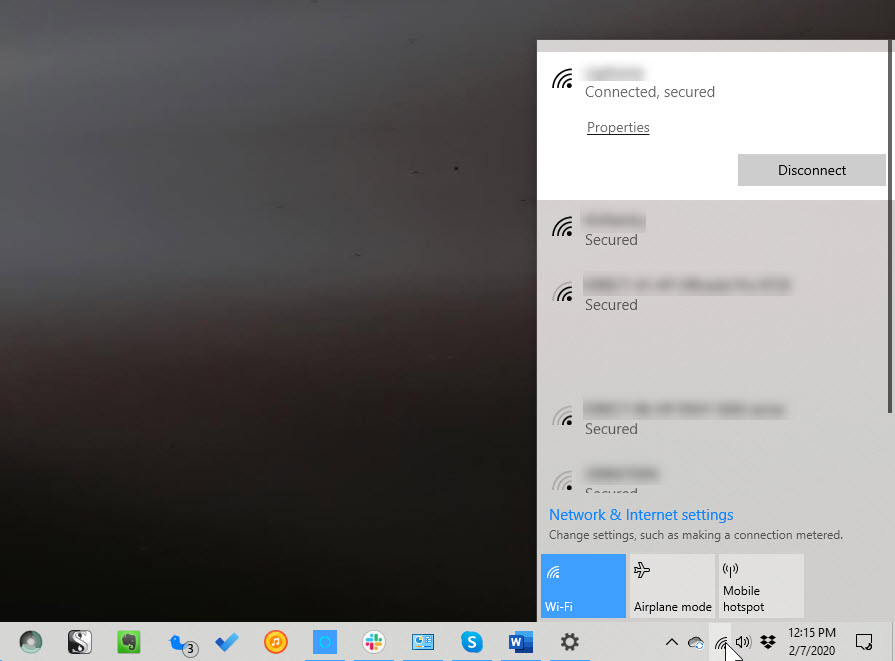
If you’ve already connected to a network and have it selected to automatically connect, it will be first in the list of available networks. Of course unless there’s an issue you’ll already be connected to it and accessing its resources. You can click on Properties to open the appropriate settings page and access a variety of configuration options.

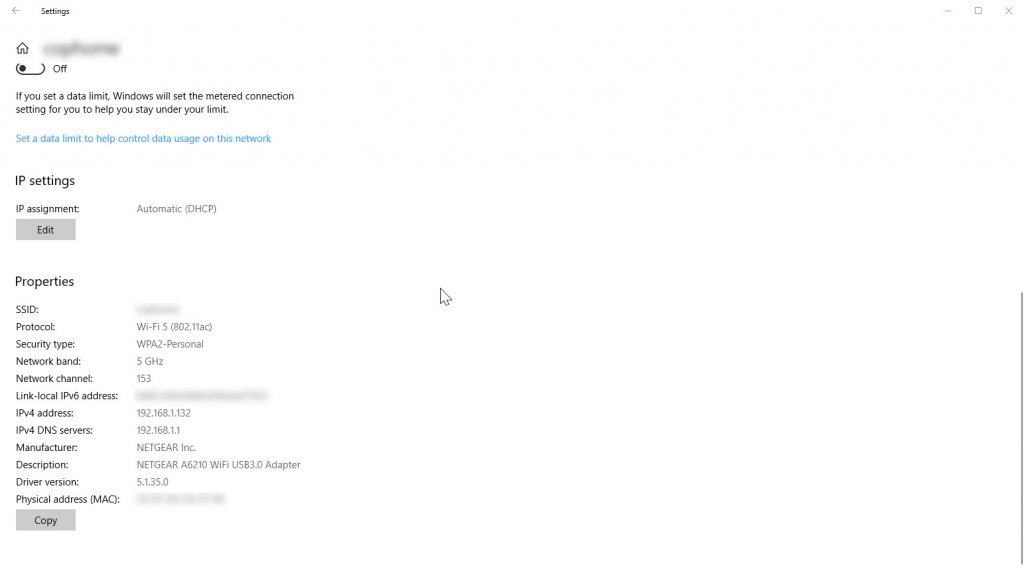
Here’s what you can configure on this page:
- You can change whether or not you automatically connect to the network when in range. Just toggle the switch on or off accordingly.
- You can change from a public to a private network. This is an important setting, as it determines which resources will be available to other PCs on the network. If you want to share files, access printers, and perform other functions then make the network private. If you want to remain safer from nefarious agents, then make the network public. This terminology isn’t just coincidental – public networks are just what they sound like, those that you’ll run into in places like coffee shops, schools, the dentist’s office, etc. They’re networks where you’re likely to have people you don’t know and trust connected.
- You can set your PC to broadcast a random (i.e., fake) hardware address. Do this if you want to make it harder for people to track your location when you connect to the network.
- You can set the network as a metered connection. Typically, this is one where you have a data cap to worry about. When this setting is toggled on, various apps will perform differently to reserve data use.
- You can set your IP address (Internet Protocol address, or the number by which your PC is recognized by other PCs on the network) as either automatic (DHCP, or Dynamic Host Configuration Protocol, where a router or other device sets the IP address) or manual (where you hard-code the address). Typically, you’ll want to leave this setting on Automatic (DHCP). An example of where you might want to set a manual address is a printer or other device that needs to retain the same IP address over time to ensure that other devices can connect.
- Finally, you’ll also find a list of some of your network connection’s properties. Keep an eye on this information to ensure that your PC is connected as it should be.
Windows 10 Settings Networking Configuration Options
If you go to Settings > Network and Internet, you’ll find a number of pages that will let you configure a host of network options. As mentioned earlier, some of these are outside the scope of this guide, but we’ll provide at least a quick overview of each page.
Status
This page provides a quick glimpse at your network status. From here, you can also connect to a number of other settings pages:
- Change connection properties: This takes you to the page outlined above for configuring your currently connected network.
- Show available networks: This pops up the list of networks as if you were to click on the network icon on the system tray.
- Change adapter options: This opens up the other location for network settings, the Control Panel, and specifically the page for configuring the network adapter used for each connected network (or available network connection).
 If you double-click a network connection, you’ll be taken to a page where you can dig into the details and properties of the network and the connection that it utilizes. You’ll also be able to access some valuable information, such as the current connection speed and signal quality.
 Many of the settings and much of the information available from this page require some networking expertise to utilize. Again, that’s beyond the scope of this guide.
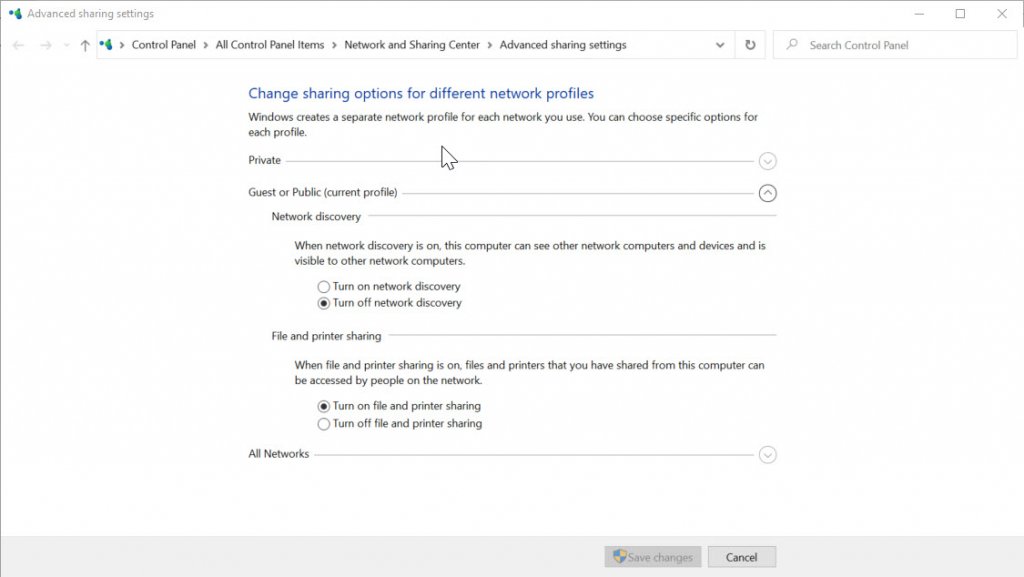
 - Sharing options: This opens the Control Panel page for defining the sharing options for different network profiles. This is where you can determine things like whether network discovery and file and printer sharing are available on public and private networks.
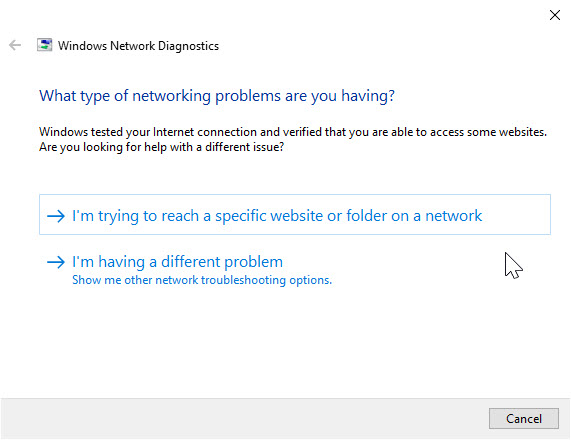
- Network troubleshooter: This kicks off Windows 10’s built-in tool for helping to diagnose and potentially fix network issues. Run this tool when you’re having any kind of network challenge – there’s a good chance you’ll be able to resolve the issue by the time the utility is finished running through its checklists.
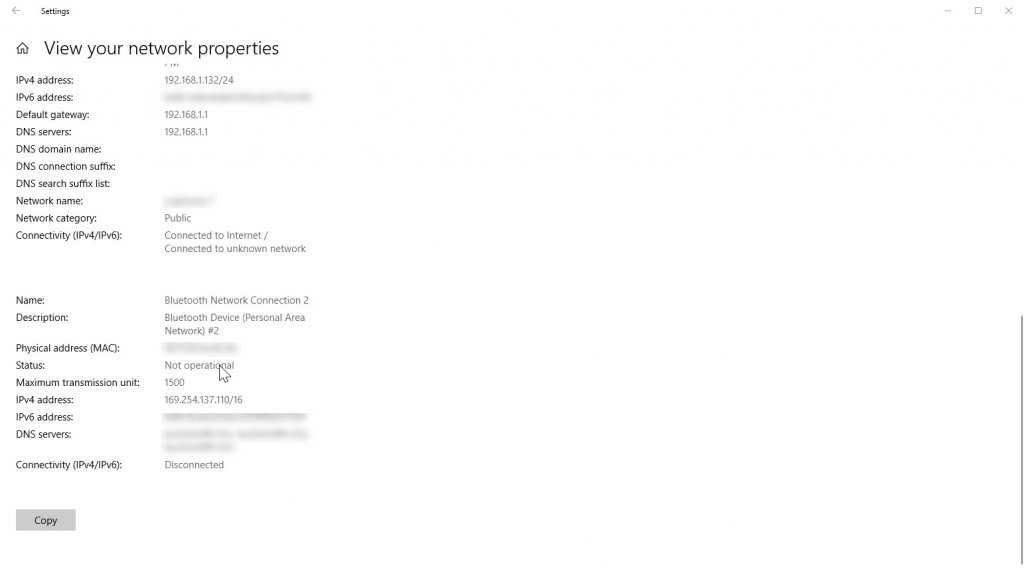
- View your network properties: This will open a page providing extensive information on all of your connected networks and available connections. You can click Copy to place the information into the clipboard for sharing with others, e.g., with a technical support representative.
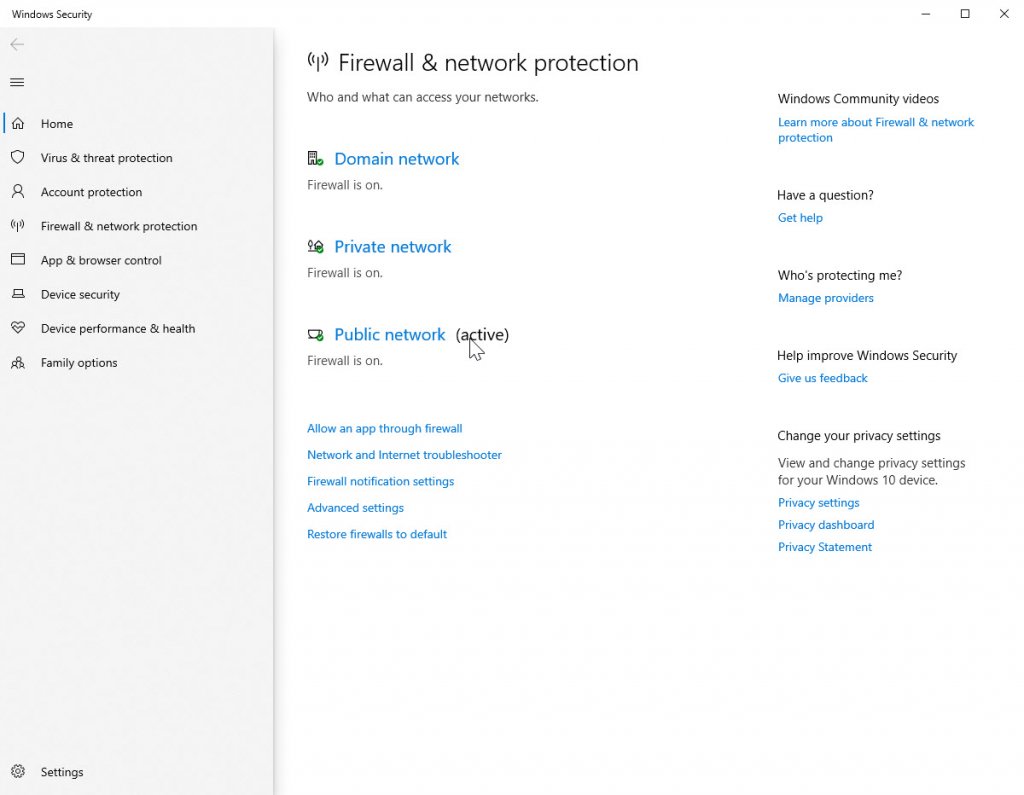
- Windows Firewall: This will send you to the Windows 10 Firewall and network protection Here, you can configure your network security options.
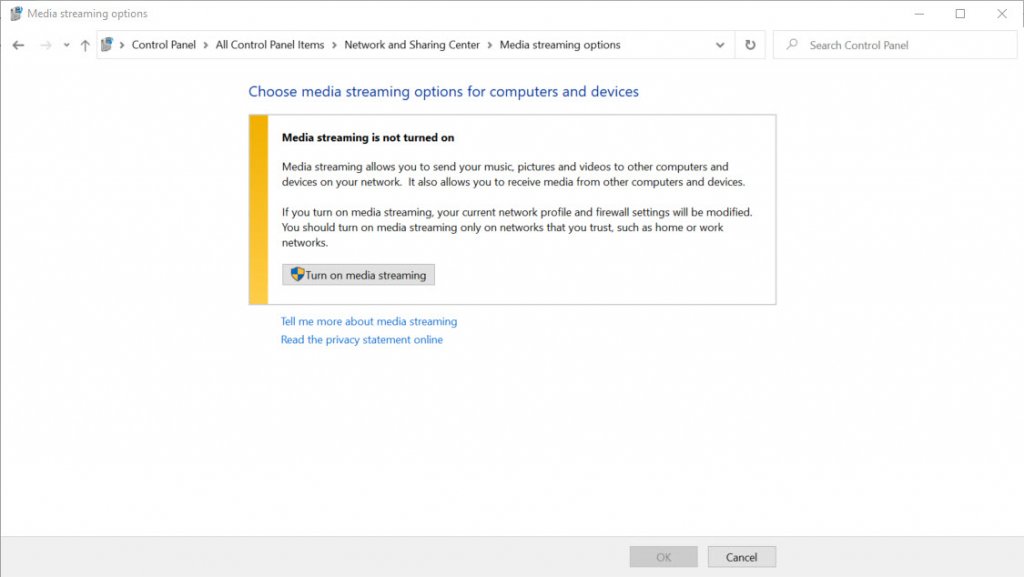
- Network and Sharing Center: This will open the Control Panel page where you can view your current network properties, set up a new connection or network, and kick off the Windows 10 network troubleshooter. You can also access Control Panel pages for changing adapter settings (as in #3 above), changing advance sharing settings (as in #4 above), and managing media streaming options. This latter setting lets you turn on and off media streaming from your local PC, and note that when you turn on media sharing your network profile and firewall settings are modified.
- Network reset: this will open a page where you can reset your network, returning all settings back to their original configuration.

Wi-Fi
This page provides another way to turn your Wi-Fi connection on and off and to configure hot spot connections. In this case, the hot spot connections are those provided by others such as in airports, hotels, and cafes. Turning on Online Sign-Up allows those networks to pop up a web page allowing you to connect to the network. You can also access a number of other pages already described in the guide.
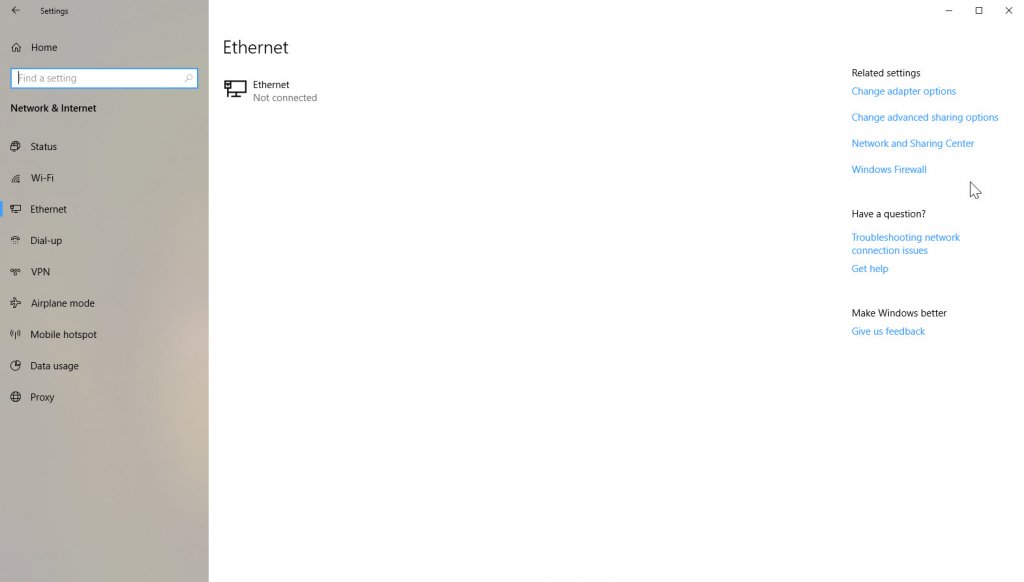
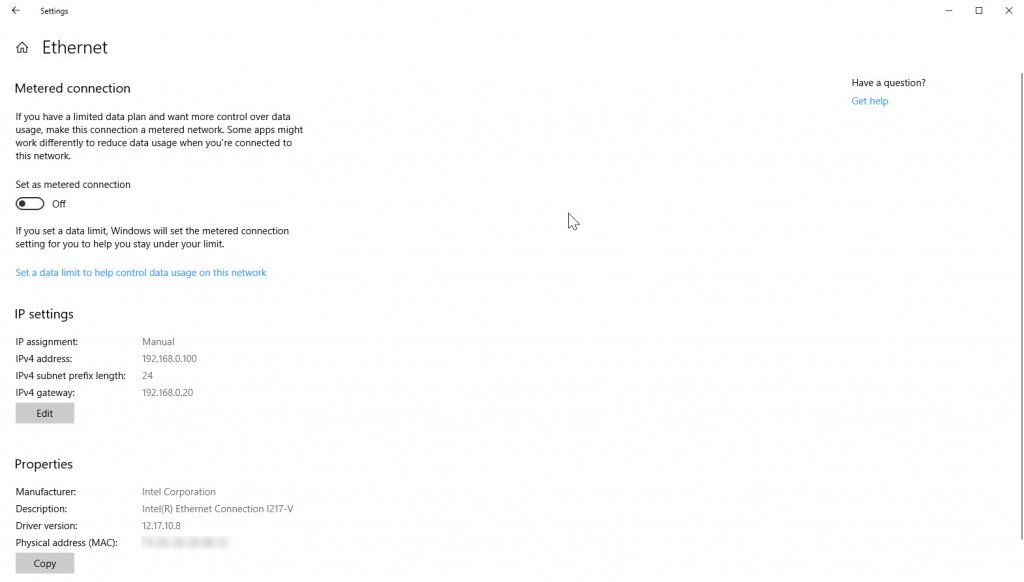
Ethernet
If you’re connected via a hardwire Ethernet connection, you’ll find the appropriate settings here. Click on the network and you’ll be taken to a page where you can set the connection as a metered connection and then set data limits, and also access a variety of information about the Ethernet connection.
Dial-up
This page lets you set up a dial-up connection. We’ll skip the details here because dial-up networking is such a fringe application at this point.
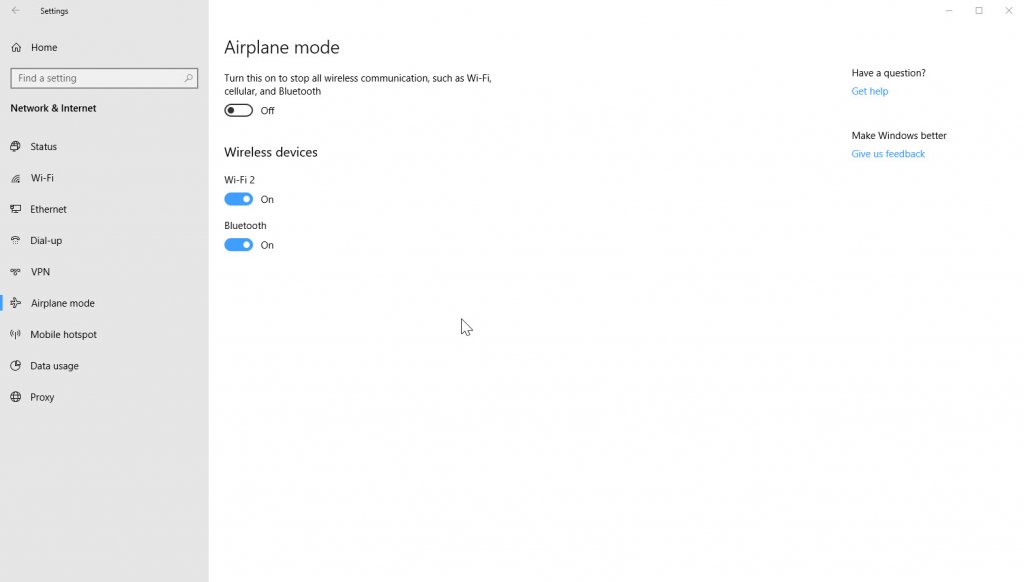
Airplane mode
This page allows you to turn Airplane mode on and off. Turning Airplane mode on will turn off all network connectivity. You can also turn Wi-Fi and Bluetooth connectivity off separately.
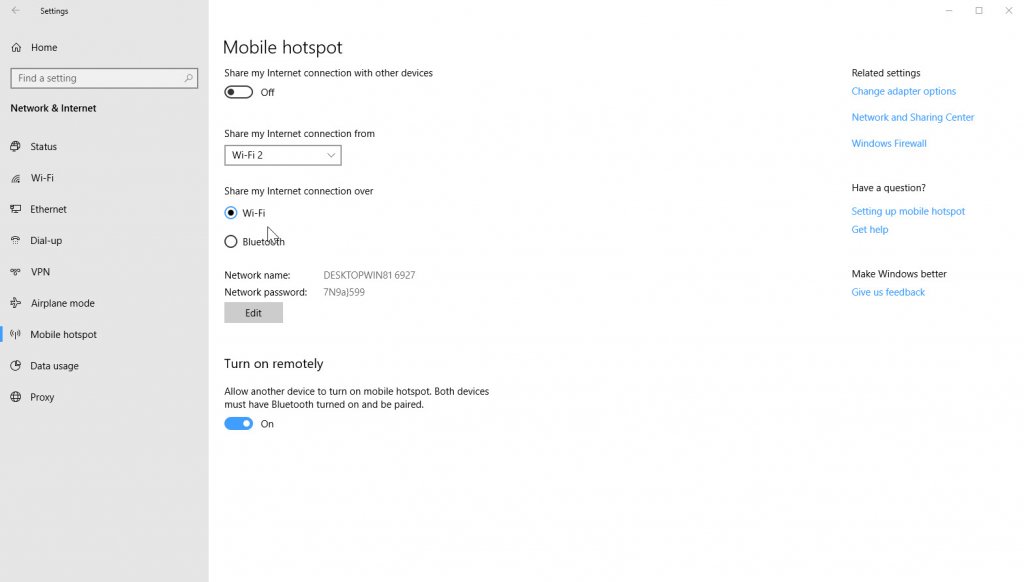
Mobile hotspot
This page allows you to set up a hot spot to share your network connection with other PCs. You can share your internet connection over Wi-Fi or Bluetooth, and give it a name and password (Windows 10 will suggest a default). You can also allow devices paired via Bluetooth to turn on the hot spot remotely.
Data usage
This page provide information on how much data you’ve used on given network connections over the previous 30 days. You can also view usage per app.
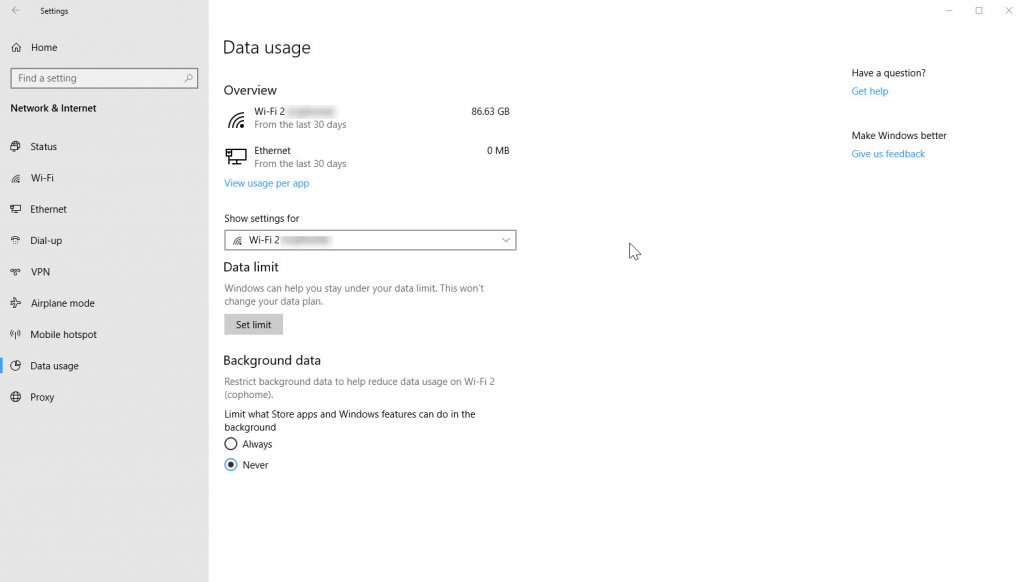
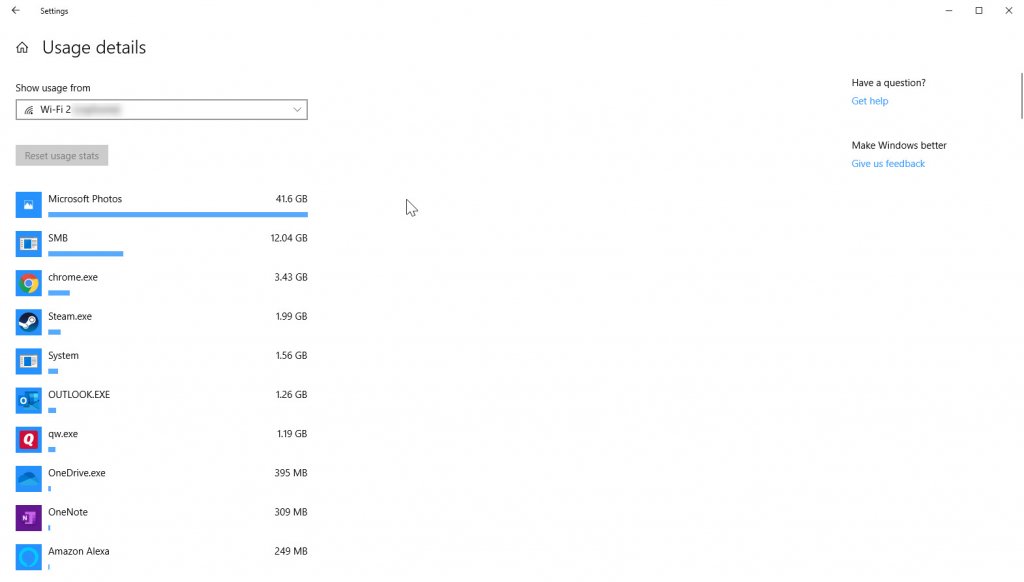 You can also set a limit on how much data your network connection will use. That’s helpful if your internet provider has a data cap. You can set the limit monthly, as a one-time setting, or unlimited, establish when the 30 days resets, and configure your data limit.

Finally, you can restrict background data the will limit background data usage by Windows Store apps and Windows features. This can help save your data for more important tasks.
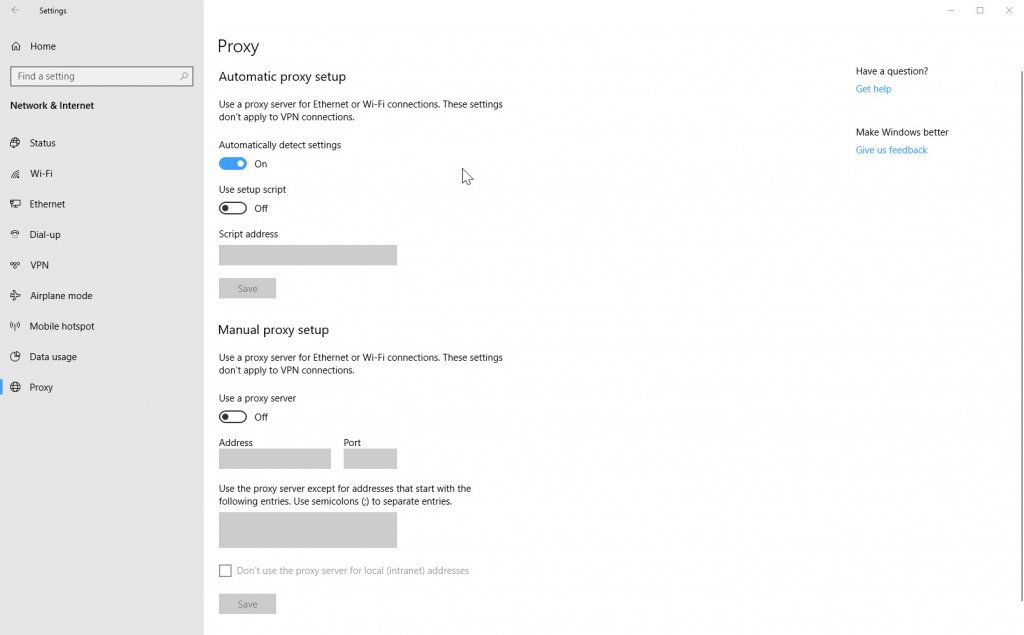
Proxy
This page allows you to use proxy server for your Ethernet or Wi-Fi connections. Again, this is beyond the scope of this guide and so we won’t go into details for this page.
Networking is complex, but powerful
As we said from the outset, Windows 10 is a fully-featured operating system when it comes to connecting to just about any network type. This guide has hopefully provided a helpful overview of how to configure your Windows 10 PCs network, without digging too much into the weeds where a network professional is more likely to be working.