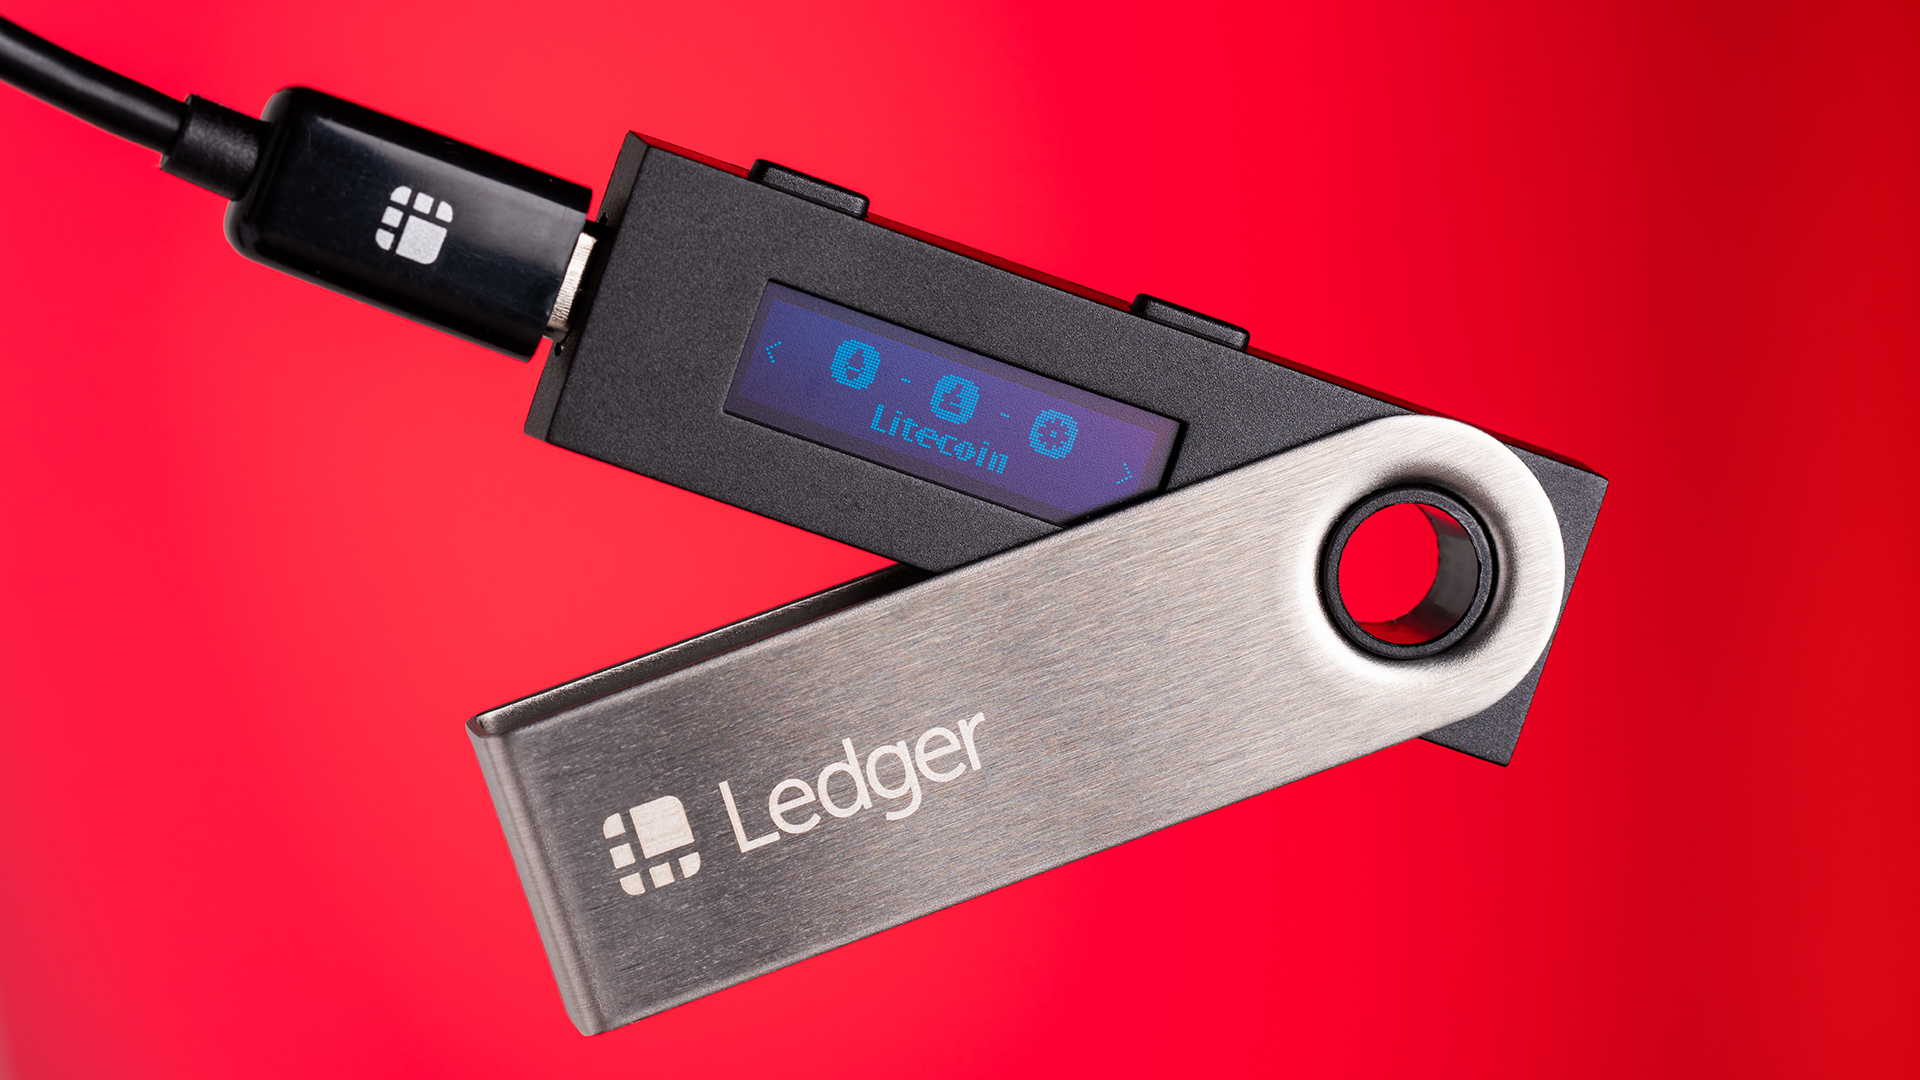
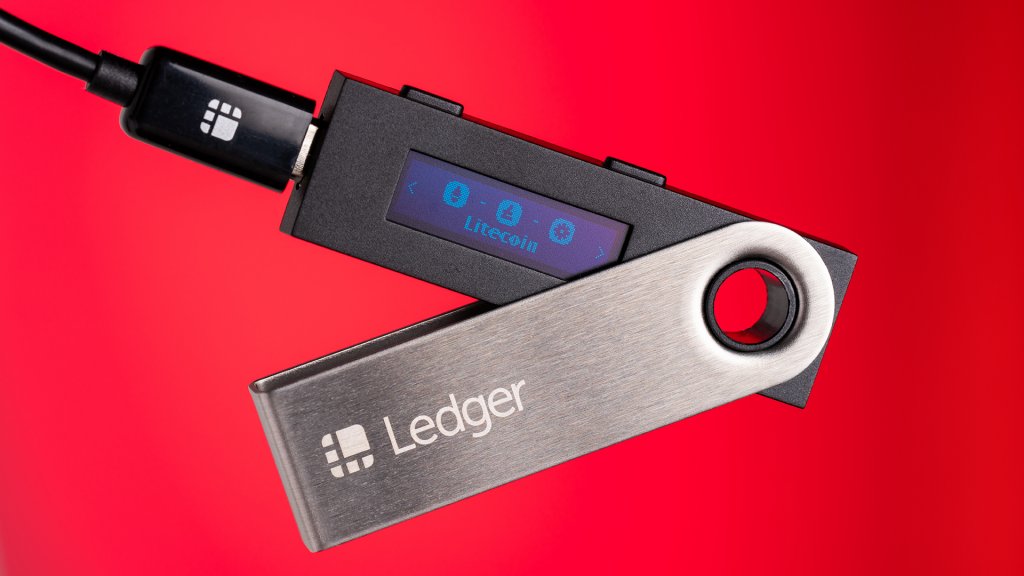
If you read our previous story on cryptocurrency security, you’ll know that hardware wallets are one of the most secure ways to store your coins. The Ledger Nano S is one of the more unique hardware wallets available, eschewing the open-source approach taken by many of its competitors and instead opting for proprietary hardware that, at least in theory, should keep your investments even safer. I got the chance to check one out to see if Ledger’s tech changes the way we protect our crypto.
A Proprietary Approach to Security
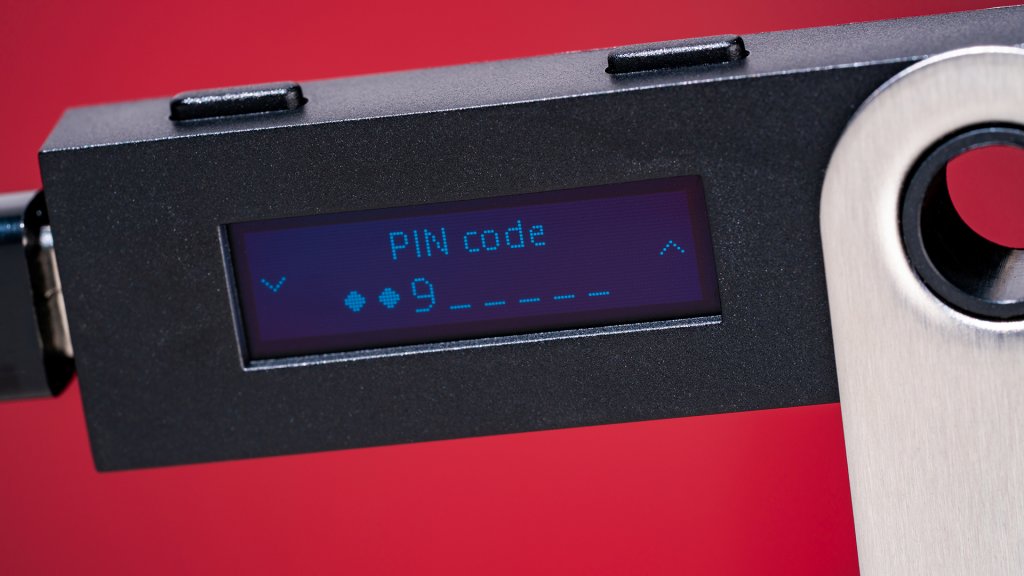
The Ledger Nano S may appear on the surface to be the same as hardware wallets we’ve highlighted in the past: it uses a simple two-button interface for menu navigation and confirming transactions, a monochrome screen, and micro USB to USB-A connection just like the Archos Safe-T Mini and Trezor One.
Sure, it looks nicer than most other cryptocurrency wallets — the Nano S is made of stainless steel and plastic and looks more like a sleek flash drive than the amorphous hunk of plastic designs I’ve seen I’ve come across on other wallets — but it turns out that beneath its sleek veneer lies a fundamentally different hardware system, one that sets the Ledger apart from any other wallet I’ve used.
At the heart of the $69.99 Ledger Nano S is the Secure Element, a chip that specializes in running secure payment apps and protects its contents from malware. It is often compared to a vault because it houses the user’s private keys inside the chip. The Secure Element even provides continuous tamper-proofing, checking the hardware integrity each time you power on the Nano S. As Ledger states, this takes away the need for the anti-tampering stickers that ship with many of its competitors.
Not only is the hardware what sets the Ledger wallet apart; the Nano S runs their proprietary OS called BOLOS, or Blockchain Open Ledger Operating System. BOLOS goes even further in enhancing the security of your coins by creating a shield around each “app” (individual software developed by Ledger for managing individual assets like Bitcoin or Ethereum), ensuring hackers cannot gain access to user information.
A PIN code of up to eight digits protects your sign-in to the Ledger Nano S, and can be inputted on the device using the hardware buttons. In the event your wallet is lost or stolen, you can recover your funds on a new Ledger or BIP39-compatible wallet using the recovery phrase generated when you first set up your previous wallet. This recovery phrase can be 12, 18, or 24 words, and can be written on a card included in the box with the Nano S.
Testing a Cryptocurrency Hardware Wallet
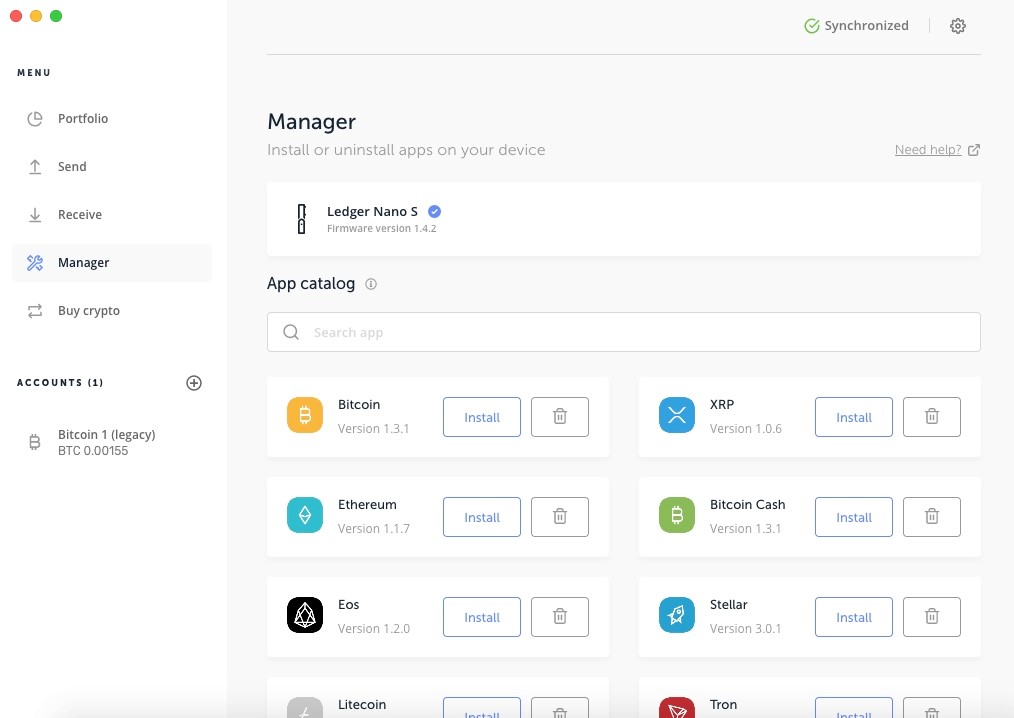
To set up and manage your Ledger wallet, you must first download the Ledger Live companion app. The app — available on Windows, Mac, and Linux — walks you through the setup and recovery processes, displays information about your accounts, and facilitates the transaction process. According to the company, everything in the app was designed with the goal of making everything about using the Ledger easier.
After installing Ledger Live on my MacBook, I connected the Ledger Nano S and initialized setup. I thought the process of getting everything up and running would be the same as other wallets I’ve tested, but Ledger Live handles things a bit differently than the Trezor-based wallets I’ve used. Navigating the assorted menus and entering your PIN is done by pressing the left and right buttons to scroll through the options, then pressing both buttons to confirm your selections.
One thing I liked about the Ledger compared to other wallets is that it moves most operations to the wallet, meaning you can perform actions like recovering your wallet or entering your PIN directly on the Nano S, rather than continually alternating between your computer and wallet.
Users have the option of setting up a new wallet or restoring an old one. Having reviewed multiple crypto wallets, I still had funds left over on an old review unit, so I chose to restore using the recovery seed on that wallet. I found the recovery process on the Ledger to be less tedious than on other wallets I’ve used: while the others asked for random-numbered words in the recovery phase, the Ledger asks for each word in your phrase in sequential order, allowing you to go straight down the list and expediting the process.
Entering the phrase on the wallet is easy: you scroll between letters with the left and right buttons, pressing both to make a selection. After inputting a few letters, the Ledger will display a few words, asking you to select whichever is correct. Much appreciated, considering how agonizing inputting full words would be using two buttons, especially 24 times.
After recovery and/or setup, Ledger Live will validate that your device is genuine. After that, you are taken to the home screen, with the option to install the apps for whatever type of crypto asset you want to use with the Nano S. I opted to install the Bitcoin app, since that is the only crypto I currently own any stake in.
Ledger Live is organized into five tabs: Portfolio, Send, Receive, Manager, and Buy Crypto. Portfolio displays your crypto accounts and information like current balance and last transaction date; Ledger Live lets you monitor the real-time value of your crypto assets, even when your wallet isn’t connected to the computer. Send and Receive are, as the names imply, for initiating transactions. The Manager tab is where you download the individual apps. Buy Crypto serves as a portal to multiple cryptocurrency exchanges where you can buy many of the coins supported by Ledger.
Buy the Ledger Nano S Cryptocurrency Hardware Wallet- $69.99
I was initially confused about how to view my recovered funds, as the portfolio screen didn’t display anything in my wallet. I realized that after downloading the Bitcoin app, I had to manually select “Add Account” in Ledger Live in order for my Bitcoin funds to be displayed and transacted. Once I set that up, my correct up-to-date balance appeared on the screen and I was ready to go.
Sending and receiving your crypto is easy: in Ledger Live, you simply click the Send or Receive tab, select the account you want to send or receive crypto with, enter the wallet address you sending to or receiving from, enter the amount you’ll be transacting, and click continue. At that point, you navigate to the app for whichever type of crypto you’re working with, verify the transaction details on the screen, and then verify or decline the transaction using the hardware buttons. Once your transaction is in progress, you can track its journey through the blockchain with Ledger Live.
I sent some bitcoin back and forth with a friend of mine and found it was as easy as on other wallets I’ve used. Even though the Nano S is fundamentally different from most other crypto hardware, the core act of transacting your assets is as streamlined as possible. Ledger’s simple transaction process sticks the landing in this ambitious pairing of proprietary hardware and software.
A Fundamental Shift in Crypto Wallets
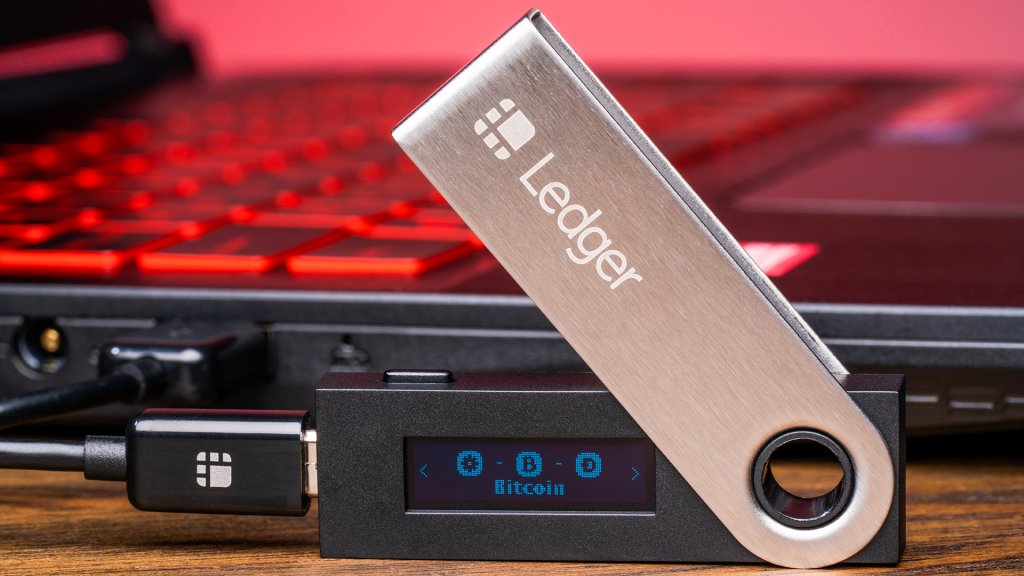
With their Nano S wallet Ledger offers a wallet that, on the surface, seems the same as many other stalwart options. However, diving past the superficial first impressions reveals a wallet with a fundamentally unique approach to security. The Secure Element provides an extra layer of security that open-source wallets can’t provide. In the end, it’s up to the user to decide if they want to sacrifice open design for the benefits of increased tamper resistance, but if onboard hardware security is important to you for safeguarding your investment, then I can think of no better option than the Ledger Nano S.
Featured in this article:
Ledger Nano S Cryptocurrency Hardware Wallet- $69.99
Note, all prices and products are accurate at the time of article publication, although some may have changed or are no longer available.
