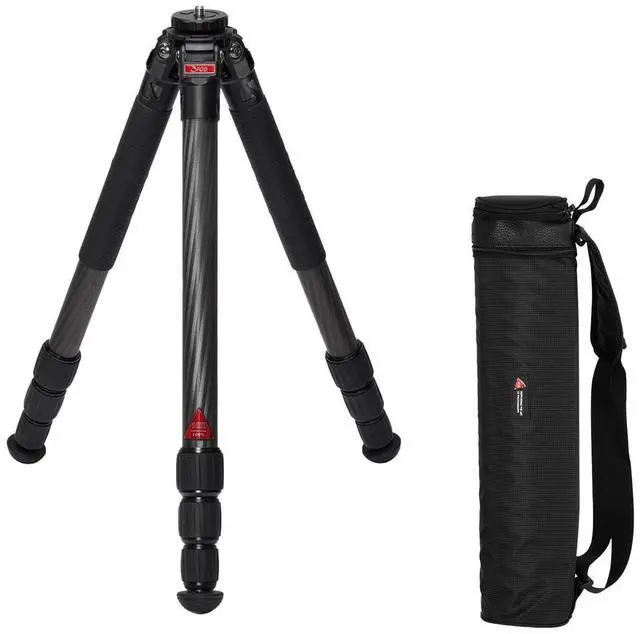
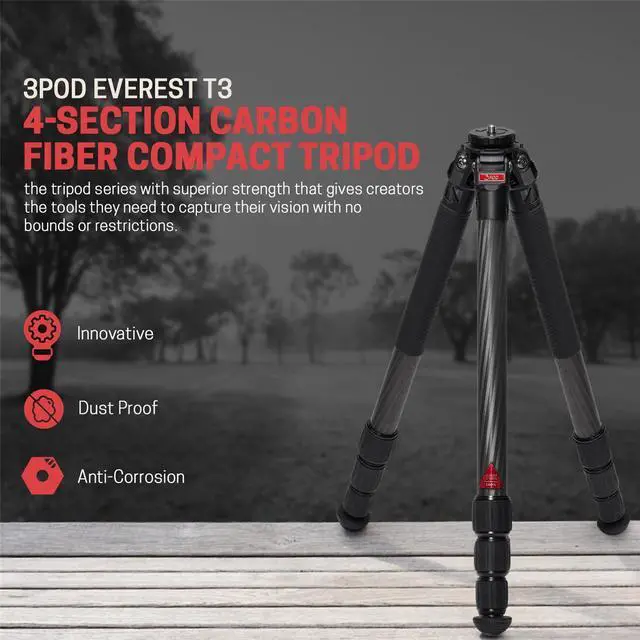
The Toughest Travel 3Pod in CaptivityEverest. THE TRIPOD SERIES with superior strength, 10X Carbon Fiber, and an innovative center column design for compactness and extreme low angle performance. The center column can be removed entirely without losing the head placement. Leg angle struggles are a thing of the past with auto-stop leg levers that snap into the next angle position without user intervention. The look and feel of first-class - world-class camera support. The exuberance of luxury and the touch of CNC precision. A super light tripod that can handle a demanding workload works in any environment.
Travel and location pros and semipro photographers do not compromise operation or performance. Still photography in the studio, location, and adventure. Climbers, nuptial events, sports, breakaway impulse opportunities, political and newsworthy sets, anyplace an extra pair of legs might be welcome. Everest is the peak of performance.
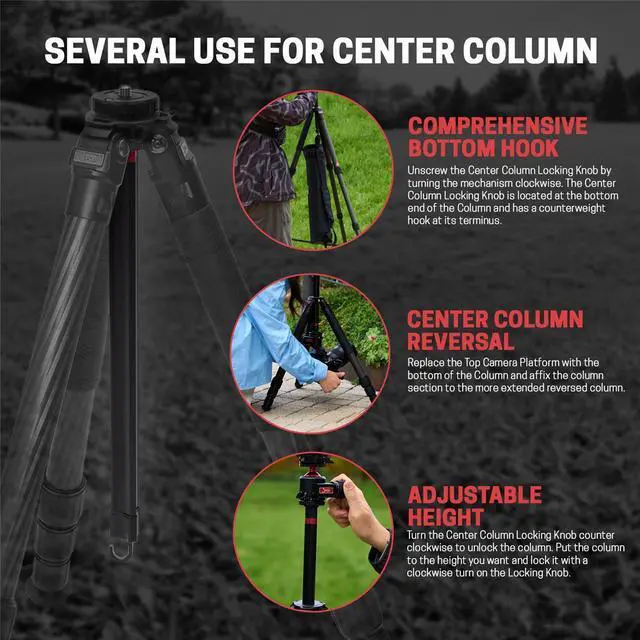
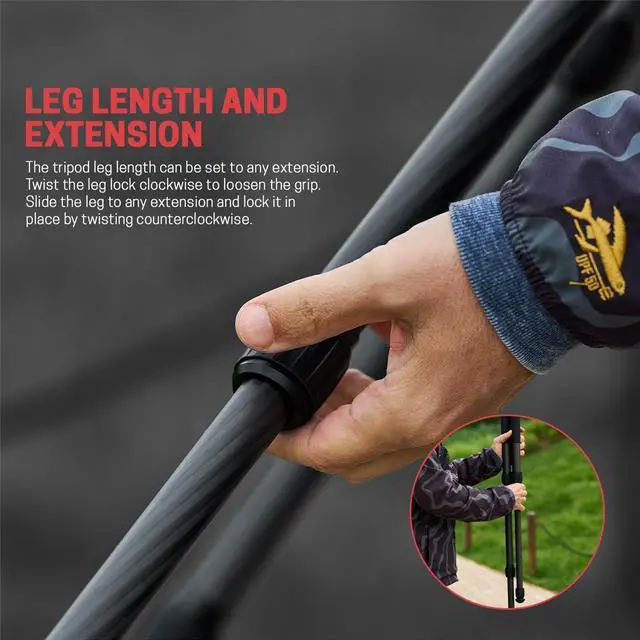
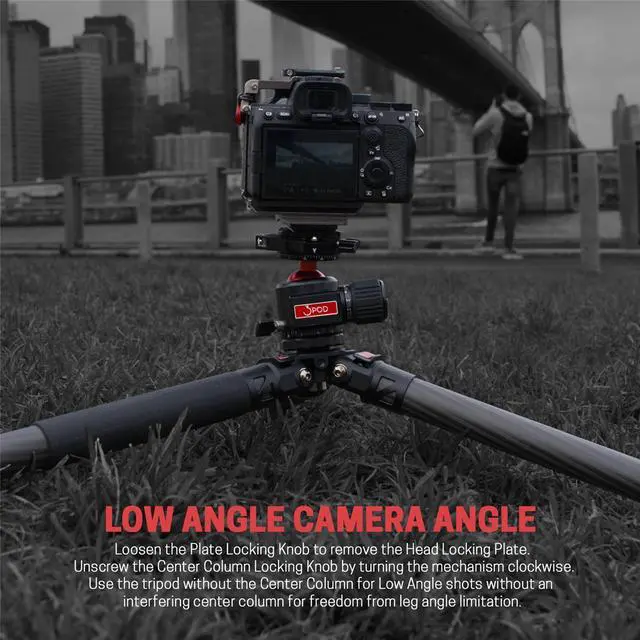
Everest In Action: Tripod Set Up and DeploymentLeg AnglePull out the Leg Angle Latch all the way to the end, stop and lift the leg to the desired angle for placement. Slowly lower the leg. The Leg Angle Latch will automatically snap-lock to the next angle stop. You can quickly set the leg splay to your specific preference. Leg Length and ExtensionThe tripod leg length can be set to any extension. Twist the leg lock clockwise to loosen the grip. Slide the leg to any extension and lock it in place by twisting the leg lock firmly counterclockwise. The mechanism increases the torque as you close the ring to establish a firm, secure hold. Center Column UseTurn the Center Column Locking Knob counterclockwise to unlock the column. Put the column to the height you want and lock it with a clockwise turn on the Locking Knob. The column does not rotate and can be set to any point on the shaft. Low Angle Camera AngleLoosen the Plate Locking Knob to remove the Head Locking Plate. Unscrew the Center Column Locking Knob by turning the mechanism clockwise. The Center Column Locking Knob is located at the bottom end of the Column and has a counterweight hook at its terminus.
The Top Camera Platform separates from the Center Column. Draw the column out of the shaped channel. Separate the Camera Platform portion of the column from the longer part of the Center Column and place it into the tripod center column channel. Use the tripod without the Center Column for Low Angle shots without an interfering center column for freedom from leg angle limitation. Center Column ReversalUnscrew the Center Column Locking Knob by turning the mechanism clockwise. The Center Column Locking Knob is located at the bottom end of the Column and has a counterweight hook at its terminus. The Top Camera Platform separates from the Center Column. Draw the column out of the shaped channel. Reverse the column so that the head post screw faces downward as you slide the column through the track on the top of the tripod. Replace the Top Camera Platform with the bottom of the Column and affix the column section to the more extended reversed column. The hook is now on the top, and the Head Plate is on the bottom. Accessory Tap HolesAccessory items are easily attached to the tripod through the 3/8" and 1/4" screw holes on the top of the tripod platform collar.