3 3
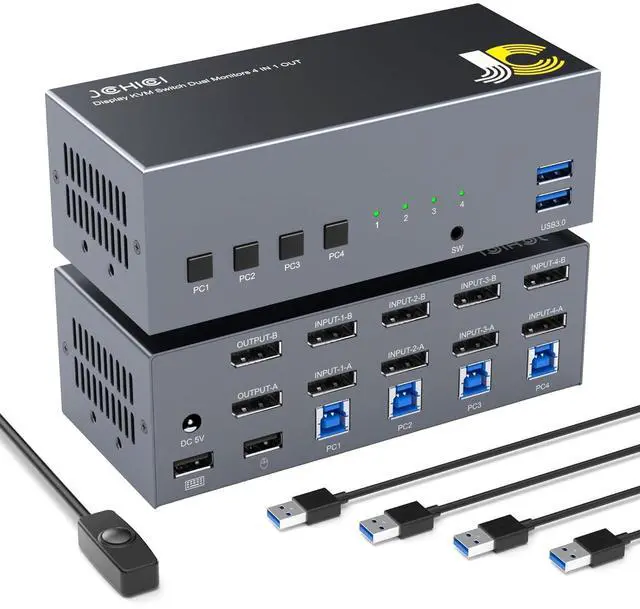
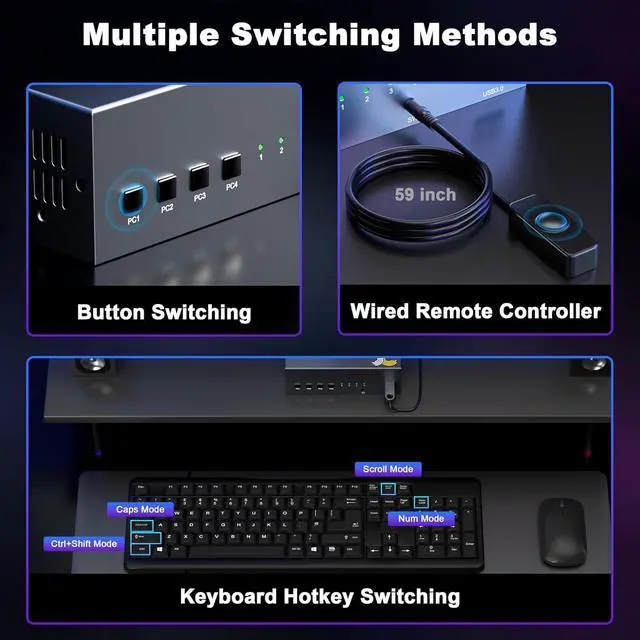
Switching Methods: Hotkeys, Buttons & 1.5 m Remote Keyboard Hotkeys Switch PCs instantly with customizable shortcuts (supports auto-cycling). Dedicated Buttons & Wired Remote Includes 4 front-panel buttons + 59-inch controller for desk/rack mounting. LED Status Indicators Clear visual feedback when switching between computers.
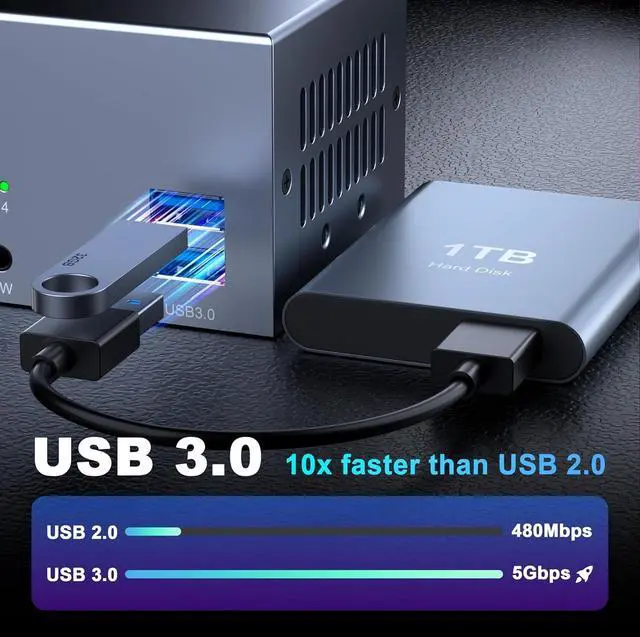
4 Dual USB 3.0 Ports (5Gbps) for High-Speed Connectivity Fast File Transfers Two USB 3.0 ports (backward compatible with 2.0 / 1.1 ) for flash drives, HDDs, and peripherals. Stable Connection Use the included USB 3.0 cable to ensure device recognition.
5 Easy Setup & Troubleshooting Quick Display Fix If only one monitor works, press Win+P to adjust settings. Monitor Arrangement Customize left/right positioning in "Display Settings" (drag Display 1 & 2).
6 18-Month Warranty + Lifetime Support Reliable After-Sales Backed by an 18-month replacement guarantee and 24/7 technical support. Expert-Backed Quality Our engineering team brings 7+ years of KVM R&D experience for a hassle-free experience.
Product list 1 * 4x1 DP KVM Switch 1 * Power adapter 1 * Desktop switch the keyboard 4 * USB Cables 1 * User manual
Setup Guide
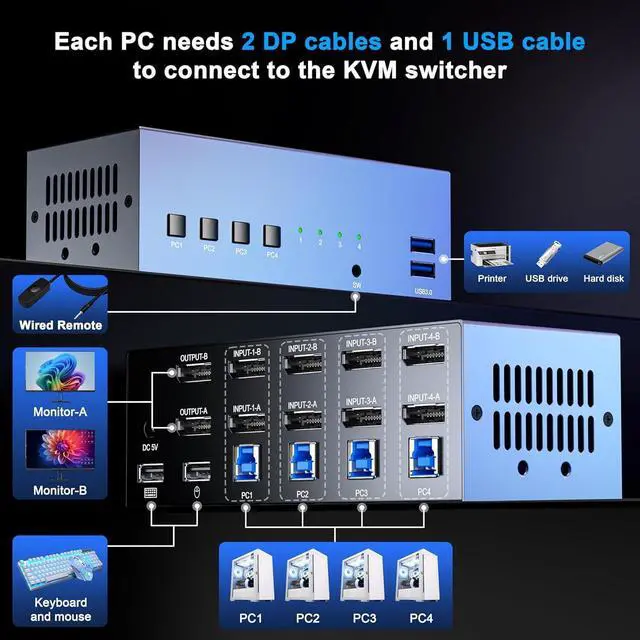
Connections: Each computer necessitates two DP cables and one USB A-to-B cable (four USB A-to-B cables are provided; DP cables are not).
Step 1: Utilize the enclosed adapter to power up the KVM switch.
Step 2: Attach each computer to the KVM switch using two DP cables and one USB A-to-B cable, plugging them into the respective DP and USB-B ports. Repeat this configuration for all four computers.
Step 3: Connect your keyboard and mouse to the designated USB KVM ports on the switch. Plug the wired remote controller into the SW port. Lastly, insert any additional USB devices into the USB 3.0 ports to finalize the setup.
Important Notes:
Confirm that all DP cables adhere to the DP 1.2 standard, and ensure that your computer and monitor are compatible with 4K resolution.
HDMI/VGA/DVI/USB-C to DP adapters or cables are supported, but please verify that they can handle up to 4K resolution.
The arrangement of the left and right DP ports is flexible; you can adjust the monitor order in your PC's display settings.
Switching Between Mirror and Extend Modes on Windows
To switch display modes on Windows:
Access Display Settings
: Right-click anywhere on the desktop and choose "Display settings" from the context menu.
Choose Display Mode
: Navigate to the "Multiple displays" section and click the dropdown menu. Select "Duplicate these displays" for mirroring or "Extend these displays" for an extended setup.
Confirm Changes
: Click "Apply" to finalize your selection.
Adjusting Monitor Order in Windows
To rearrange monitor order on Windows:
Open Display Settings
: Right-click on the desktop background and select "Display settings".
Identify Display Arrangement
: Within the "Display settings" window, locate the display layout where your monitors are labeled as "1" and "2".
Rearrange Monitors
: Drag and drop one of the monitor icons to the desired position (either left or right) to change their order.
Save Changes
: Click "Apply" to preserve your new monitor arrangement.
Verify Setup
: Move your mouse pointer between the monitors to confirm that the order is as intended.