

Your Browsing History

Meet Your Seller


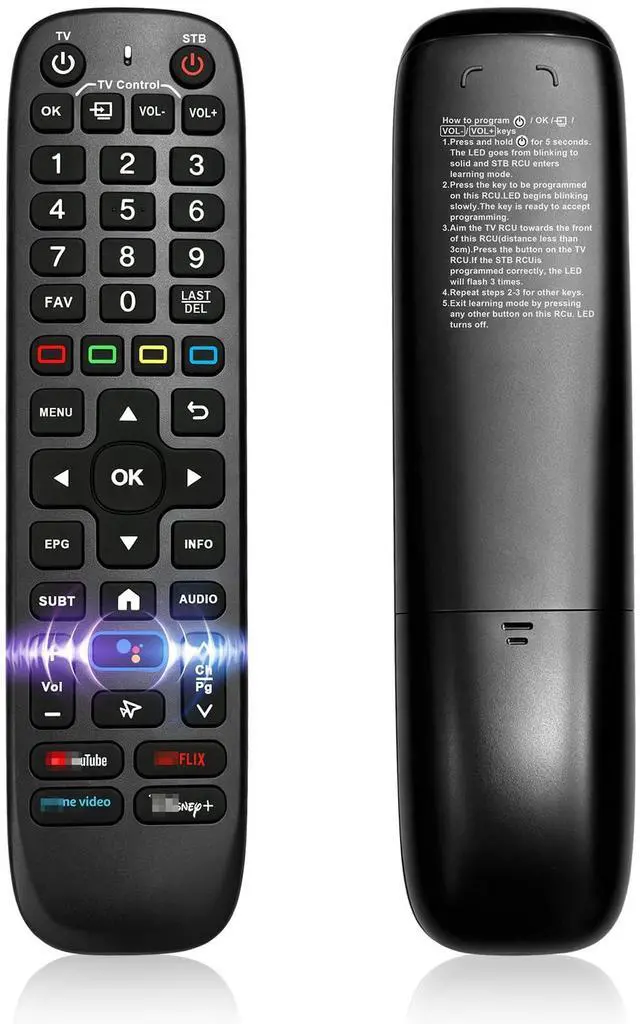
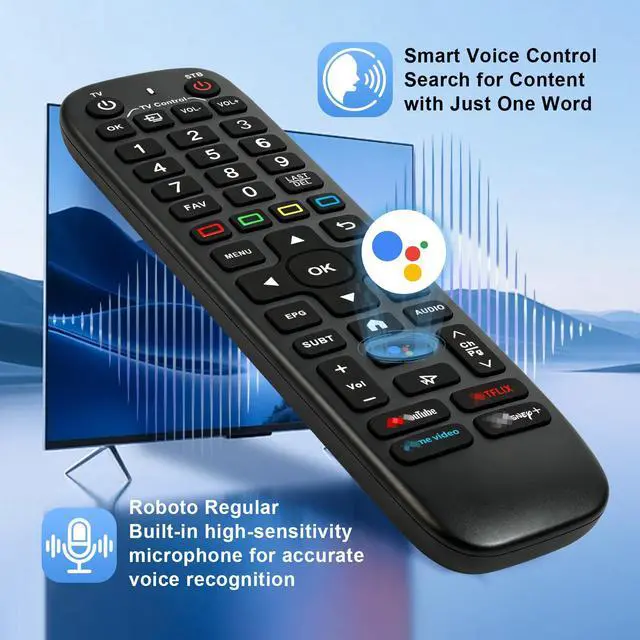
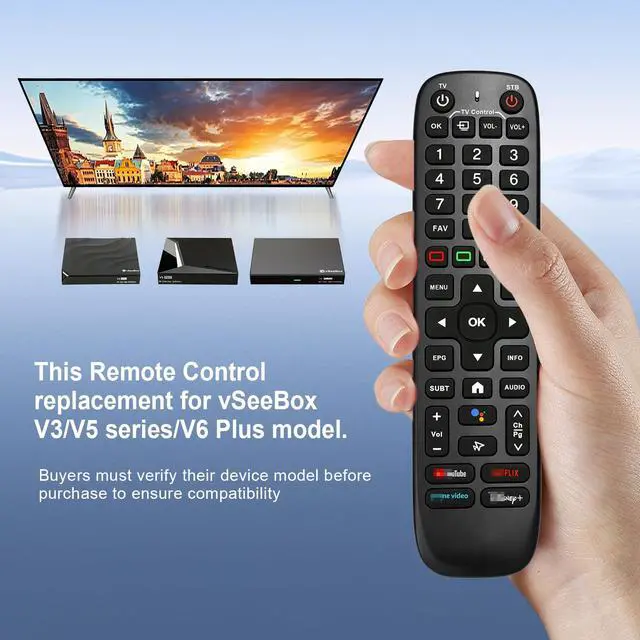


New Fit for Vseebox V6 Plus Remote Fit for vSeeBox V6plus Backlight Voice Remote Control,Fit for Vsee Box V5Pro,V3Plus/V3Pro,Intelligent Bluetooth Voice Remote
- Troubleshoot no power issue: Some batteries have a large positive cap that may not reach the contact. Ensure full contact between the battery positive tip and the internal terminal before installing new batteries. Wide Compatibility with All vSeeBox Models This remote control works with the Vseebox V6plus, Vsee box V5 Pro, V3 Plus, and V3 Pro. Note: V1 Max, V1 Pro, and V2 Pro do not support voice commands. Dual-Mode Flexible Use for Various Setups Connection method for vSeeBox6 series boxes: Pairing the Remote Control 1. Press and hold the OK button and the VOL- down key together for 3 seconds. The LED indicator will start to flash. 2. Select "System Settings". 3. Select "Remote Control & Accessories". 4. Select "Add Accessory". 5. Select "TruelD TV RC". Note: For PowerKey Definition, select "Sleep". Do NOT choose "Power Off", or you will need to press the "Back" button each time you power on the device. Connection method for vSeeBox v3/v5 series boxes: Pairing the Remote Control Press and Hold the OK key and the CH- key simultaneously for 3-5 seconds. The indicator light flashes and enters pairing mode. After successful pairing, the indicator light will turn off. Connecting a New Remote with a Paired Remote (1) Press the Home key, then go to SETTING - Remotes & Accessories. (2) Select Add accessory, then press the OK key to confirm pairing. (3) Press and Hold the OK key and the CH- key together for 3-5 seconds. The indicator light flashes and enters pairing mode. After suc
+
+
Overview
Specs
Reviews

Any questions? Our AI mode will help you find out quickly.
Try me now
Troubleshoot no power issue: Some batteries have a large positive cap that may not reach the contact. Ensure full contact between the battery positive tip and the internal terminal before installing new batteries. Wide Compatibility with All vSeeBox Models This remote control works with the Vseebox V6plus, Vsee box V5 Pro, V3 Plus, and V3 Pro.
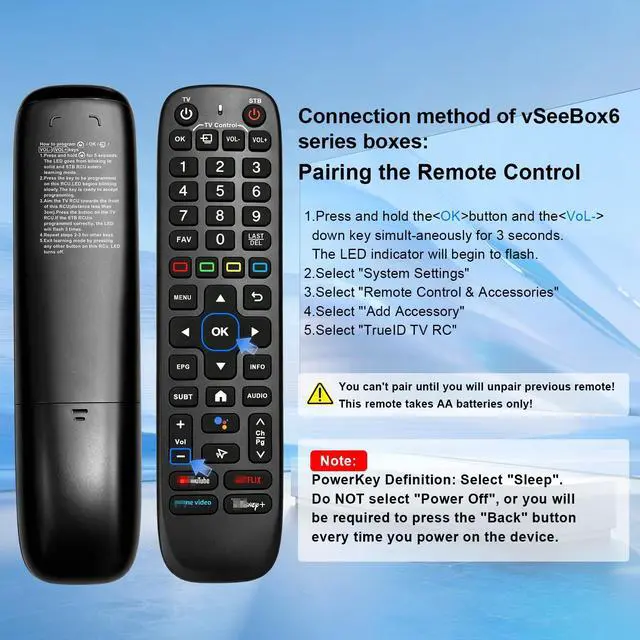
Note: V1 Max, V1 Pro, and V2 Pro do not support voice commands. Dual-Mode Flexible Use for Various Setups Connection method for vSeeBox6 series boxes: Pairing the Remote Control
1. Press and hold the OK button and the VOL- down key together for 3 seconds. The LED indicator will start to flash.
2. Select "System Settings".
3. Select "Remote Control & Accessories".
4. Select "Add Accessory".
5. Select "TruelD TV RC".
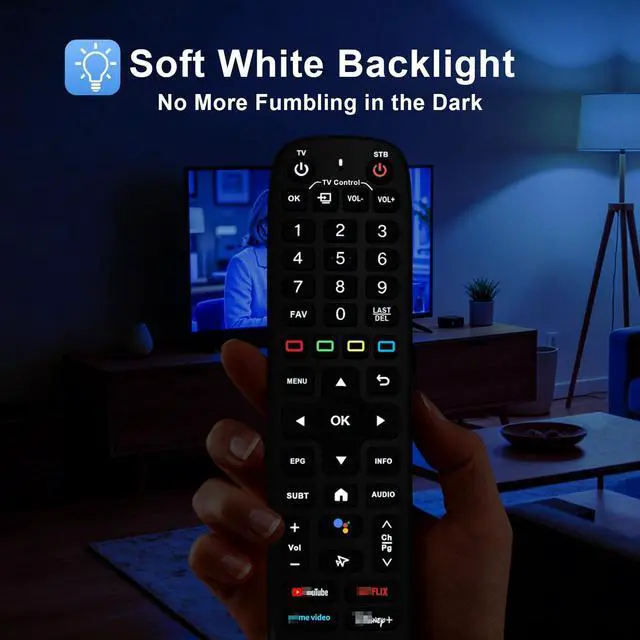
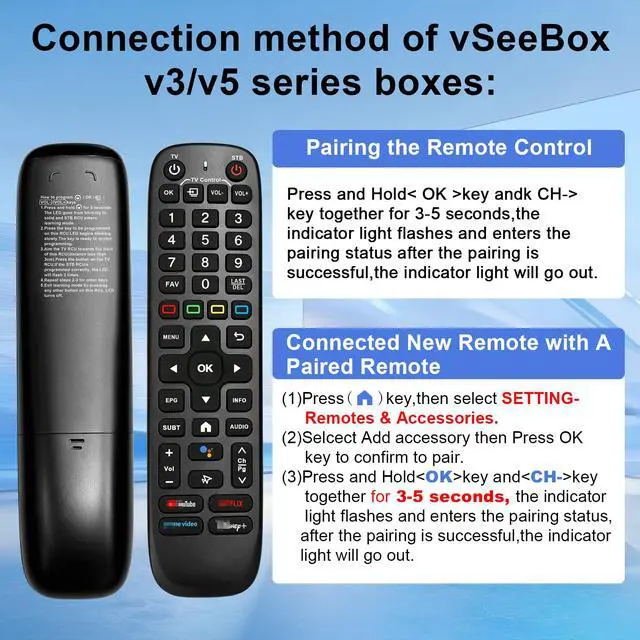
Note: For PowerKey Definition, select "Sleep". Do NOT choose "Power Off", or you will need to press the "Back" button each time you power on the device. Connection method for vSeeBox v3/v5 series boxes: Pairing the Remote Control Press and Hold the OK key and the CH- key simultaneously for 3-5 seconds. The indicator light flashes and enters pairing mode. After successful pairing, the indicator light will turn off. Connecting a New Remote with a Paired Remote (1) Press the Home key, then go to SETTING - Remotes & Accessories. (2) Select Add accessory, then press the OK key to confirm pairing. (3) Press and Hold the OK key and the CH- key together for 3-5 seconds. The indicator light flashes and enters pairing mode. After successful pairing, the indicator light will turn off. Excellent Endurance and Extended Control Range Compatible with the VSEEBOX V6plus model by default, and includes a backlight. Provides up to 6-month standby, ultra-low power consumption, and over 160, 000 clicks. Offers a reliable 25ft+ range. Power Requirements & Setup This remote needs 2 x AA batteries to operate (batteries not included). Use brand-new, recently-produced batteries that match your order date; old batteries may stop the remote from turning on. This remote has an advanced backlight that requires full battery power to activate.
If the backlight does not turn on, try installing new fresh batteries. These batteries might power other electronics, but only new fully charged ones can correctly activate this remote.
Troubleshoot no power issue: Some batteries have a large positive cap that may not reach the contact. Ensure full contact between the battery positive tip and the internal terminal before installing new batteries
Note: V1 Max, V1 Pro, and V2 Pro do not support voice commands. Dual-Mode Flexible Use for Various Setups Connection method for vSeeBox6 series boxes: Pairing the Remote Control
1. Press and hold the OK button and the VOL- down key together for 3 seconds. The LED indicator will start to flash.
2. Select "System Settings".
3. Select "Remote Control & Accessories".
4. Select "Add Accessory".
5. Select "TruelD TV RC".
Note: For PowerKey Definition, select "Sleep". Do NOT choose "Power Off", or you will need to press the "Back" button each time you power on the device. Connection method for vSeeBox v3/v5 series boxes: Pairing the Remote Control Press and Hold the OK key and the CH- key simultaneously for 3-5 seconds. The indicator light flashes and enters pairing mode. After successful pairing, the indicator light will turn off. Connecting a New Remote with a Paired Remote (1) Press the Home key, then go to SETTING - Remotes & Accessories. (2) Select Add accessory, then press the OK key to confirm pairing. (3) Press and Hold the OK key and the CH- key together for 3-5 seconds. The indicator light flashes and enters pairing mode. After successful pairing, the indicator light will turn off. Excellent Endurance and Extended Control Range Compatible with the VSEEBOX V6plus model by default, and includes a backlight. Provides up to 6-month standby, ultra-low power consumption, and over 160, 000 clicks. Offers a reliable 25ft+ range. Power Requirements & Setup This remote needs 2 x AA batteries to operate (batteries not included). Use brand-new, recently-produced batteries that match your order date; old batteries may stop the remote from turning on. This remote has an advanced backlight that requires full battery power to activate.
If the backlight does not turn on, try installing new fresh batteries. These batteries might power other electronics, but only new fully charged ones can correctly activate this remote.
Troubleshoot no power issue: Some batteries have a large positive cap that may not reach the contact. Ensure full contact between the battery positive tip and the internal terminal before installing new batteries
Warranty & Returns
Warranty, Returns, And Additional Information
Warranty
- Please contact the Seller directly for warranty information. Warranty information may also be found on the Manufacturer's website.
- CONTACT
Return Policies
- Return for refund within: 30 days
- Return for replacement within: 30 days
- This item is covered by WanJin World Shop Return Policy
Manufacturer Contact Info
- For a directory of all our manufacturers, please click below.
- Manufacturers Directory
LOADING...