

Your Browsing History

Meet Your Seller


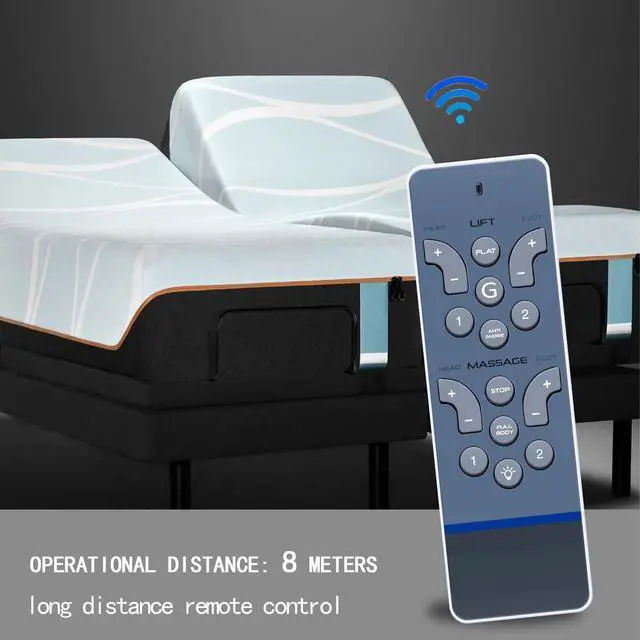
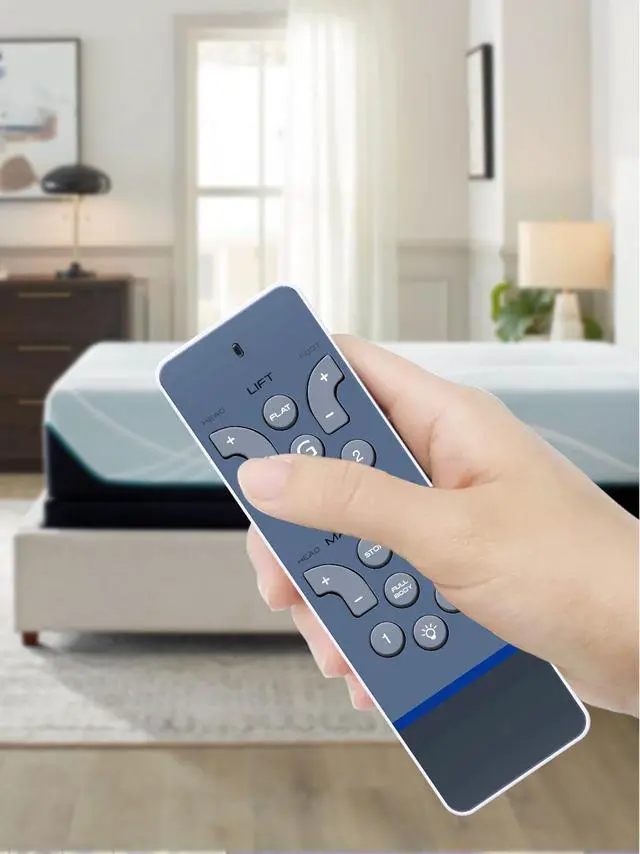


Replacement Remote Control for Tempurpedic Ergo Advanced Adjustable Bed, Models Rc-wm-101, Easy to Pair
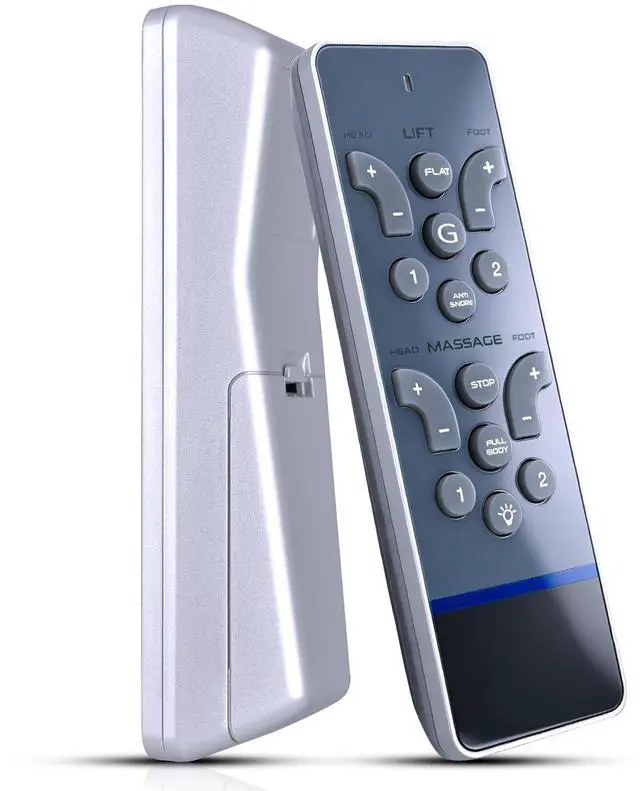
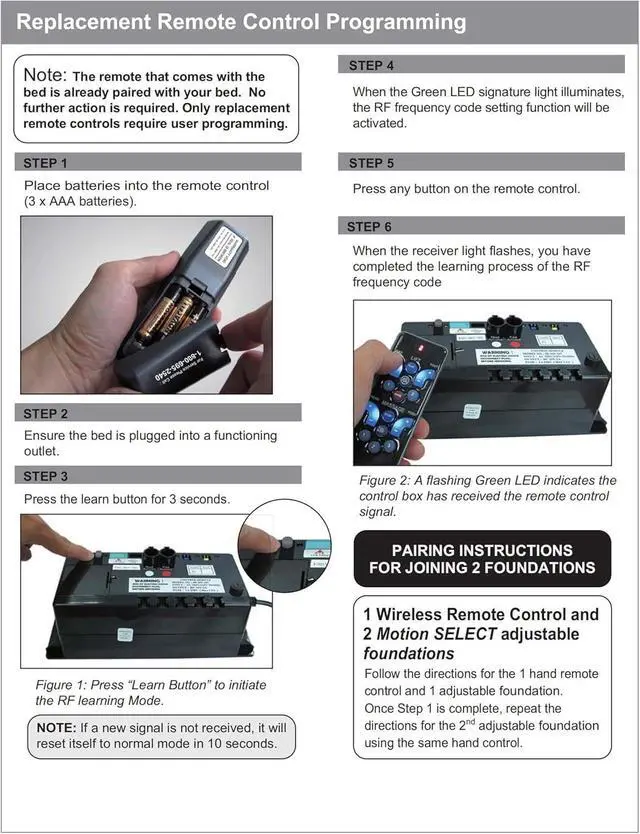
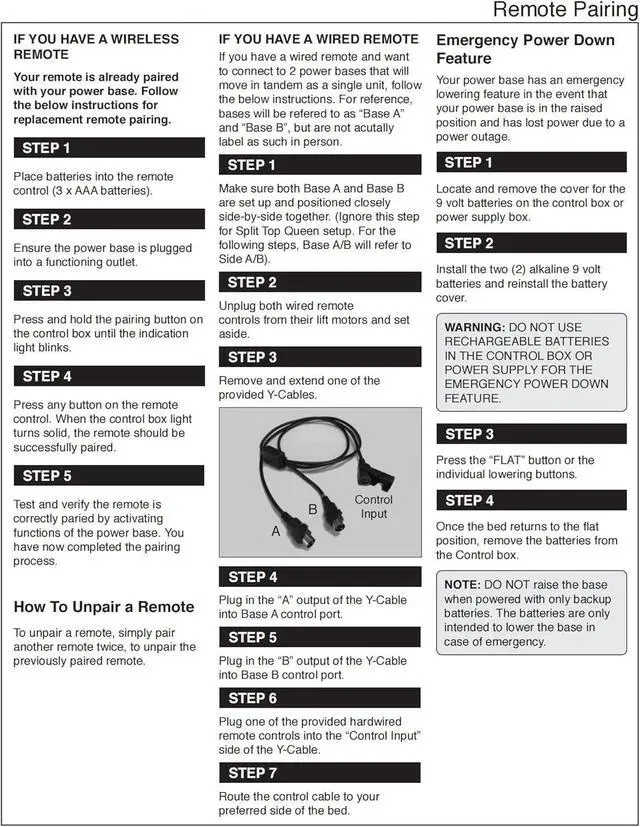
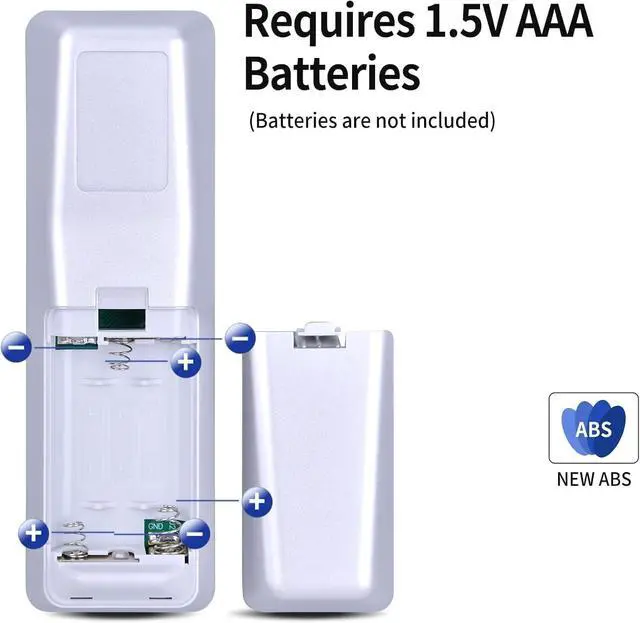
- This replacement remote control is designed for the Tempurpedic Ergo Advanced Rc-wm-101 adjustable bed. Please verify your old remote matches the picture exactly before ordering, as a mismatch could cause it to not function. Pairing Method 1 1. Install batteries into the remote control (3 x AAA batteries). 2. Confirm the power base is connected to a working outlet. 3. Press and hold the pairing button on the control box until the indicator light flashes. 4. Press any button on the remote control. When the control box light becomes steady, the remote should be successfully paired. 5. Test and confirm the remote is correctly paired by operating the power base functions. The pairing process is now finished. Pairing Method 2 1. Install batteries into the remote control (3 x AAA batteries). 2. Confirm the bed is connected to a working outlet. 3. Press the learn button for 3 seconds to start the RF learning mode. If a new signal is not received, it will return to normal mode in 10 seconds. 4. When the Green LED signature light turns on, the RF frequency code setting function will be active. 5. Press any button on the remote control. 6. When the receiver light flashes, you have finished the learning process for the RF frequency code. A flashing Green LED shows the control box has received the remote control signal. Note 1. If the old remote control has not been unpaired, the new remote control cannot be paired directly. 2. After the new remote control has been paired twice,
+
+
Overview
Specs
Reviews

Any questions? Our AI mode will help you find out quickly.
Try me now
This replacement remote control is designed for the Tempurpedic Ergo Advanced Rc-wm-101 adjustable bed. Please verify your old remote matches the picture exactly before ordering, as a mismatch could cause it to not function. Pairing Method 1 1. Install batteries into the remote control (3 x AAA batteries). 2. Confirm the power base is connected to a working outlet. 3. Press and hold the pairing button on the control box until the indicator light flashes. 4. Press any button on the remote control. When the control box light becomes steady, the remote should be successfully paired.
5. Test and confirm the remote is correctly paired by operating the power base functions. The pairing process is now finished. Pairing Method 2 1. Install batteries into the remote control (3 x AAA batteries). 2. Confirm the bed is connected to a working outlet. 3. Press the learn button for 3 seconds to start the RF learning mode. If a new signal is not received, it will return to normal mode in 10 seconds. 4. When the Green LED signature light turns on, the RF frequency code setting function will be active.
5. Press any button on the remote control. 6. When the receiver light flashes, you have finished the learning process for the RF frequency code. A flashing Green LED shows the control box has received the remote control signal. Note 1. If the old remote control has not been unpaired, the new remote control cannot be paired directly. 2. After the new remote control has been paired twice, the old remote control will automatically become unpaired. 3. Therefore, if the first pairing attempt is not successful, please try several times; this will force the disconnection of the old remote control, allowing the new remote control to pair successfully
5. Test and confirm the remote is correctly paired by operating the power base functions. The pairing process is now finished. Pairing Method 2 1. Install batteries into the remote control (3 x AAA batteries). 2. Confirm the bed is connected to a working outlet. 3. Press the learn button for 3 seconds to start the RF learning mode. If a new signal is not received, it will return to normal mode in 10 seconds. 4. When the Green LED signature light turns on, the RF frequency code setting function will be active.
5. Press any button on the remote control. 6. When the receiver light flashes, you have finished the learning process for the RF frequency code. A flashing Green LED shows the control box has received the remote control signal. Note 1. If the old remote control has not been unpaired, the new remote control cannot be paired directly. 2. After the new remote control has been paired twice, the old remote control will automatically become unpaired. 3. Therefore, if the first pairing attempt is not successful, please try several times; this will force the disconnection of the old remote control, allowing the new remote control to pair successfully
Warranty & Returns
Warranty, Returns, And Additional Information
Warranty
- Please contact the Seller directly for warranty information. Warranty information may also be found on the Manufacturer's website.
- CONTACT
Return Policies
- Return for refund within: 30 days
- Return for replacement within: 30 days
- This item is covered by WanJin World Shop Return Policy
Manufacturer Contact Info
- For a directory of all our manufacturers, please click below.
- Manufacturers Directory
LOADING...