

Your Browsing History

Meet Your Seller

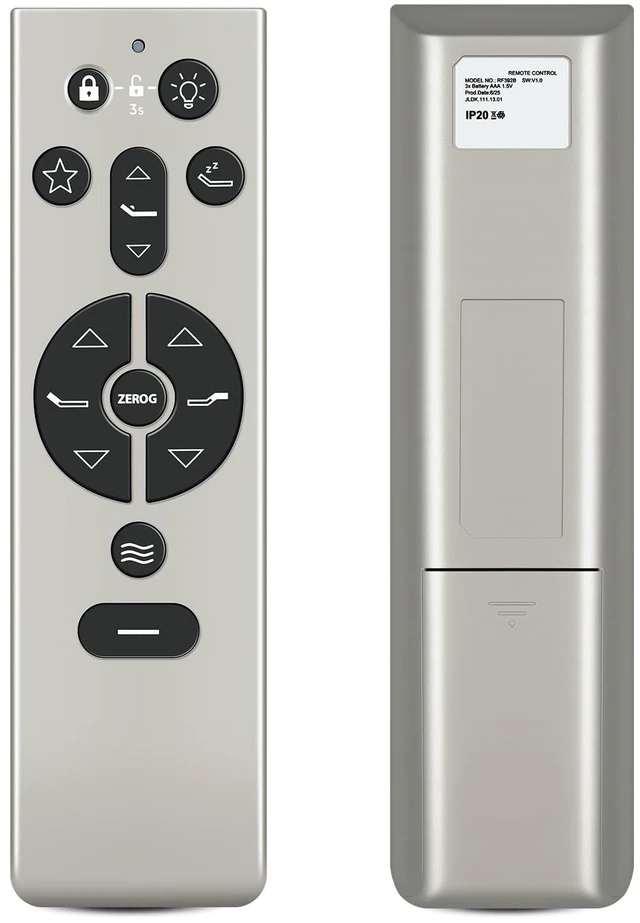
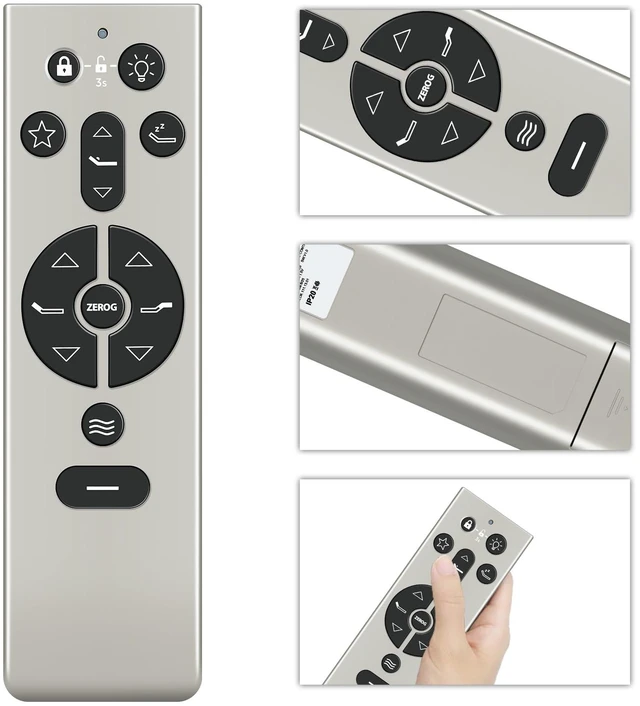
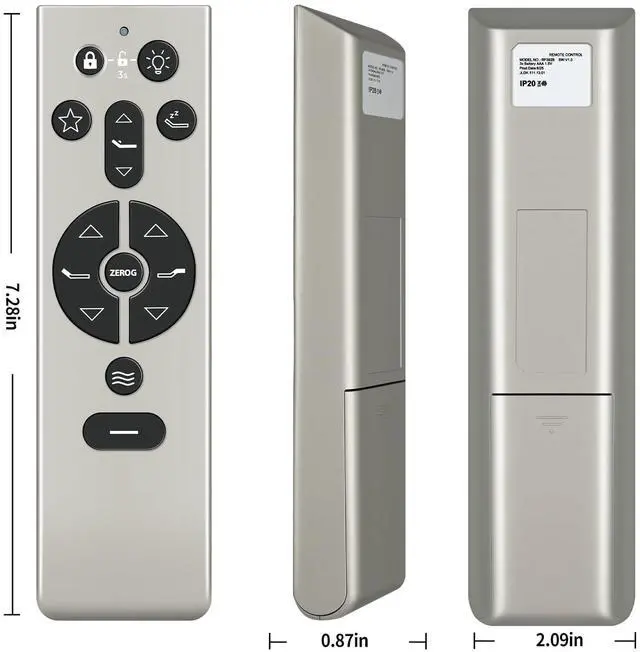
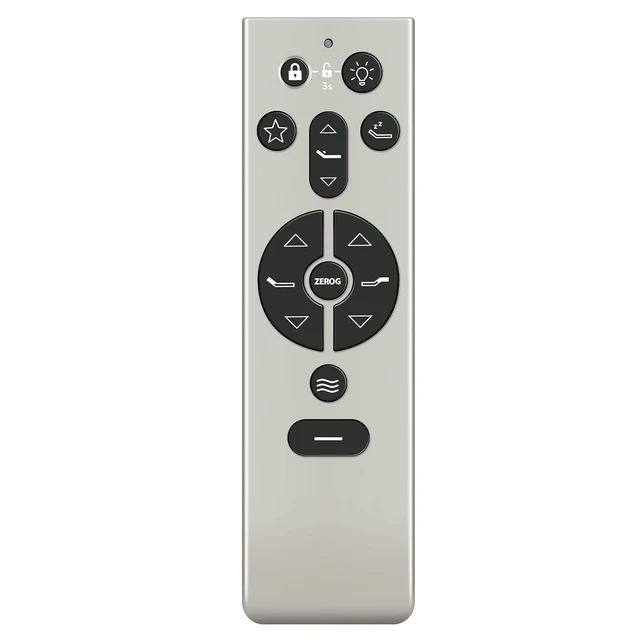


RF396B Remote Replacement for Tempur-Pedic Tempur Ergo Adjustable Bed Compatible Models: Power Base 3.0 Keeson JLDK.111.13.01, Easy Setup, Stable Signal, Fast Response
Limited time offer, ends 09/30 By Brightflag Electronics
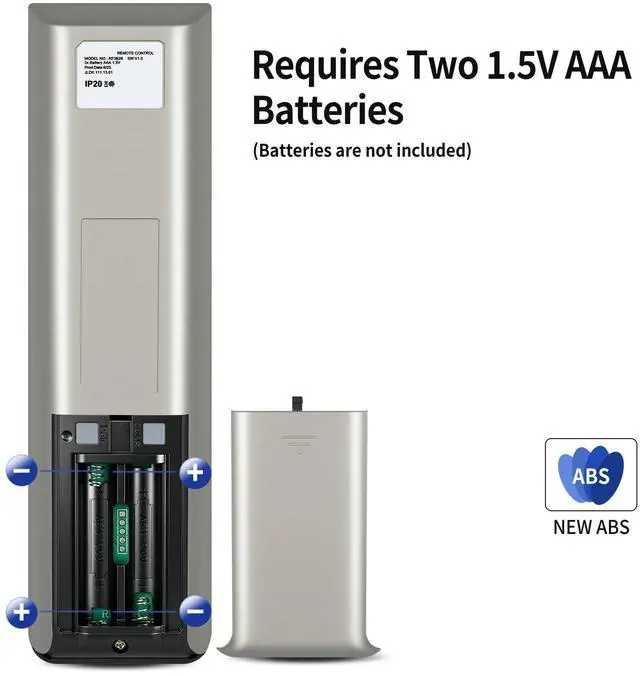
- [Compatible Models] RF396B Adjustable Bed Remote for Tempur-Pedic Tempur Ergo Power Base 3.0 Keeson JLDK.111.13.01 Replacement [Setting Programmable Positions] Adjust the head, lumbar and foot to your desired position. Then, press and hold one of the programmable preset positions for 5 seconds. The position is now saved. NOTE: To restore the preset buttons back to their original factory settings, hold FLAT and ZERO-G simultaneously for at least 5 seconds. The original preset will be restored. [How to Pair] 1) Unplug the Power Cord from your power outlet. Wait 1 minute, then plug it back in to your power outlet. Perform Step 2 within 10 seconds, while the control box light is flashing. 2) Press and hold the PAIR button on the back of the remote. The PAIR button will illuminate and start to flash. When the PAIR button stops flashing, the LED light on the control box will stop flashing. Release the PAIR button. 3) Test all remote functions. [Clear Icon Design] This remote control is very user-friendly. Clear icons on the wireless remote control make operation simple. [Package Contents] 1x Remote Control, 1x Manual (2xAAA batteries are not included)
+
+
Overview
Specs
Reviews

Any questions? Our AI mode will help you find out quickly.
Try me now
[Compatible Models] RF396B Adjustable Bed Remote for Tempur-Pedic Tempur Ergo Power Base 3.0 Keeson JLDK. 111.13. 01 Replacement [Setting Programmable Positions] Adjust the head, lumbar and foot to your desired position. Then, press and hold one of the programmable preset positions for 5 seconds. The position is now saved.
NOTE: To restore the preset buttons back to their original factory settings, hold FLAT and ZERO-G simultaneously for at least 5 seconds. The original preset will be restored. [How to Pair] 1) Unplug the Power Cord from your power outlet. Wait 1 minute, then plug it back in to your power outlet. Perform Step 2 within 10 seconds, while the control box light is flashing. 2) Press and hold the PAIR button on the back of the remote. The PAIR button will illuminate and start to flash. When the PAIR button stops flashing, the LED light on the control box will stop flashing. Release the PAIR button. 3) Test all remote functions. [Clear Icon Design] This remote control is very user-friendly. Clear icons on the wireless remote control make operation simple. [Package Contents] 1x Remote Control, 1x Manual (2xAAA batteries are not included)
NOTE: To restore the preset buttons back to their original factory settings, hold FLAT and ZERO-G simultaneously for at least 5 seconds. The original preset will be restored. [How to Pair] 1) Unplug the Power Cord from your power outlet. Wait 1 minute, then plug it back in to your power outlet. Perform Step 2 within 10 seconds, while the control box light is flashing. 2) Press and hold the PAIR button on the back of the remote. The PAIR button will illuminate and start to flash. When the PAIR button stops flashing, the LED light on the control box will stop flashing. Release the PAIR button. 3) Test all remote functions. [Clear Icon Design] This remote control is very user-friendly. Clear icons on the wireless remote control make operation simple. [Package Contents] 1x Remote Control, 1x Manual (2xAAA batteries are not included)
Warranty & Returns
Warranty, Returns, And Additional Information
Warranty
- Please contact the Seller directly for warranty information. Warranty information may also be found on the Manufacturer's website.
- CONTACT
Return Policies
- Return for refund within: 30 days
- Return for replacement within: 30 days
- This item is covered by Brightflag Electronics Return Policy
Manufacturer Contact Info
- For a directory of all our manufacturers, please click below.
- Manufacturers Directory
LOADING...