
 here!
here!
I’m your shopping assistant for PC builds, upgrades, and everything tech.
Got questions? Ask away!
Start a conversation
here!
I’m your shopping assistant for PC builds, upgrades, and everything tech.
Got questions? Ask away!
Start a conversation



Any questions? Ask CelesteSM will help you find out quickly.
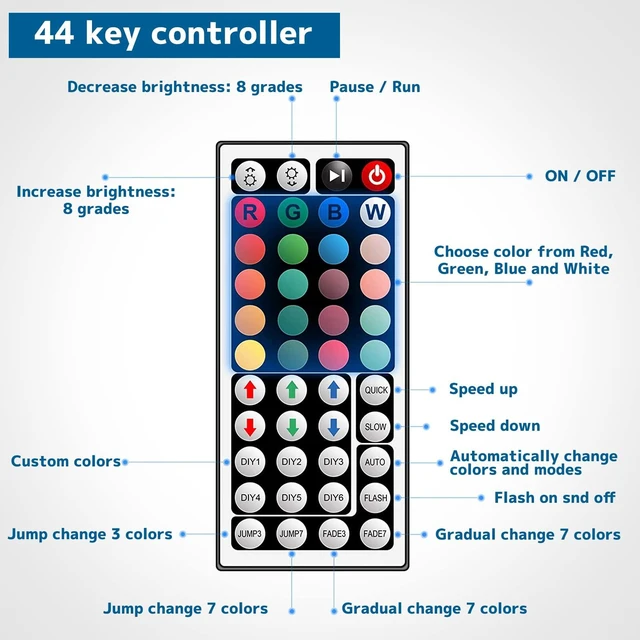
If the buttons don't control the right colors. First, you can press the remote control switch button , turn off the light strip. Then press the FADE7 button(the last button below the right), The light strip will flash. Then press the switch button to turn on the light strip, the buttons can control the correct color. If not, repeat the above steps until the button can control the correct color. If you can end the operation.
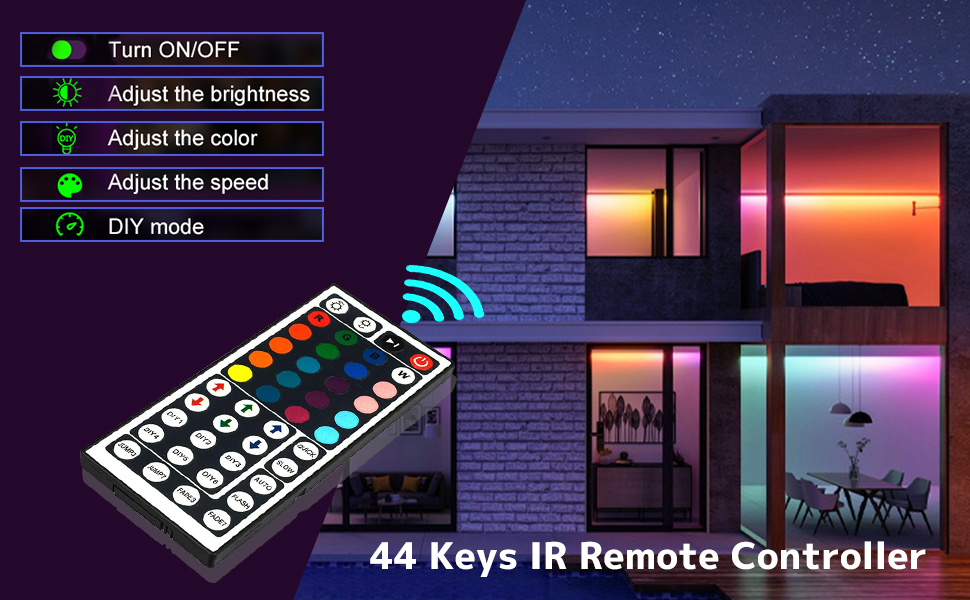
Step 1: Activate the DIY function. -Turn on the light; -Press one of the RGB buttons; -Press the DIY1 button once (with DIY1 as an example).
Step 2: DIY setting. Long press red up arrow or down arrow buttons to increase or decrease red proportion (Press 5 seconds or more). Adjust the green (green arrow) and blue (blue arrow) proportion in the same way to DIY you favourite color.
Step 3: Keep the color you just set by pressing the DIY1 button again, the setting has been completed and current color will be saved.
Step 4: Repeat the steps above to set the rest of 5 DIYs, all 6 DIY buttons are memorial design, once save the mode, you don’t have to reset next time.
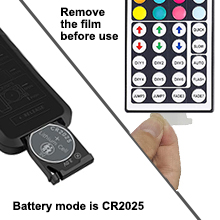
Remove plastic conver from led light remote before use
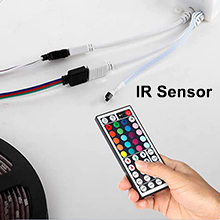
Led remote controller aimed at infrared receiver
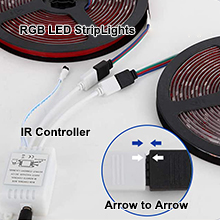
Pick up the correct connections for your lights
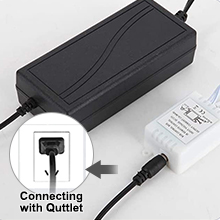
Super easy assemble and install
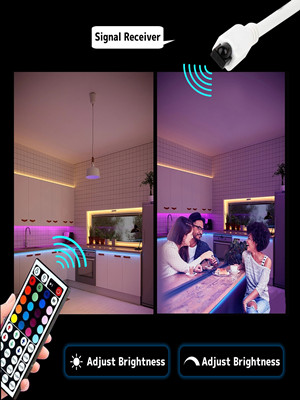
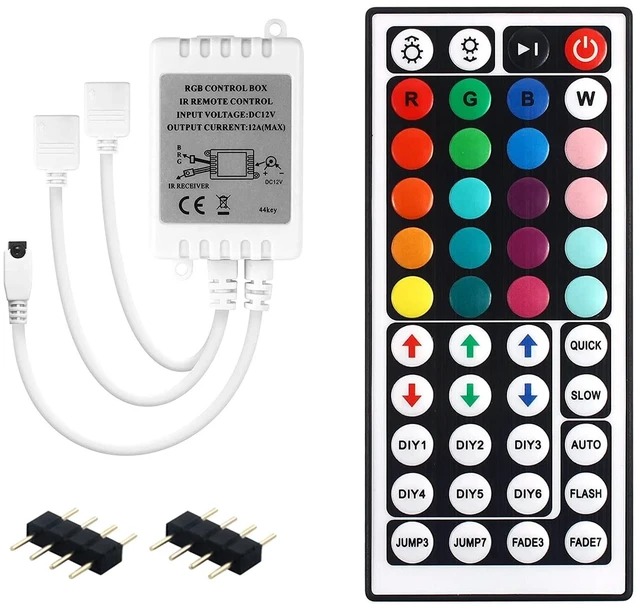
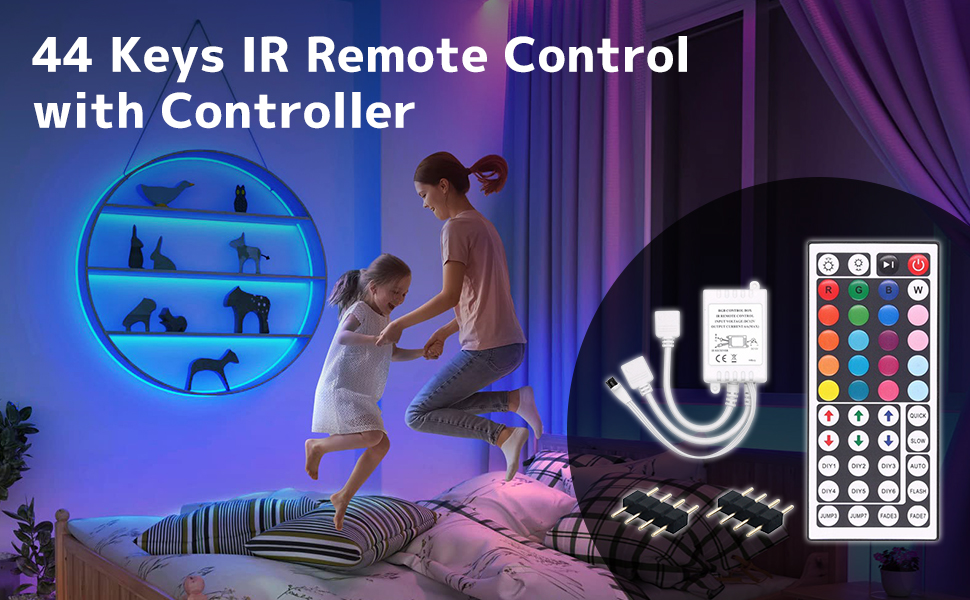
1 x 44 Key Remote
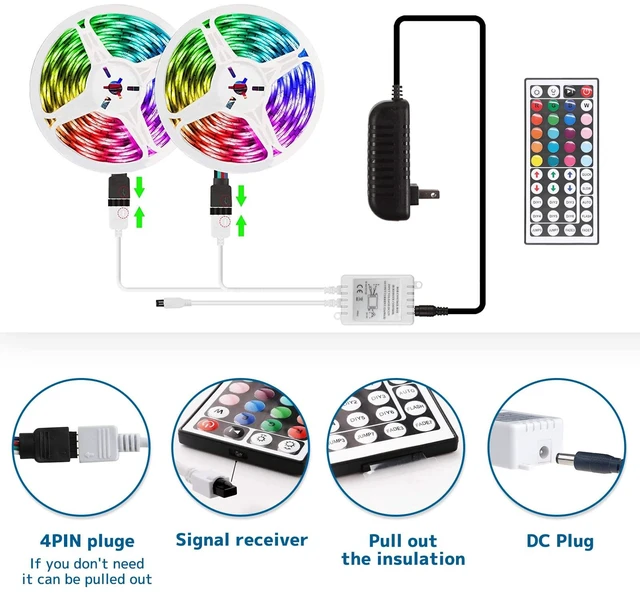
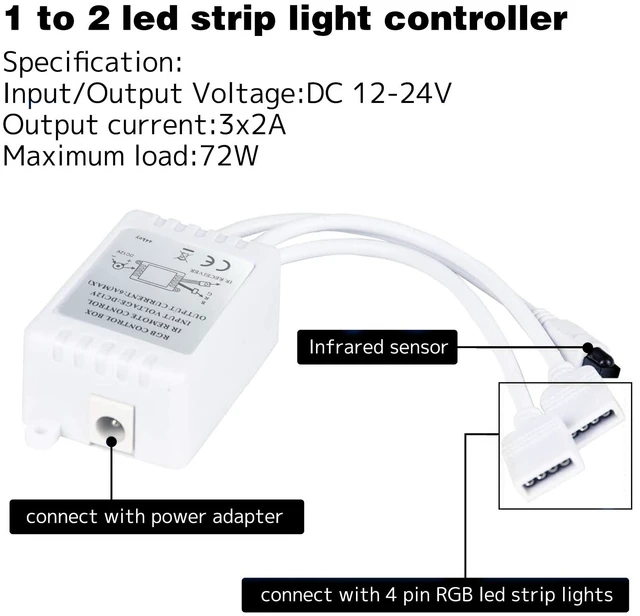
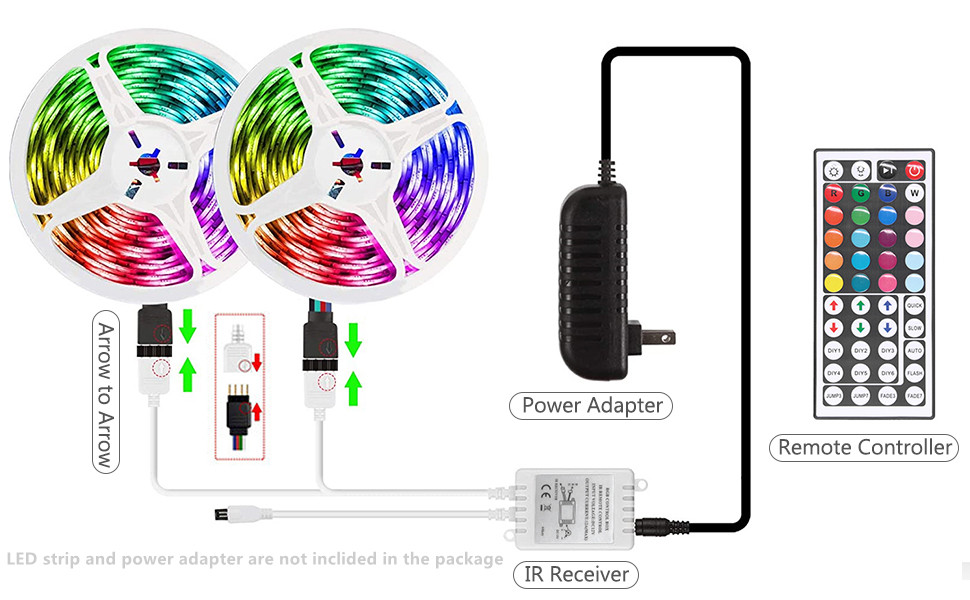
1 x 2 Port Output IR Receiver Box
2 x 4 Pin Male Connector
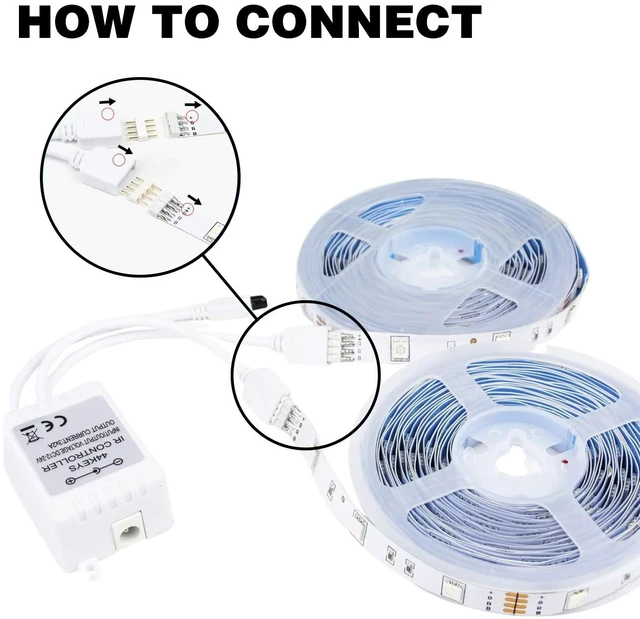
Firstly, pull out the plastic cover on the buttom of remote before use. Then connect controller box with led strip (arrows marks between control box and strip connector should be on same position). Finally, remote should be aimed at the ir receiver and without any obstacles.
If the buttons don't control the right colors. First, you can press the remote control switch button , turn off the light strip. Then press the FADE7 button(the last button below the right), The light strip will flash. Then press the switch button to turn on the light strip, the buttons can control the correct color. If not, repeat the above steps until the button can control the correct color. If you can end the operation.
Step 1: Activate the DIY function. -Turn on the light; -Press one of the RGB buttons; -Press the DIY1 button once (with DIY1 as an example).
Step 2: DIY setting. Long press red up arrow or down arrow buttons to increase or decrease red proportion (Press 5 seconds or more). Adjust the green (green arrow) and blue (blue arrow) proportion in the same way to DIY you favourite color.
Step 3: Keep the color you just set by pressing the DIY1 button again, the setting has been completed and current color will be saved.
Step 4: Repeat the steps above to set the rest of 5 DIYs, all 6 DIY buttons are memorial design, once save the mode, you don’t have to reset next time.
Remove plastic conver from led light remote before use
Led remote controller aimed at infrared receiver
Pick up the correct connections for your lights
Super easy assemble and install
1 x 44 Key Remote
1 x 2 Port Output IR Receiver Box
2 x 4 Pin Male Connector
Firstly, pull out the plastic cover on the buttom of remote before use. Then connect controller box with led strip (arrows marks between control box and strip connector should be on same position). Finally, remote should be aimed at the ir receiver and without any obstacles.