
My tech bucket list includes an ultimate custom-built rig and after seeing the new games announced at E3, I knew 2015 would be the year I crossed this goal off my list. My 3-year-old rig is a full ATX tower and it is completely maxed out. Time to put my computer skills to work.
I decided the PC build of my dreams will be a Mini-ITX system with enough juice to play any game at full resolution.
The Build
Now I’m no brand elitist, but as I gathered the parts in my wishlist I realized a majority of them were from Corsair, and the OCD in me decided to use as many Corsair parts as possible. Among all the components I envisioned for my build, two Corsair components set the foundation for my dream machine: a mini-ITX case and an all-in-one (AIO) liquid cooling unit to handle high-performance gaming. Here is every part in my build:
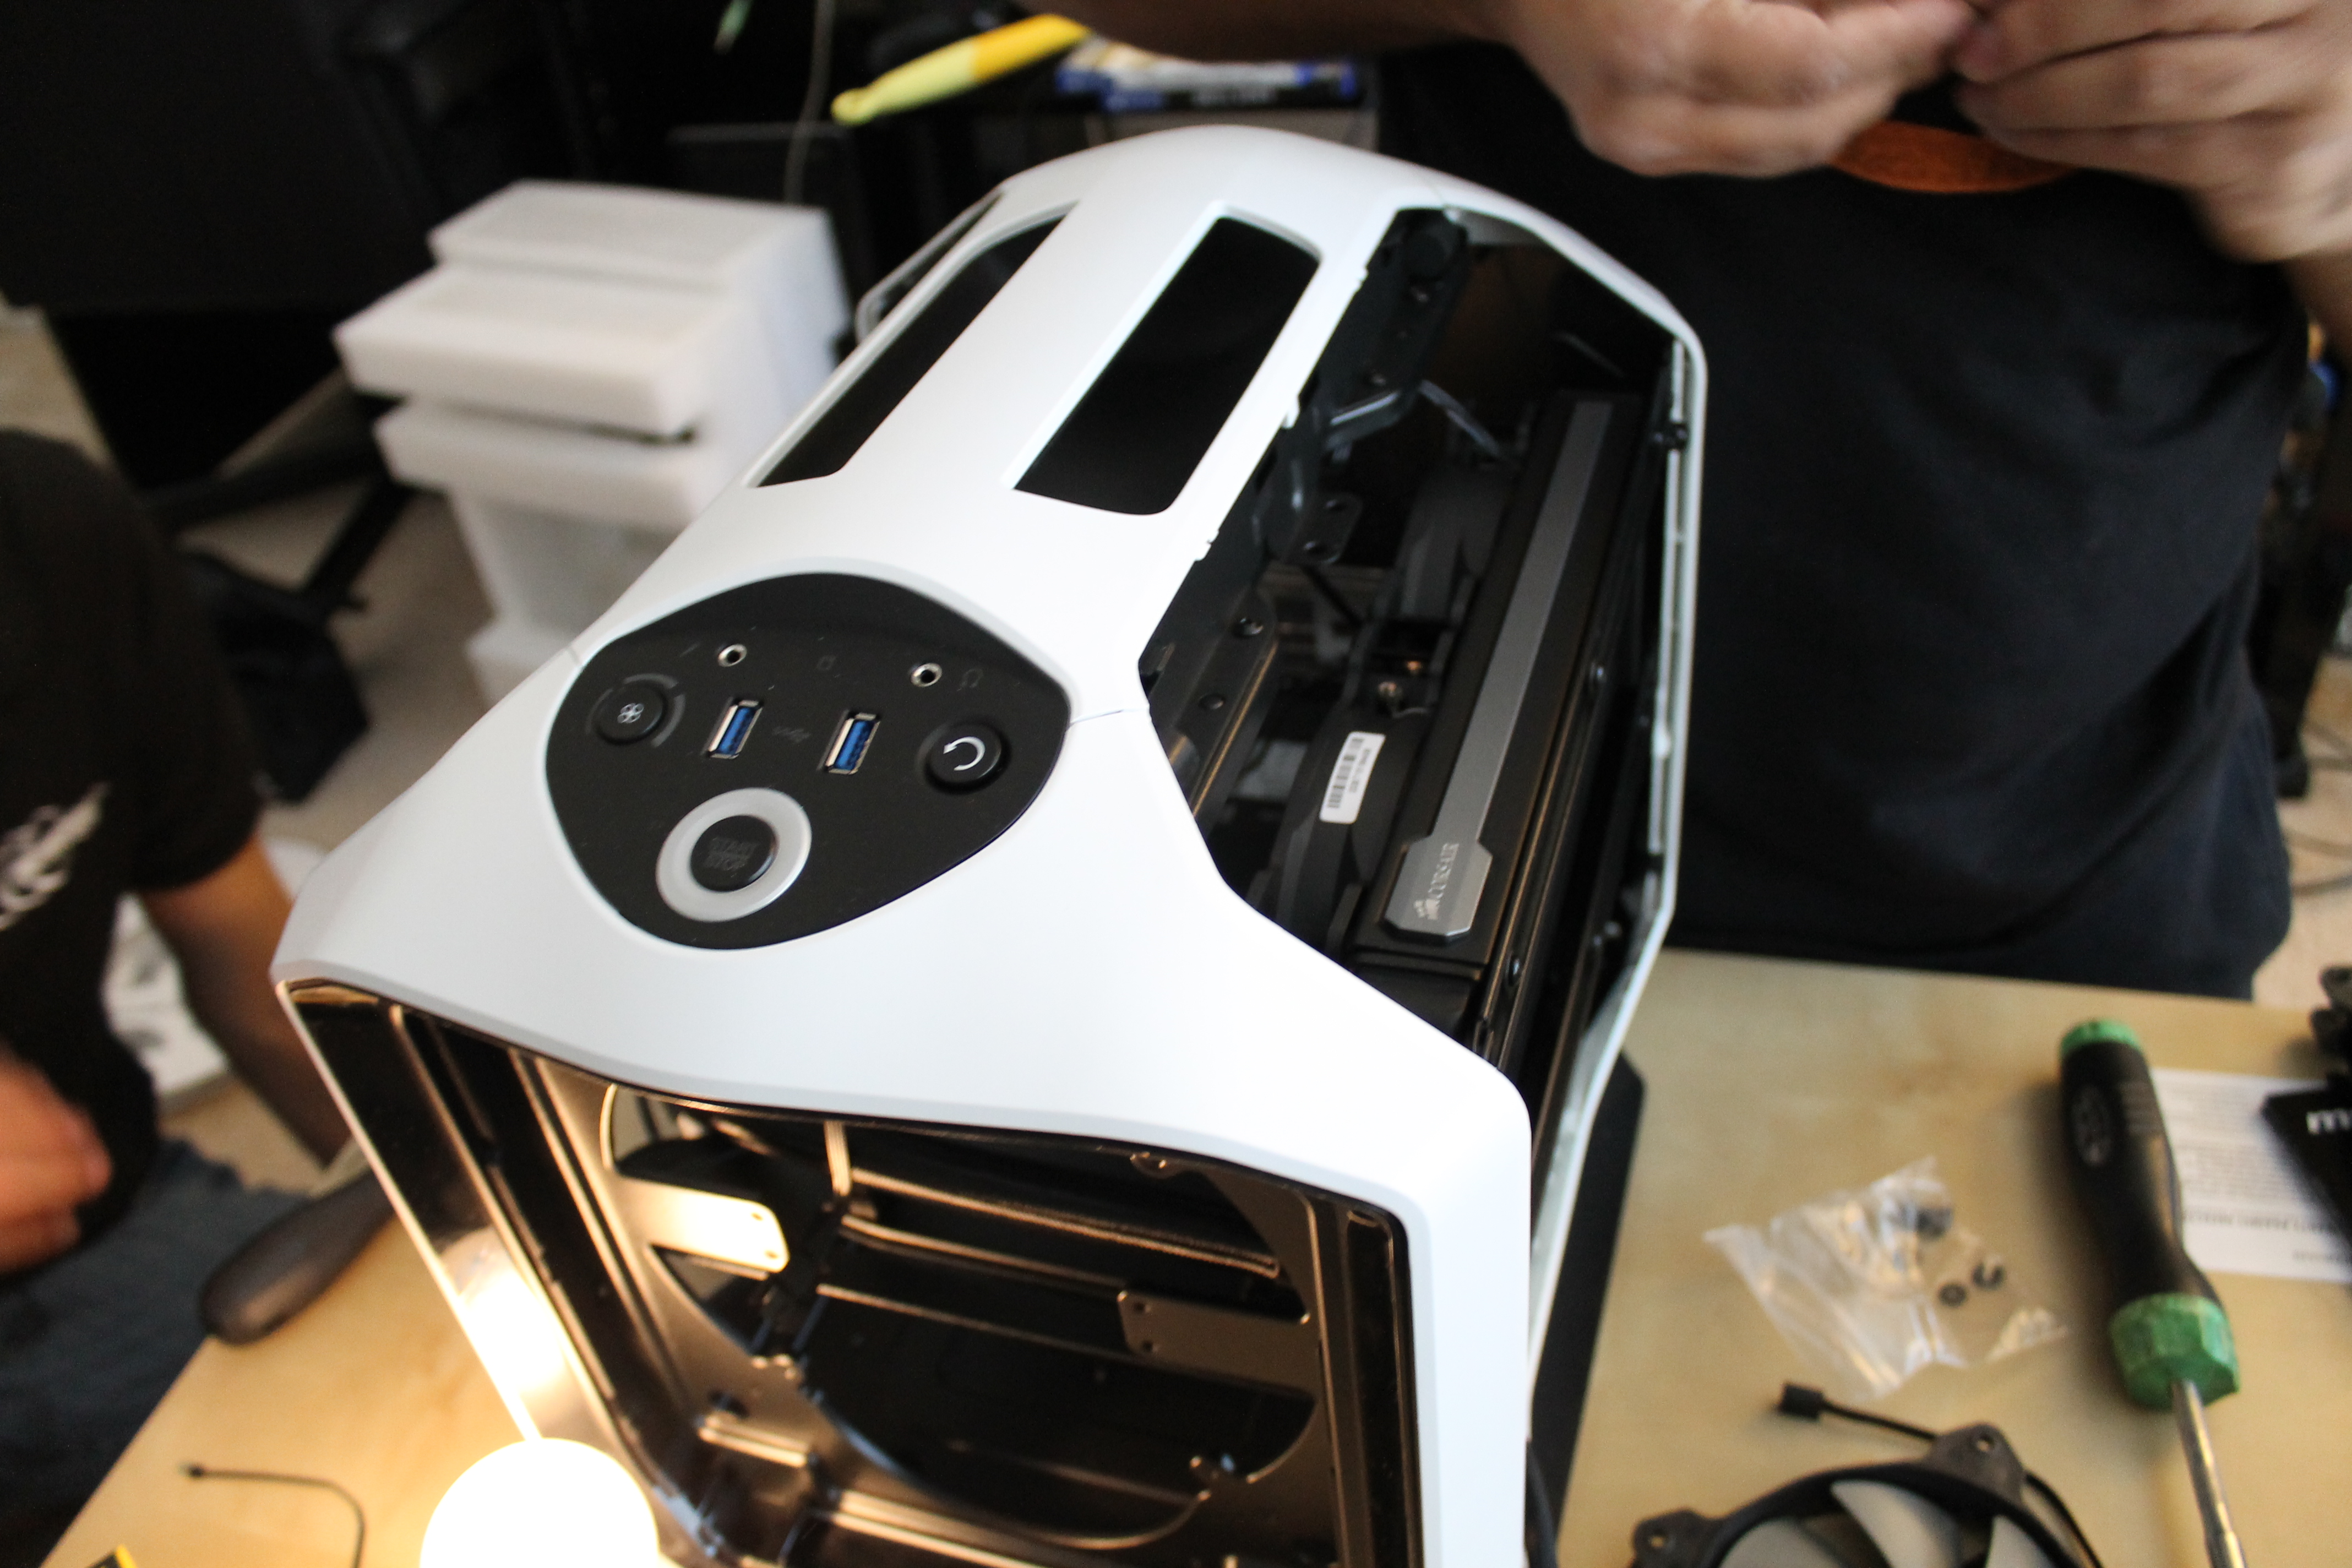
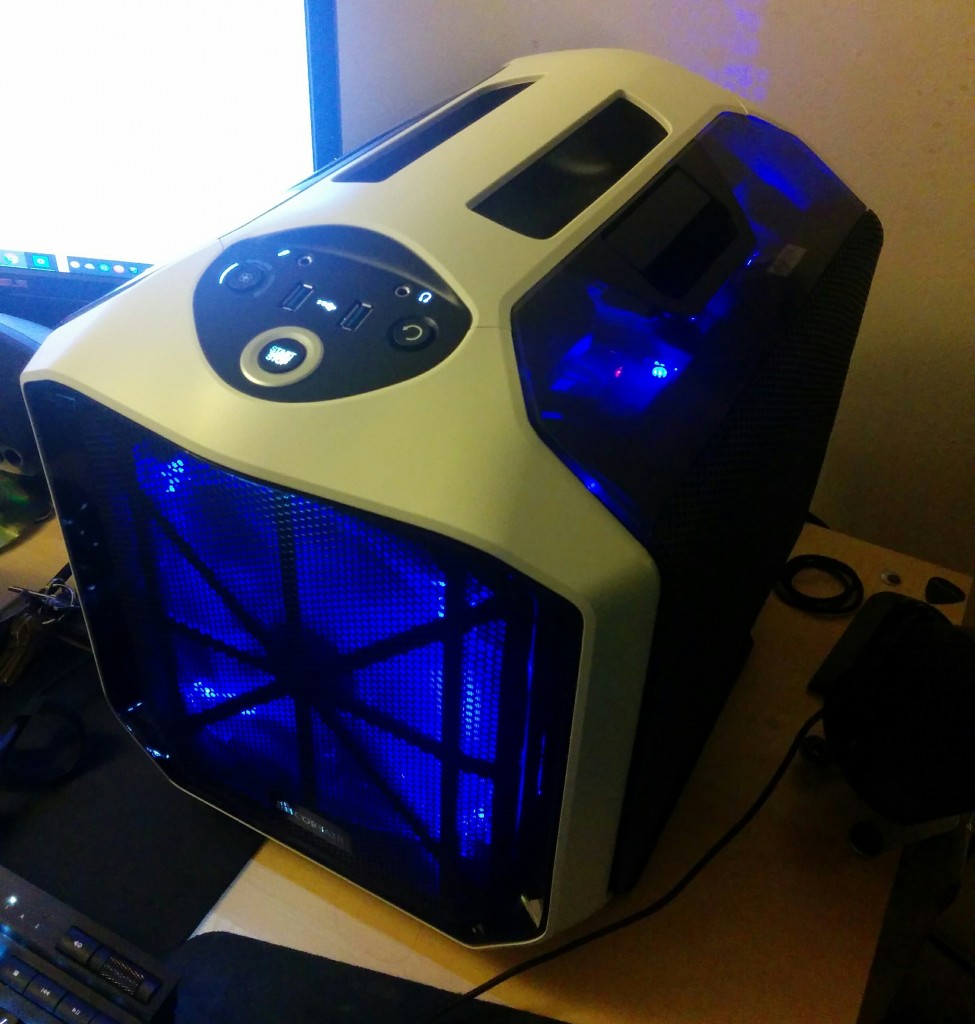
Corsair Graphite Series Mini-ITX 380T Portable Mini ITX Case

I absolutely fell in love with the looks of the 380T. With a convenient carry handle I could see myself arriving at a LAN party easily carrying my machine. I went with the white version, which reminds me of the Portal gun.
Corsair Hydro Series H75 Water/Liquid CPU Cooler 120 MM
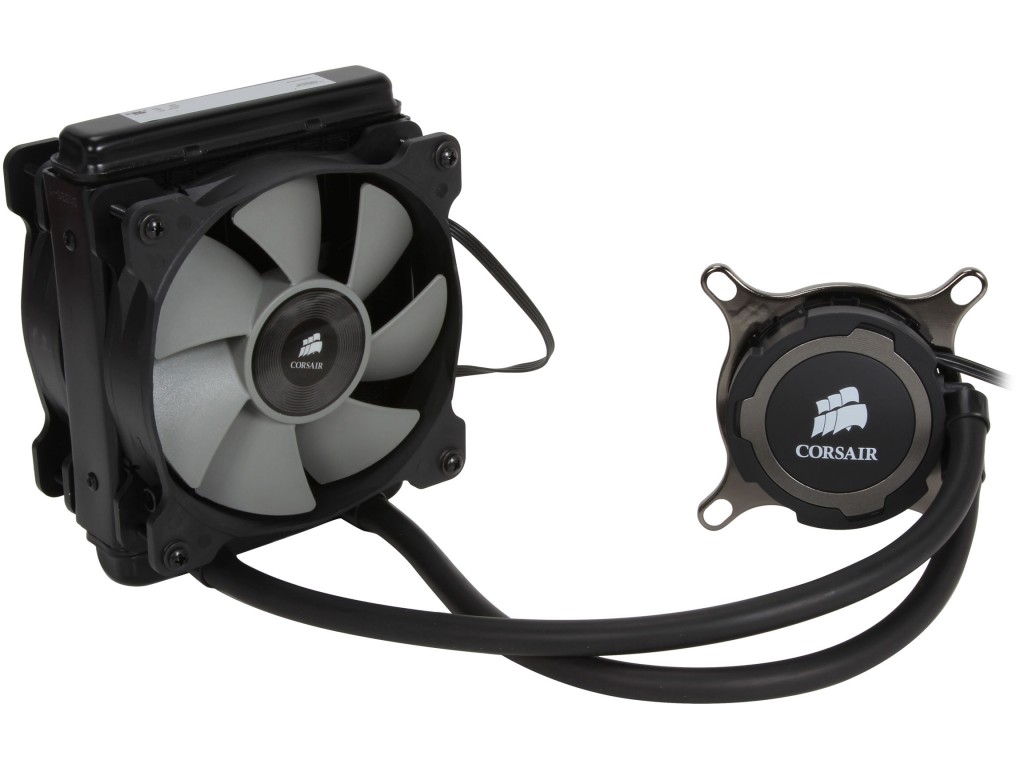
Q: How do you overclock a CPU in a mini-ITX when it doesn’t have room for custom liquid cooling?
A: With a closed loop all-in-one liquid CPU cooler! Originally, I thought the larger H100i would work, but it took up too much space. I will detail issues, later.
Intel Core i7-6700k 8M Skylake Quad-Core 3.4 GHz LGA 1151 Desktop Processor Intel HD Graphics 530

I thought about using the i7-4790k Devil’s Canyon, but opted for the latest and greatest Intel Core i7-6700k Skylake. Brand new rigs demand brand new technology
MSI Gaming Z170I Gaming Pro AC LGA 1151 Intel Z170 HDMI SATA 6Gb/s USB 3.1 Mini ITX Intel Motherboard
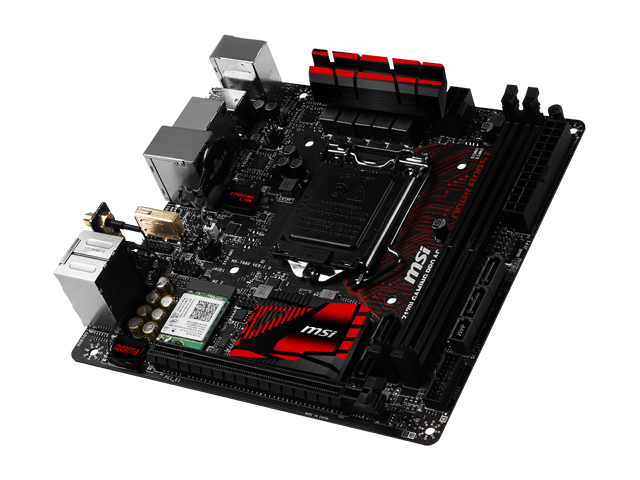
Skylake needs a motherboard that can use its new LGA 1151 CPU socket. I went with the MSI Z170i Gaming Pro AC mini-ITX. Many of its features are specifically geared to enhance gaming, which is the whole point of my build.
CORSAIR Vengeance LPX 16GB DDR4 3000 Memory
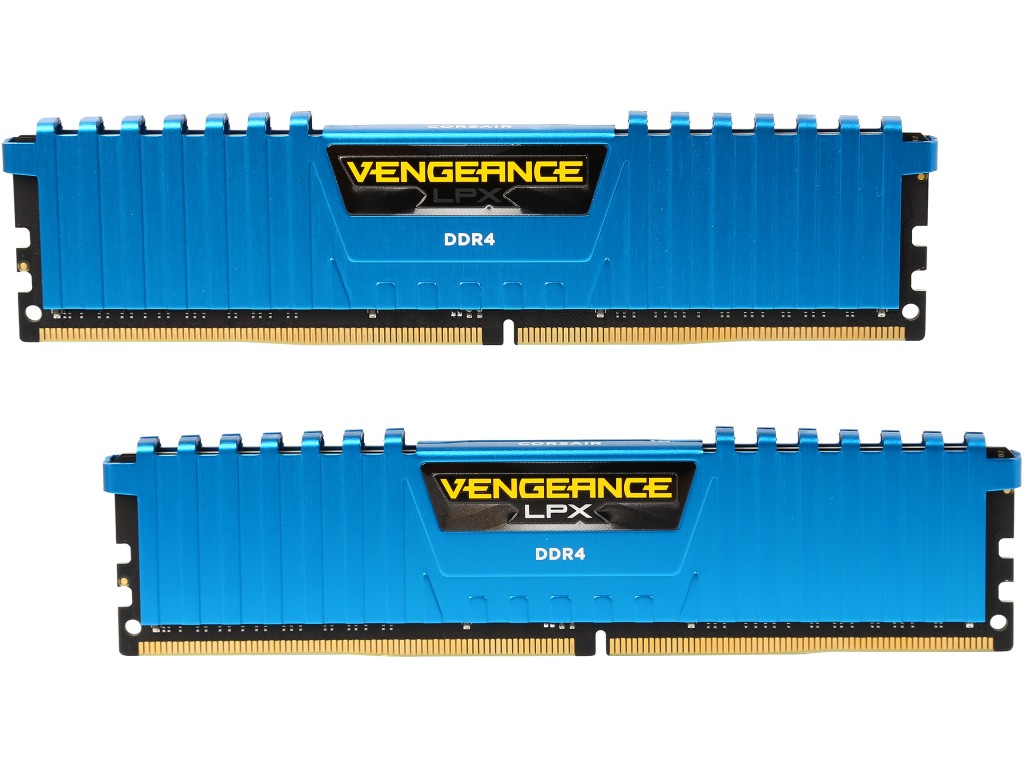
Other than overclock flexibility, selecting memory never really struck me as a major item to ponder. So I simply went with blue Corsair Vengeance LPX 16GB DDR4 3000. I probably could have gone with another brand, but I’m a stickler for matching brand and color interior.
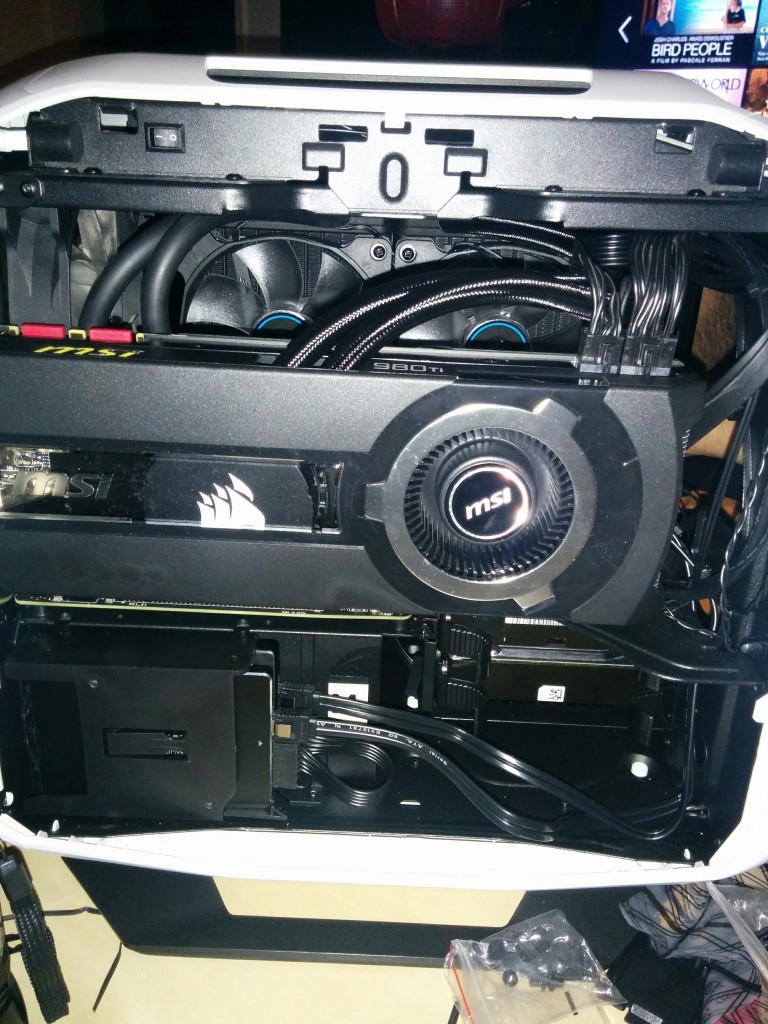
MSI GeForce GTX 980 Ti SEA HAWK
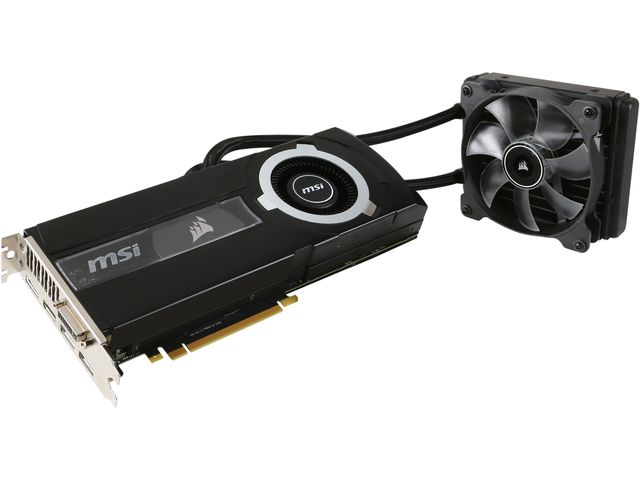
This is the other mini-ITX game changer, a GTX 980ti with an integrated closed loop all-in-one liquid cooling module, courtesy of a collaboration with Corsair. Is the idea of a powerhouse overclocked gaming rig in a small form factor case starting to make sense now?
CORSAIR CX Series CX850M 850W ATX12V / EPS12V 80 PLUS BRONZE Certified Modular Power Supply
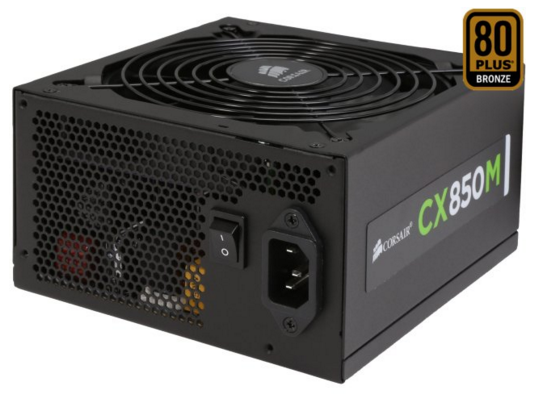
I initially went with a Corsair RM850i, but forgot to take the 380T case’s PSU slot dimensions into consideration. While other builds settled for zip-tying a larger PSU and letting it stick out the back, I couldn’t stand for anything less than flush perfection.
Cooler Master MegaFlow 200 – Sleeve Bearing 200mm Blue LED Silent Fan
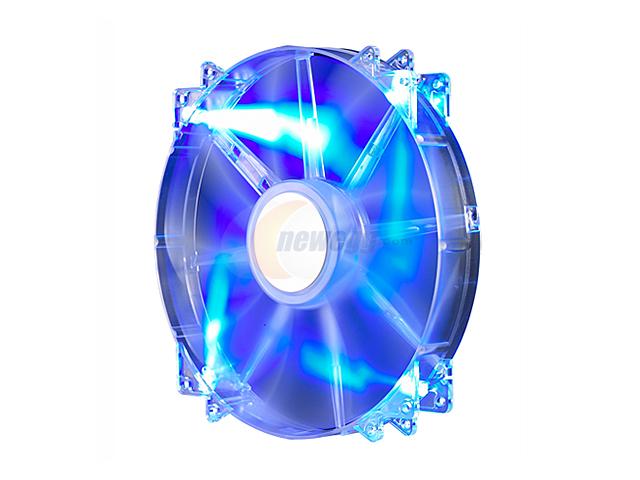
The Corsair 380T case can accommodate either two 120mm fans or a single 200m fan. Obviously higher air intake is better, and those pretty blue LEDs made this a no-brainer.
Corsair Air Series SP120 120mm Blue LED High Static Pressure Case Fan – Twin Pack

Again, with blue LEDs, these were originally meant to replace the two stock fans on the H100i. One of them ended up on the H75 radiator and the other on the GeForce GTX 980 Ti SEA HAWK.
Getting the Parts
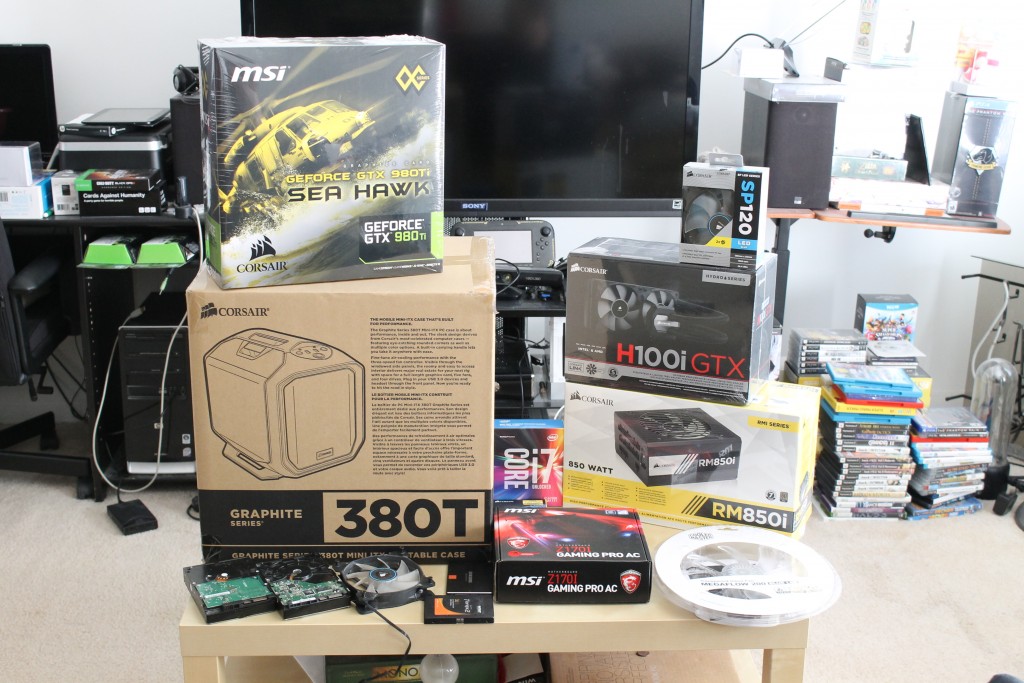
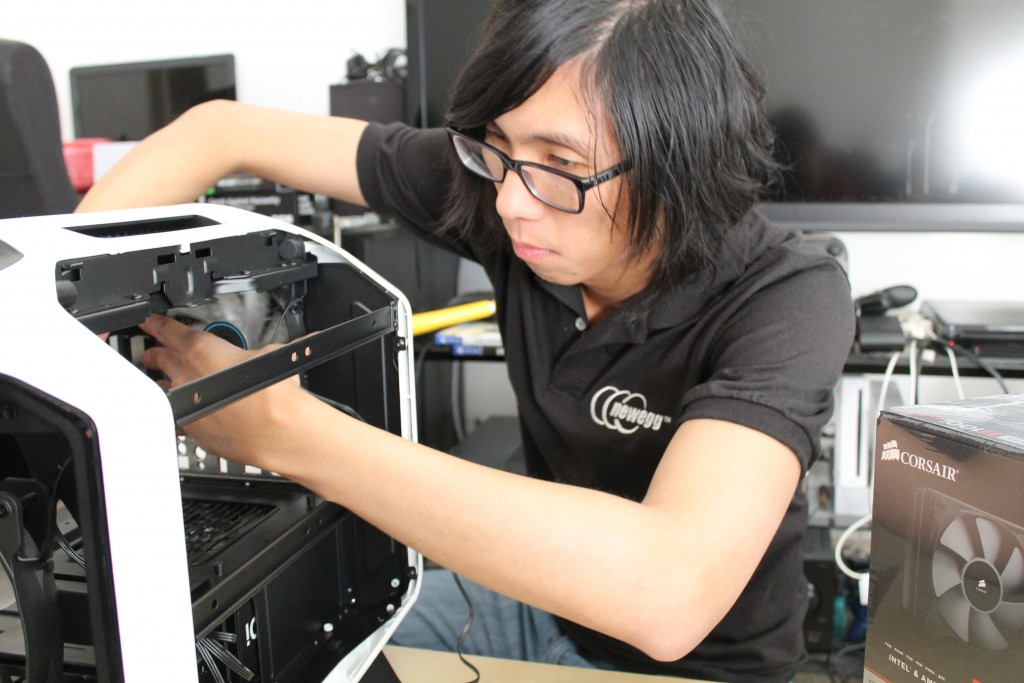
Newegg’s Black Friday sale was the perfect opportunity for me to snatch all of these components in one fell swoop. The remaining parts coming from my previous rig include another Corsair Air Series SP120 Blue LED to be used as the rear fan, my 2 SSDs and 2 HDDs. Plus, they have all of my data and games. The Coirsair 380T case has approximately two 3.5″ and two 2.5″ drive bays, so it was a match made in heaven. Being my first build, I enlisted the help of two friends: one a gentle giant with experience in building rigs, and the other a not-so-gentle giant who specializes in the cable management.
Putting the Build Together
We first installed the Skylake chip onto the Z170i motherboard with our fingers trembling at the horrible thought of messing up. As the replacement fans went on the H100i and the RAM on the motherboard, the Corsair RM850i power supply went in the case. To my horror a good 20mm of it was sticking out the back. I put a pin on whether or not I would zip-tie it as I had seen in other builds or replace it. Normally the CPU cooler is mounted onto the processor before the motherboard goes in, but since we’re working with a closed loop cooler we mounted the radiator on the two side rails on the right side of the case first.
Trouble in Paradise
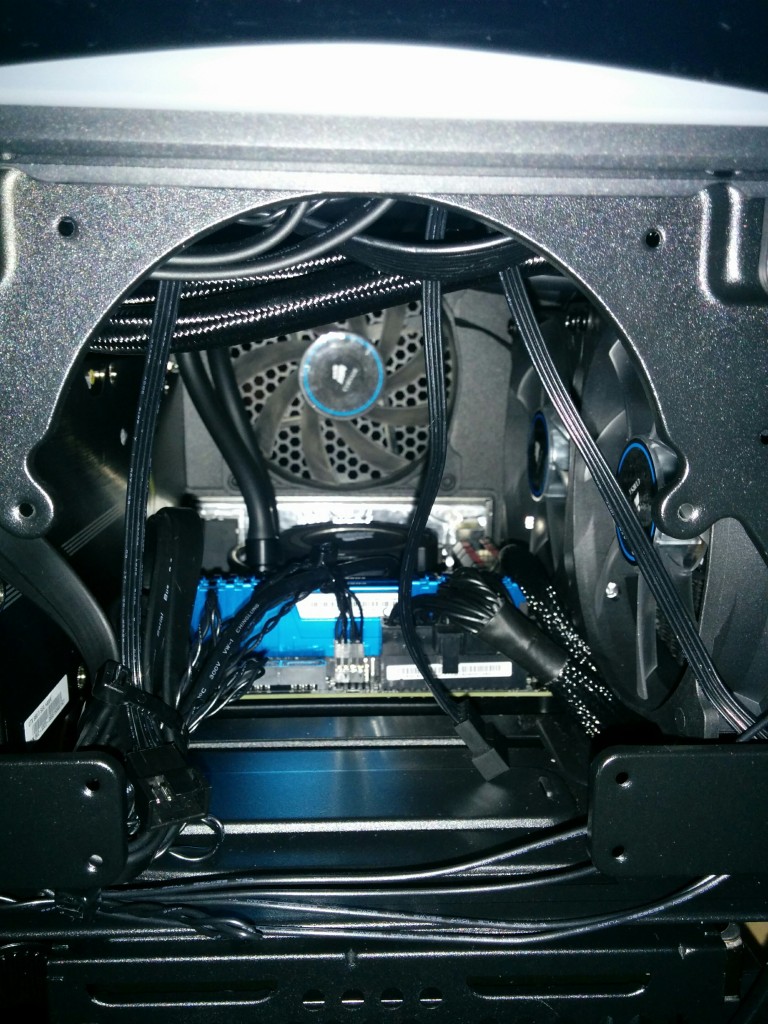
It’s a good thing we hadn’t attached the CPU cooler mount to the processor because while trying to mount the GPU’s radiator onto the rear, we realized the side reservoir did not allow it to fit! Our only option was to mount it as a front fan and have another 120mm fan beneath it in a push-pull configuration. This was not an acceptable compromise and we stepped back to brainstorm alternatives. One of my friends insanely suggested removing the ceiling plate but it was riveted to the rear plate. After researching what other builders had done, I realized the GTX 980 Ti SEA HAWK’s radiator could fit on the side…if only the H100i liquid cooler wasn’t already occupying the entire side rail.
Solutions
The SEA HAWK integrates a Corsair H55 liquid CPU cooler, so all I would need to do is purchase another one and fit them side by side. My only available option was to get the Corsair Hydro Series H75 liquid cooler and remove the external fan. At least I have a spare 120mm fan now. Since we already had an incompatible liquid cooler we might as well replace the oversized PSU as well. We must have spent 40 minutes debating between a 140mm non-modular power supply with useless cables we would have to manage later, or a Corsair CX850M semi-modular unit which meets the PSU slot’s length at 160mm but would make for tighter space cable management. We opted for the latter.
Back at home base I was relieved to see the CX 850M fit like a glove into the PSU slot. I replaced the H75’s internal fan with a Corsair SP120 blue LED fan and mounted it. We hooked up all the power cables to the motherboard. Then we replaced the GPU radiator’s default fan with the other Corsair SP120 blue LED and mounted it next to the H75. Success! My old SP120 blue LED fan would serve as the rear fan. There was some difficulty with the back plate while mounting the GTX980 Ti SEA HAWK but we figured it out. After the SSDs and HDDs went in, we completed the installation with the Cooler Master MegaFlow 200 fan mounting.
Installing OS
I powered up the completed rig to have my eyes filled with azure as all four bright blue fan lights came to life. As I booted a clean installation of Windows 10 Professional, I noticed two glaring oversights: the case’s left door wasn’t closed all the way and one of my HDDs was not registering. I opened the left door to find my friend’s cable management was so tight, it yanked the SATA cable out of the unregistered hard drive. The GPU’s power cable was also threaded outside the radiator rails. A little rearrangement and those minor issues were quickly resolved.
Moment of Truth
Once Windows 10 was installed, I decided to try a game to test the MSI Afterburner overclocking software. I picked up where I last left off in Fallout 4 and, for the very first time, the launcher auto-detected and changed the graphics settings to Ultra High. I was thrilled. I copied my data from my laptop which could barely handle the game, and loaded it on both systems to compare the graphics. I was blown away by the textures, shading, frame rates and subtle things like the grass you can’t see on low graphic settings! Rainbow Six: Siege, which came free with my purchase of the MSI GeForce GTX 980 Ti SEA HAWK, was also a crisp experience, even though I’m horrible at first person shooters.
After Thoughts
Having never experienced liquid cooling before, I wasn’t familiar hearing the hum of the radiator and pumping of liquid, although my previous rig was louder due to its age. I was surprised by the amount of heat radiating from the GPU radiator while running games. Overall the build was a success. We will revisit the cable management for maximum airflow in the future and I was fortunate to have the assistance of my friends, whose gargantuan sausage fingers made building a mini-ITX building quite a daunting experience. Words can’t express the satisfaction of seeing this compact gaming rig come to life. For the first time I find myself marveling at my PC more than the game I’m running!
Related Posts
- Exploring Newegg Shopping Tools: Optimizing Your Tech Purchases
- Why Gaming PC Prices Are Rising in 2025 — And How Newegg Shoppers Can Stay Ahead
- Newegg Gaming PC Finder – Smart Tool for Every Gamer
- Gaming PC vs. Gaming Laptop: Which Should You Buy in 2025?
- How to Choose Between a Pre-built and Custom Gaming PC