

Your Browsing History


Meet Your Seller


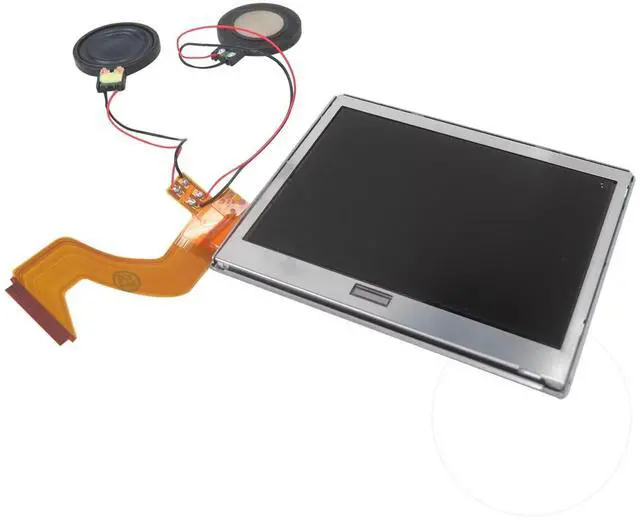
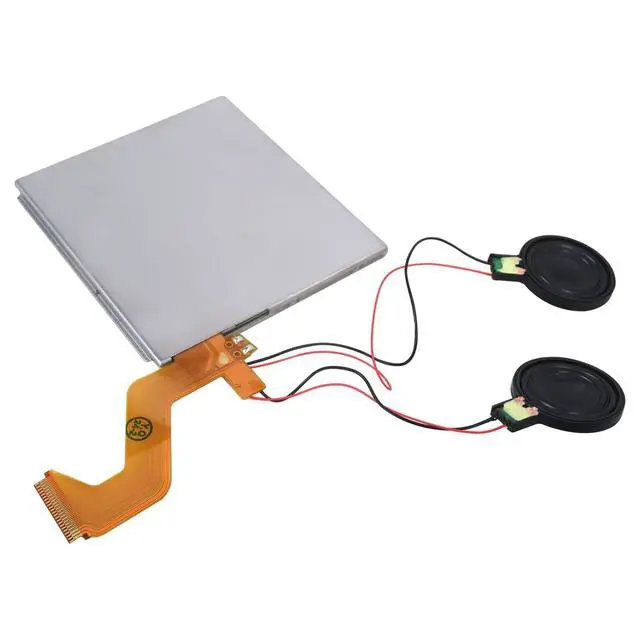
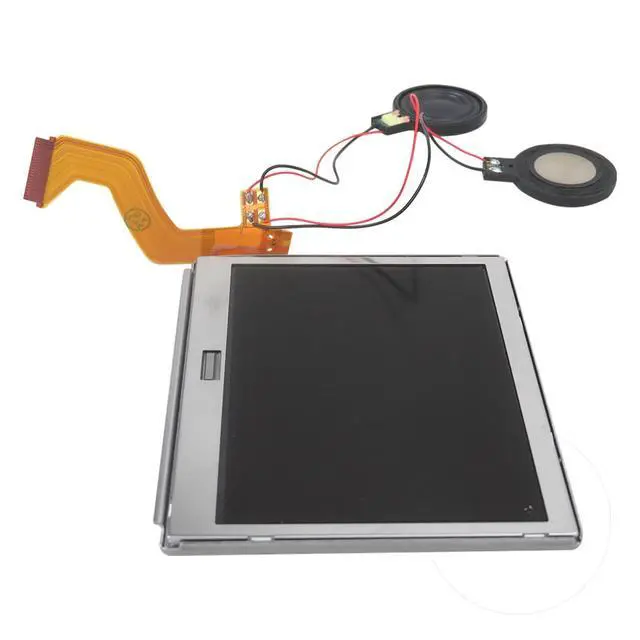
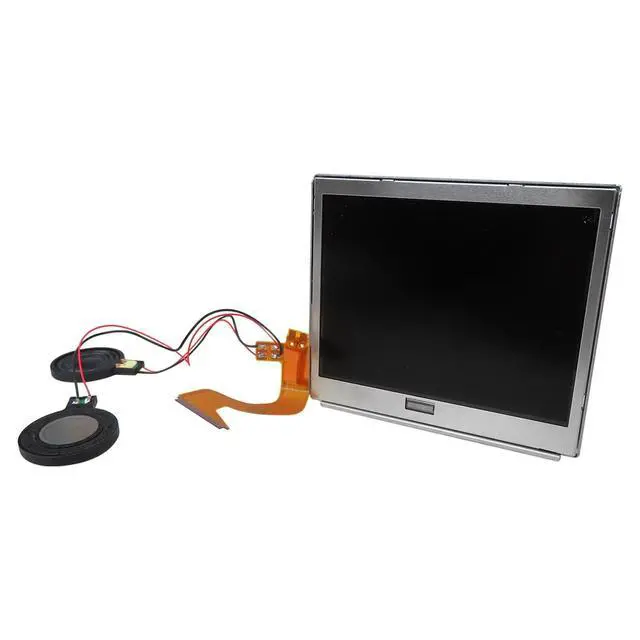


Top Upper LCD Screen Display Replacement for Nintendo DS Lite With Speakers by
Limited time offer, ends 09/07 By HeYuan Shop
- FITMENT: This is a replacement screen for Nintendo DS Lite with the speakers already attached. Every screen is checked right before shipping. Installation Guide: You will need to move the colored bezel from your old screen. Do this by gripping the adhesive at the lower right corner of the screen and gently lifting; the bezel should lift off together with the adhesive as one piece. Use the top shell piece as a reference for putting it back together. Please note: the speaker wire connections are delicate, and if not handled with care, the speakers may detach. Defective returns are only accepted for screens that have not been installed. Please test the screen prior to installation. To test the screen before installing: connect the top screen, bottom screen, and wifi card. Then, press the battery against the terminals with the logo facing outward. The console will then be able to turn on. Be sure the battery is positioned correctly, or it will damage the fuse on the motherboard
+
+
Overview
Specs
Reviews

Any questions? Our AI mode will help you find out quickly.
Try me now
FITMENT: This is a replacement screen for Nintendo DS Lite with the speakers already attached. Every screen is checked right before shipping.
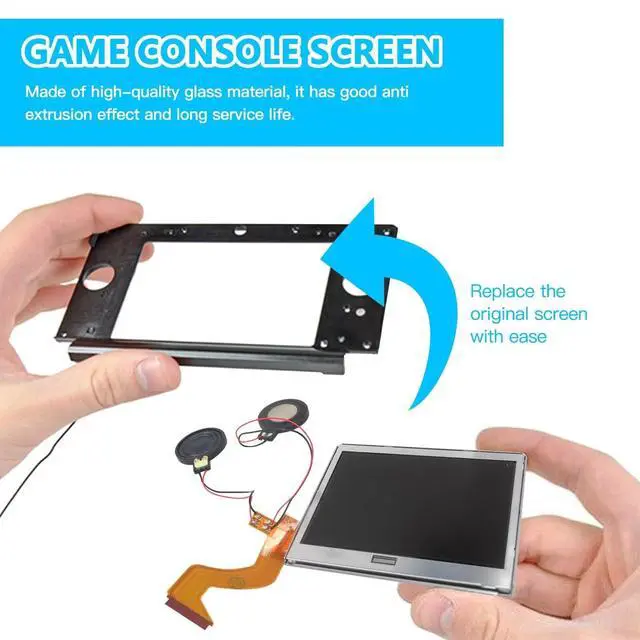
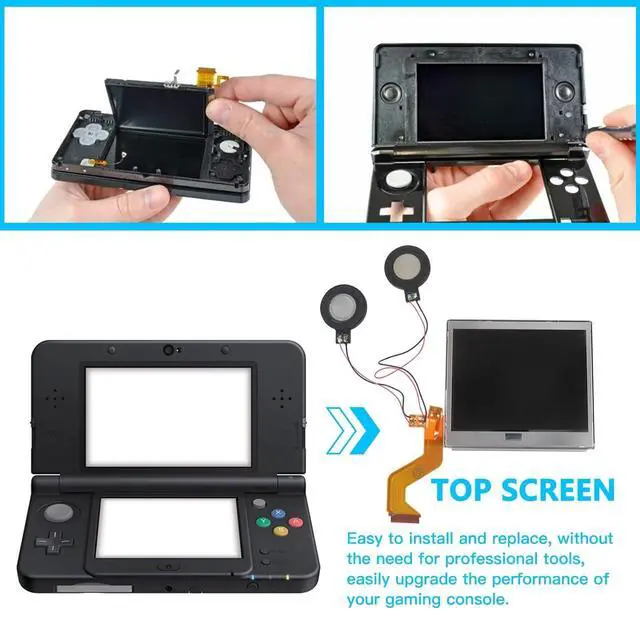
Installation Guide: You will need to move the colored bezel from your old screen. Do this by gripping the adhesive at the lower right corner of the screen and gently lifting; the bezel should lift off together with the adhesive as one piece. Use the top shell piece as a reference for putting it back together.
Please note: the speaker wire connections are delicate, and if not handled with care, the speakers may detach. Defective returns are only accepted for screens that have not been installed. Please test the screen prior to installation. To test the screen before installing: connect the top screen, bottom screen, and wifi card. Then, press the battery against the terminals with the logo facing outward. The console will then be able to turn on. Be sure the battery is positioned correctly, or it will damage the fuse on the motherboard
Installation Guide: You will need to move the colored bezel from your old screen. Do this by gripping the adhesive at the lower right corner of the screen and gently lifting; the bezel should lift off together with the adhesive as one piece. Use the top shell piece as a reference for putting it back together.
Please note: the speaker wire connections are delicate, and if not handled with care, the speakers may detach. Defective returns are only accepted for screens that have not been installed. Please test the screen prior to installation. To test the screen before installing: connect the top screen, bottom screen, and wifi card. Then, press the battery against the terminals with the logo facing outward. The console will then be able to turn on. Be sure the battery is positioned correctly, or it will damage the fuse on the motherboard
Warranty & Returns
Warranty, Returns, And Additional Information
Warranty
- Please contact the Seller directly for warranty information. Warranty information may also be found on the Manufacturer's website.
- CONTACT
Return Policies
- Return for refund within: 30 days
- Return for replacement within: 30 days
- This item is covered by HeYuan Shop Return Policy
Manufacturer Contact Info
- For a directory of all our manufacturers, please click below.
- Manufacturers Directory
LOADING...