In May of this year, I wrote about how I wanted to upgrade my PC gaming rig but didn’t have the time or the budget to devote to that investment. Instead, I settled for simply migrating my aging components to a new case: the RIOTORO CR1288TG Full Tower.
I’ve been picking up a lot of side hustles since then, and I finally put together a new system that makes sense for me. Here’s the list of components I chose and why I chose them.
CP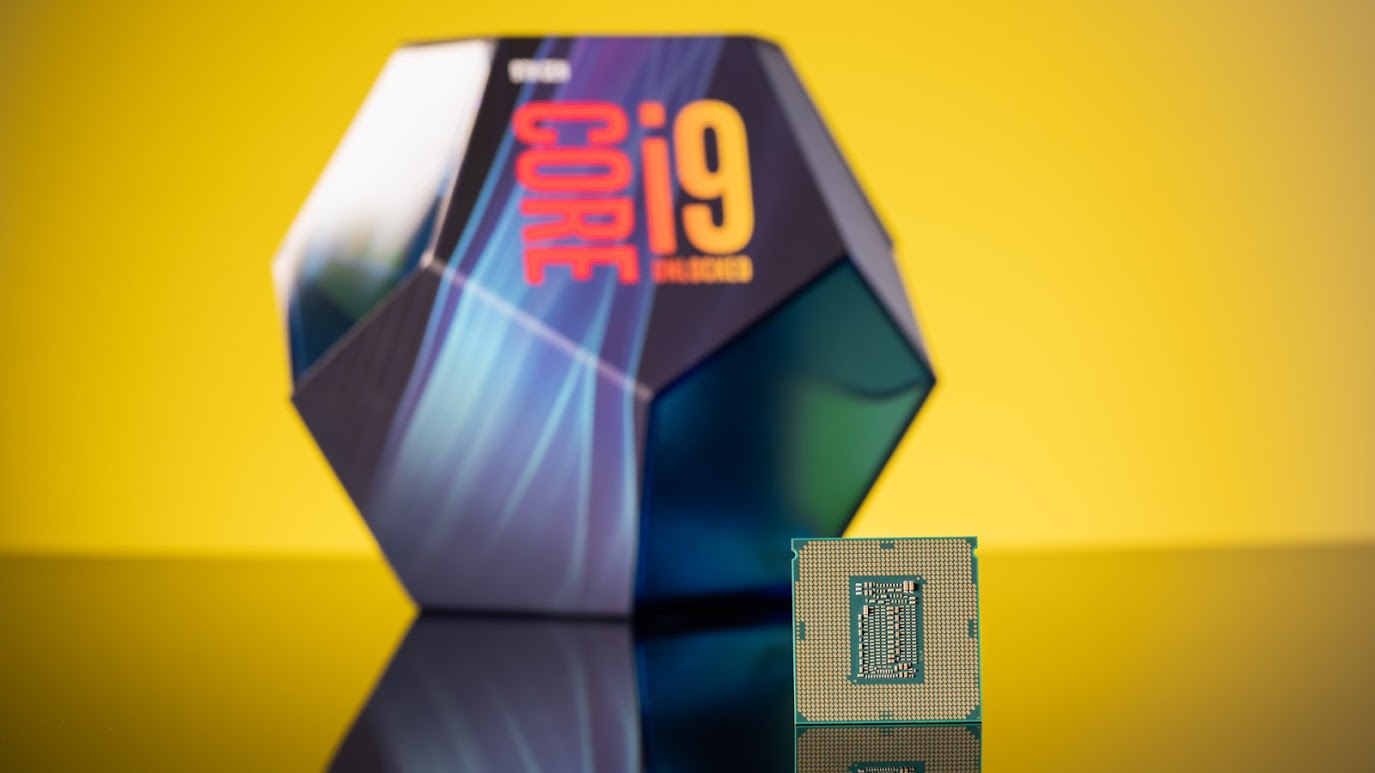 U: Intel Core i9-9900K Coffee Lake 8-Core
I vacillated on whether I needed this level of performance from the CPU. I’ve never overclocked my PCs before, and I wasn’t sure that I would do that here, so perhaps I didn’t need an unlocked CPU. I had originally considered the Intel Core i7-9700KF which only offers 8 threads instead of 16 and doesn’t come with integrated graphics (which I don’t need) but is roughly $100 less expensive.
In the end, the future-prepper in me decided that the extra spend was tolerable for the possible unforeseen circumstance where I’d need to spin up 15 virtual machines or something.
GPU: MSI GeForce RTX 2080 SUPER
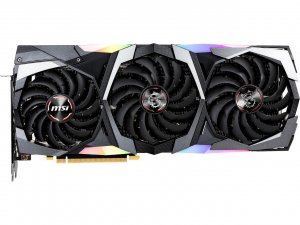
I was upgrading from an MSI GeForce 970 GTX. I skipped the 10 series Nvidia cards because of how the cryptocurrency craze inflated prices, and I was about to pick up a 2080 RTX when the SUPERs were announced. So, I waited again until those cards came to market.
I always liked the design language of MSI graphics cards, and my 970 served me without any issues, so I decided to continue with the brand that I trusted.
Motherboard: MSI MPG Z390 GAMING PRO CARBON AC
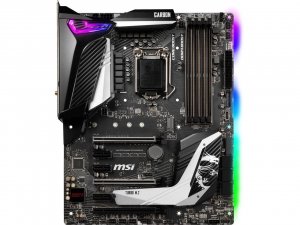 I don’t do enough extreme computing to judge motherboards on their performance. Instead, I choose them by their functionality, compatibility, and color. This MSI motherboard accommodated my CPU selection and was colored black, and those were my base requirements. RGB lighting was a nice-to-have but wasn’t essential since I had other light sources in my case. Slots for expansion cards are reinforced by “PCI-e Steel Armor” to help with heavy cards sagging, but that also wasn’t a decision-maker for me.
Finally, I didn’t really need the built-in WiFi capability and could have easily picked up the non-WiFi version of this board. Ultimately, this motherboard was on sale which was the deciding factor.
CPU Cooler: DEEPCOOL Castle 240EX
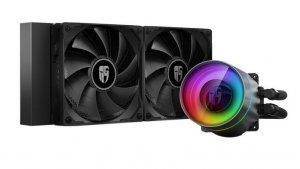 My requirements for the CPU cooler were that it needed to be an all-in-one liquid cooler, fit in my case, have RGB lighting, be dark-colored, and have minimized branding. The last criterion was the hardest to meet. Most manufacturers make their logo part of the RGB lighting effects, and they always come off as a gaudy advertisement to me. I feel like the eye is naturally drawn to the CPU, and to have a brand right on top of it is to brand the entire computer. So I looked for something that was de-branded or offered the ability to customize what appeared on the CPU water block.
That’s why I had initially settled on buying the ASUS ROG Ryujin 240 RGB AIO Liquid CPU Cooler, since it featured an option to customize the graphic sitting on top of the CPU. I ultimately settled on something simpler and more straightforward. When you swap out the included Gamerstorm logo for the included blank insert, the DEEPCOOL Castle 240EX gives a cool illusion of emptiness in the case.
Memory: CORSAIR Vengeance LPX 64GB (4 x 16GB)
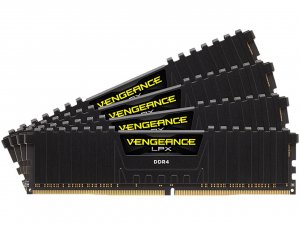 I’m not a RAM expert, so my requirements are also simple here: compatibility, color, and amount. Ever since the first PC I built myself, I’ve never had a problem with Corsair. They’ve always been compatible with my builds, and they’ve never prevented my system from booting.
I had originally planned on only getting 32GB with red heatsinks but the inner prepper in me rose up again and screamed: “What if?!” So, I decided to max out the motherboard with 64GB of overkill, complete with black heatsinks. I lamented the color at first, but to get the same RAM with red heatsinks would have almost tripled the cost.
SSD: CORSAIR Force MP600 M.2 2280 1TB
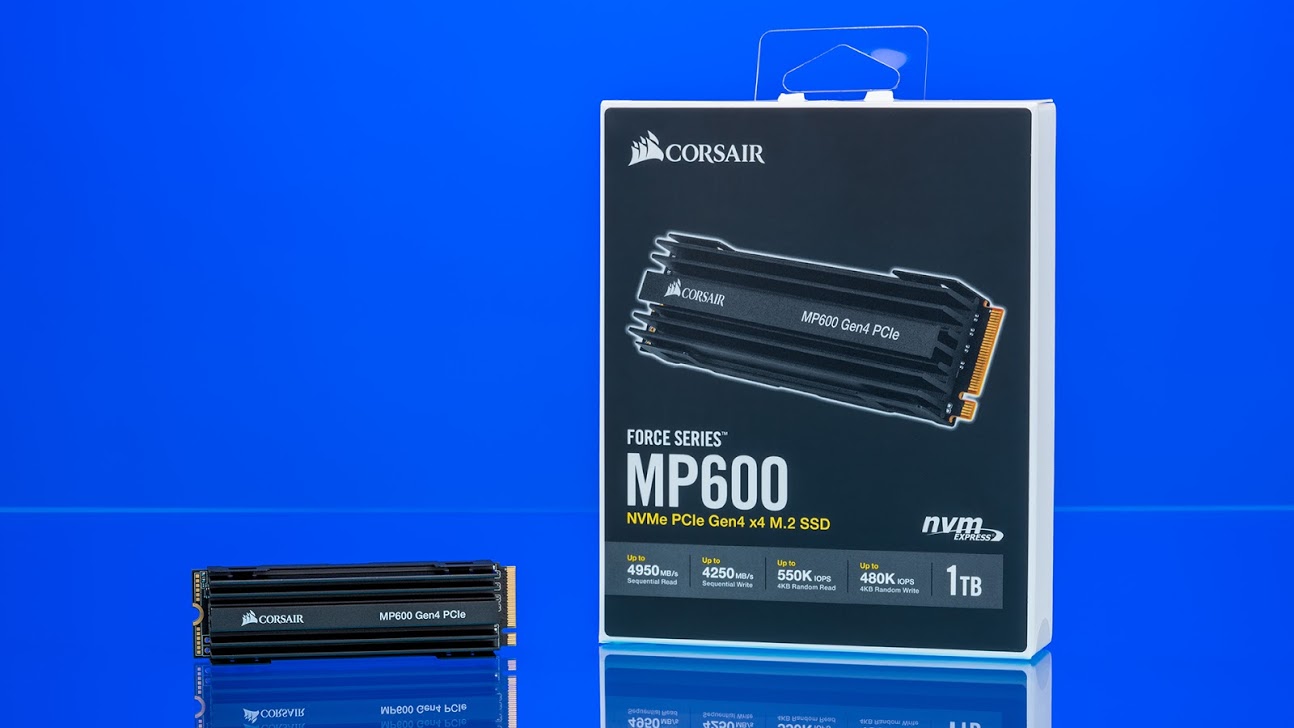 This was an unnecessary additional cost since I already had a brand-new SAMSUNG 970 PRO M.2 2280 512GB waiting to be installed. Unfortunately for my wallet, I subscribe to the Newegg Studios YouTube channel, and I caught their video with Corsair discussing their PCIe 4.0 MP600 SSD. After going down a rabbit hole of reviews and articles, I was convinced. Besides, I had a 512GB SSD installed on my current rig and I was bumping against storage space limits. 1TB is the new minimum for me.
Power Supply: CORSAIR RM Series RM650 CP-9020194-NA 650W
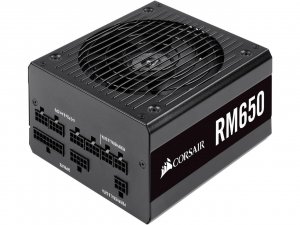 Admittedly, I could have bumped my wattage selection up to 750 for roughly $20 more, but 650 was all I needed to power my rig.
My two main requirements were that the PSU needed to be as compact as possible and be fully modular. The RIOTORO CR1288TG has a tight PSU cavity, and bending the power cables around obstacles can be a chore. Beyond that, I also appreciate the 80 Plus Gold Certified efficiency.
Likes, Dislikes, and Surprises
 My goal was to build a gaming rig with a red and black color scheme. As such, I installed all of the RGB fans that come with the RIOTORO fan lighting kit and adjusted all of the RGB lighting inside the case to red. Overall I do like the way it looks, but it also does feel like the “The Chicken Roaster” episode from Seinfeld sometimes.
On the topic of RGB lighting, I’m a little disappointed that MSI decided to include white LEDs at the top of the RAM slots. They are very bright and cannot be customized. From what I’ve read, their only purpose is to signify that a DIMM is plugged in, which isn’t helpful. I’m also having trouble with the Mystic Light controls in the MSI Dragon Center utility that comes with the motherboard. For some reason, the RGB lighting on my video card defaults to rainbow at startup, forcing me to correct it every time I boot. Considering that both my graphics card and motherboard are from MSI, this is a big disappointment, but maybe I’m the one doing something wrong. I’ll keep doing my research.
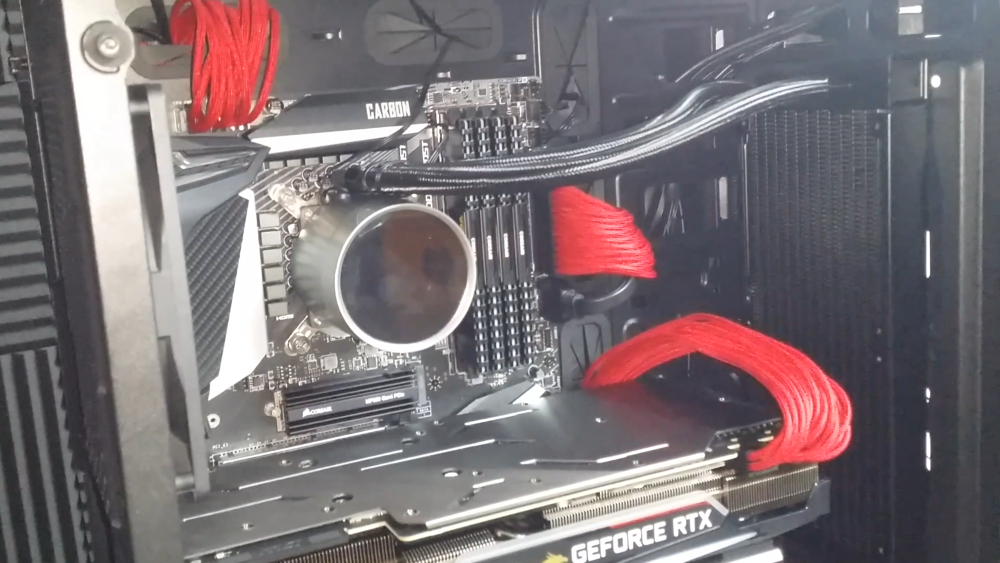 I’m pleasantly surprised by the CPU cooler. At first, I was worried that the short tubing wouldn’t work for my setup, but it turned out to be perfect with very little slack. I also wasn’t sure about the silver color of the CPU water block, but it ended up matching the silver accents on the motherboard. I’m a little disappointed by the chrome color of the mounting bracket, but it’s not terrible. As far as performance goes, the cooler keeps my CPU in the mid 30-degrees Celsius at most times and rarely breaks 50-degrees when gaming or using Adobe CC.
My biggest regret is not having bought combs for the exposed power cables inside the case. The tangle of braided cables disrupts the clean lines, but it’s easy enough to add that accessory later. I suppose I had hoped the finished product wouldn’t look as messy as it does.
Finally, kudos to MSI for making overclocking so easy. As I wrote above, I’ve never overclocked before and wouldn’t really know how to begin, but MSI makes the process a simple one-button affair in the motherboard’s BIOS. The utility cranked up my CPU frequency to 4.8GHz, and performance seems completely stable so far.
Now, if only I could find the time to work through my backlog of video games.