
My PC is a pre-built rig that I picked up during the great cryptocurrency GPU drought of 2018. It’s got hideous RGB bling on its case fans, a CPU cooler that sounds like a house fan, and a case straight out of the late 90s. It’s decently powerful (i7-8700K, 32GB RAM, GTX 1080 Ti), but bright as hell in the dark. I know the kids think that’s cool right now, but I haven’t been a kid for twenty years.
I live in a small apartment, and I often sleep in the same room as my PC, which presents a problem for me as a freelance videographer. There are many days when I finish an edit and need to leave a video to render and upload overnight, which means I’ve got bright blue LEDs blasting me when I’m trying to sleep.
So I’m on a mission to replace my cooling elements with the quietest, non-RGB fans I possibly can. I didn’t want to mess with watercooling, because I don’t have too much money to burn on this project. Also, my computer is a key part of my videography business workflow, and one unexpected leak can destroy a major project and ruin a client relationship, so no fluids are going into my computer.
So, I needed two 120mm case fans and a strong, quiet CPU cooler. I also didn’t want to spend more than $200 for the whole upgrade.
Here’s how I did it.
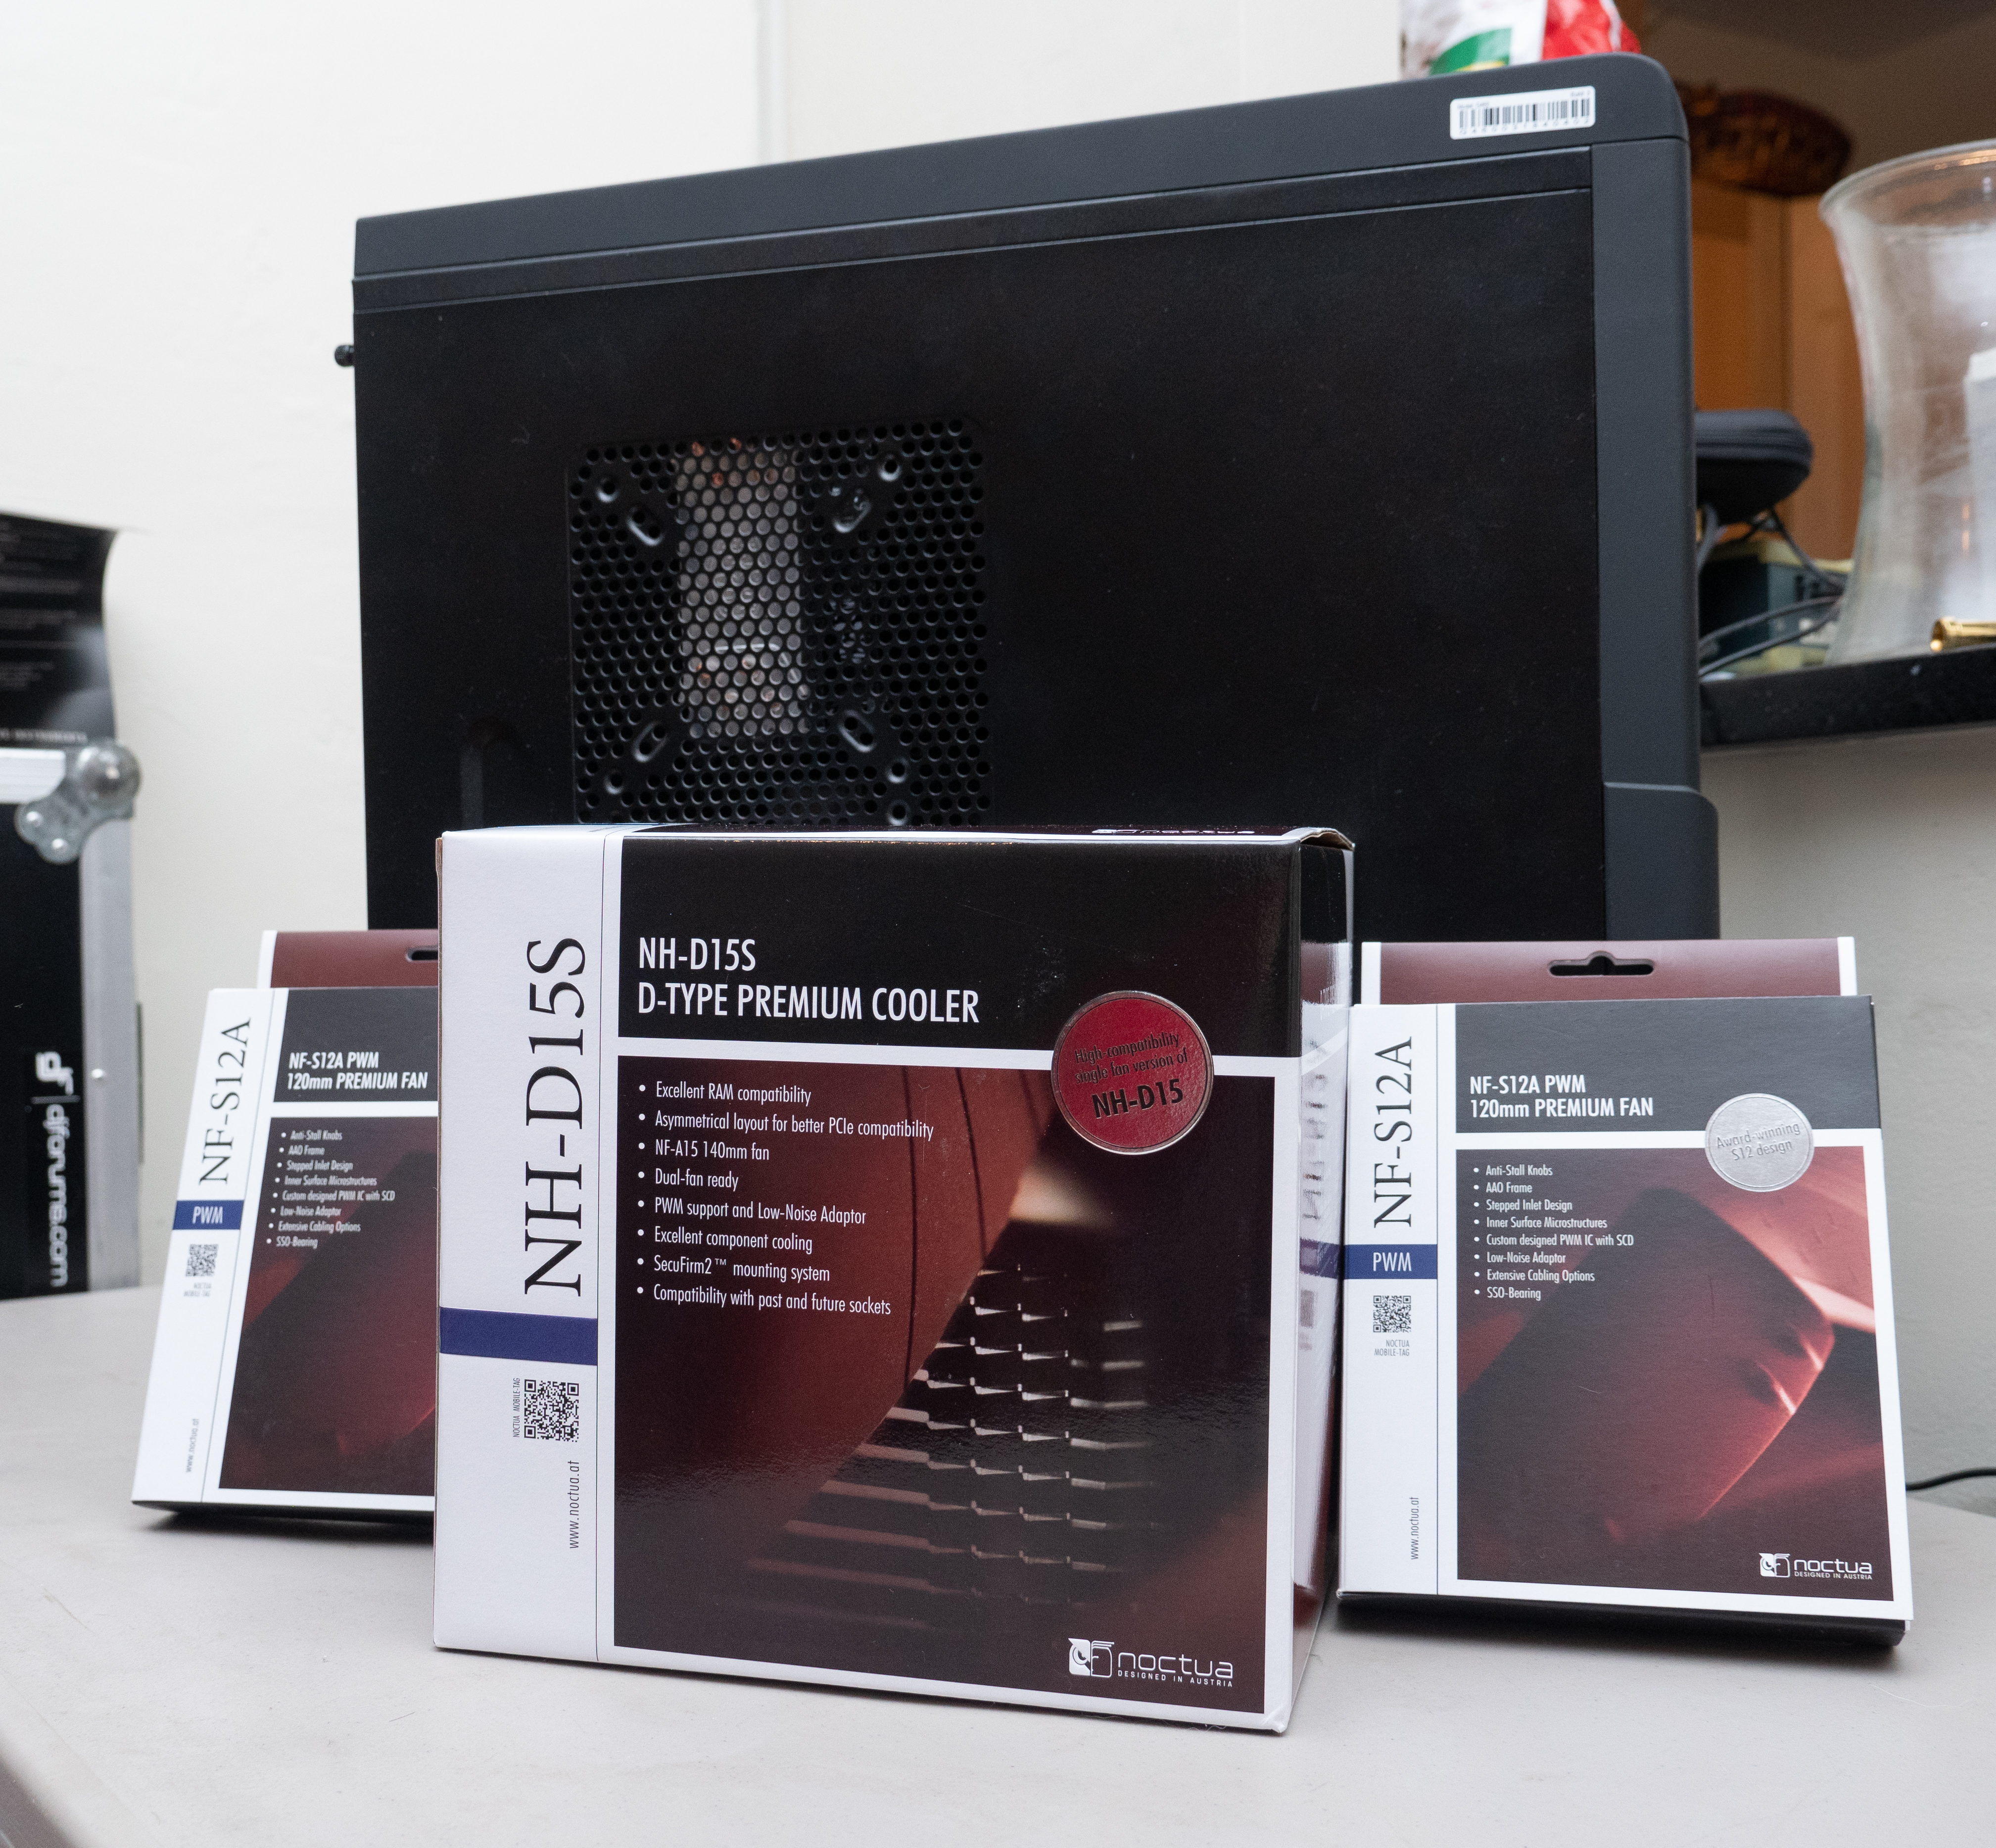
Noctua NH-D15S – $79.95
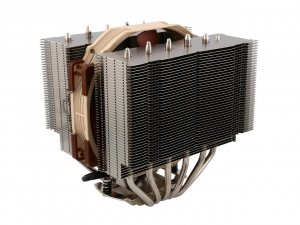
The NH-D15S looks like a CPU cooler rolled out of bed and put on a beige polo shirt and a pair of high-waisted khakis. It isn’t pretty, it reminds me of my dad, and I couldn’t be happier about it. There’s not a single LED to be found on this cooler, which is good, because when I go to sleep, this thing is less than five feet from my stupid old face.
I also went with the D15S instead of the normal D15 because I have four 8GB sticks of high profile RAM (G.Skill Ripjaws V) that won’t fit under the vanilla D15’s second fan. However, the performance results are within one degree of difference, so I think I’ll be okay.
Also, it has a reputation for being extremely quiet. Using the entirely unscientific “shove your ear up against your case” method of testing noise, it seems like most of the noise comes from my current Cooler Master Hyper 212. Let me pause my grumping for a second and say that this is actually a very decent cooler (I used it on a build for my wife’s computer) but I want something that’ll keep my computer a bit cooler and quieter.
Two Noctua NF-S12A PWM 120mm Case Fans – $19.95 each
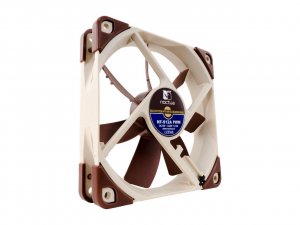
The Noctua NF-S12A are blissfully LED-free and will be replacing my stock fans. I chose these because they’re rated at 17.8db and provide 63.27 CFM of airflow. That represents a pretty excellent compromise in terms of power and noise.
The NF-S12A has pulse width modulation (PWM) as well. The long and the short of it is that these fans don’t have to run at full speed sometimes. On days when I have to render a large video, I’ll want them running at full blast. But during low load, I can set them at lower speeds to generate less noise. Keep in mind that if you want to use this feature, your motherboard needs to support it, so do your research.
Before and After
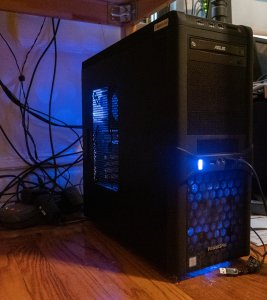
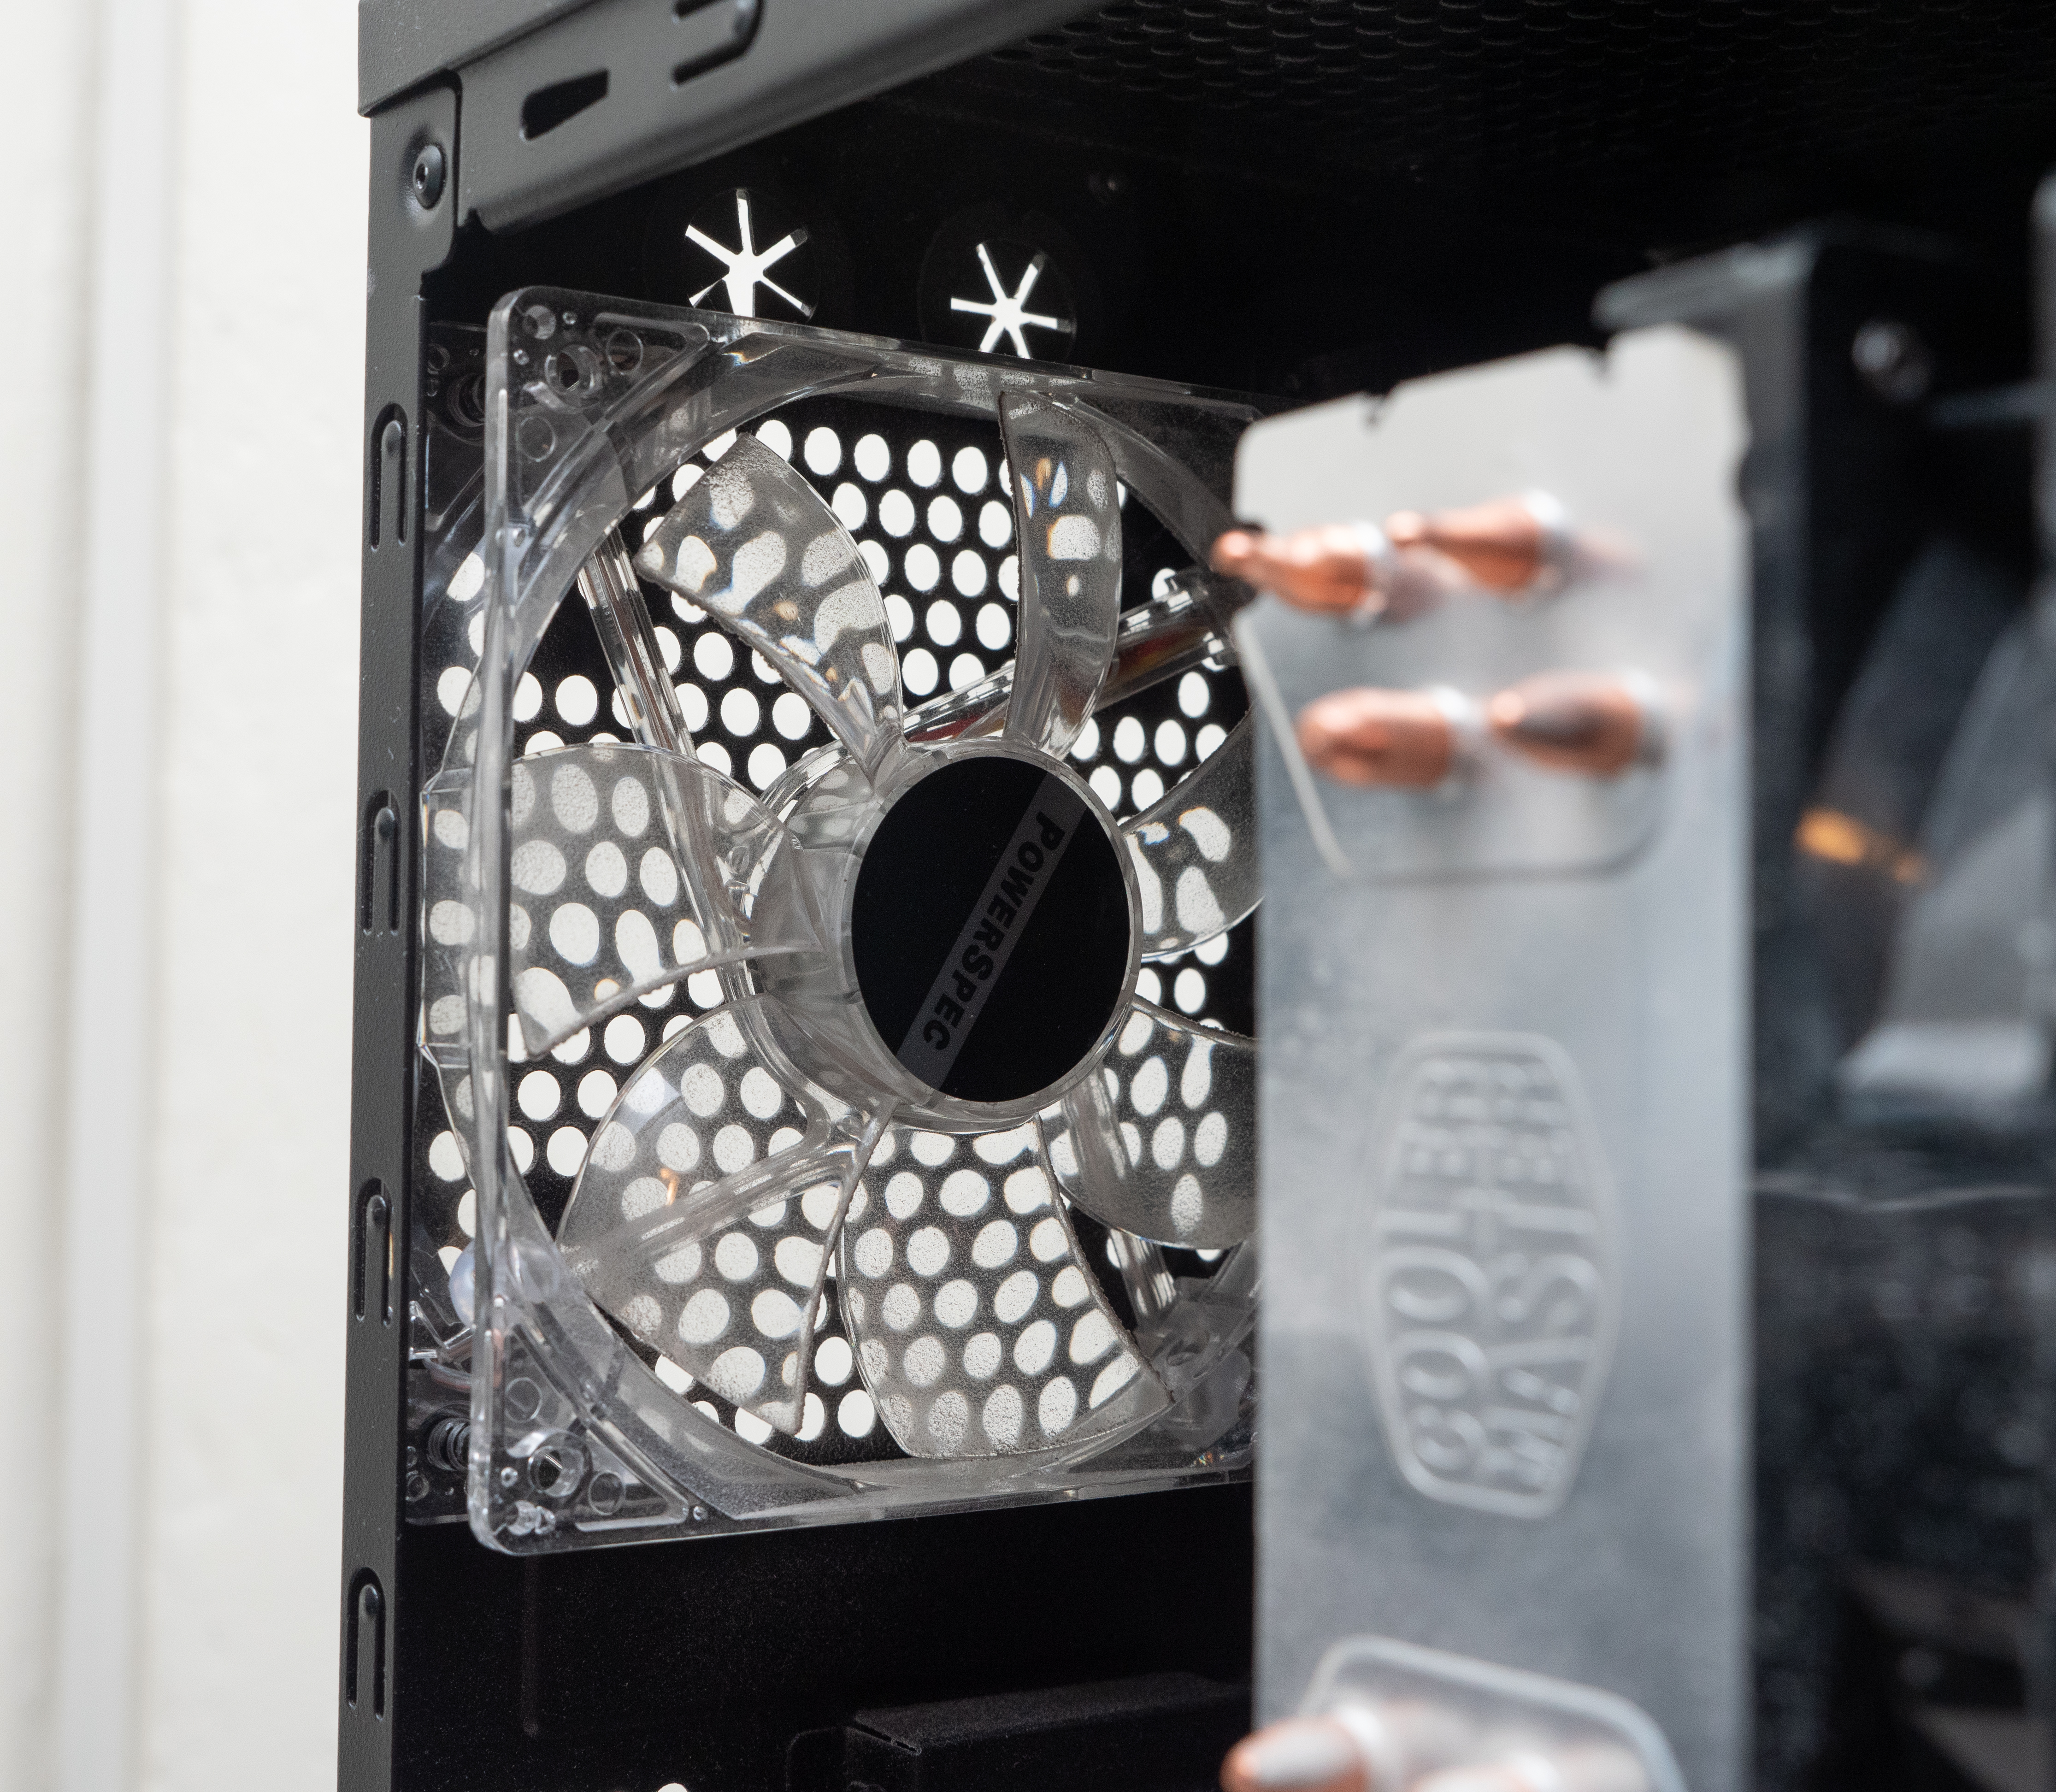
Look at these bright blue monstrosities. Just look at them, gleefully keeping me awake at night after a long day of writing and video editing. They are brazen and without shame.
Fans came three days after ordering from Newegg, with no hitches in shipping. They look like parts my dad bought for our first 486. It felt a little nostalgic.
Something to note: If your motherboard supports PWM, but your fans do not, your board will have four pin headers, and your fans will have three pin connectors. The Noctua fans are PWM-enabled, so they fit like a glove. The fans should work with most non-PWM mobos too, though.
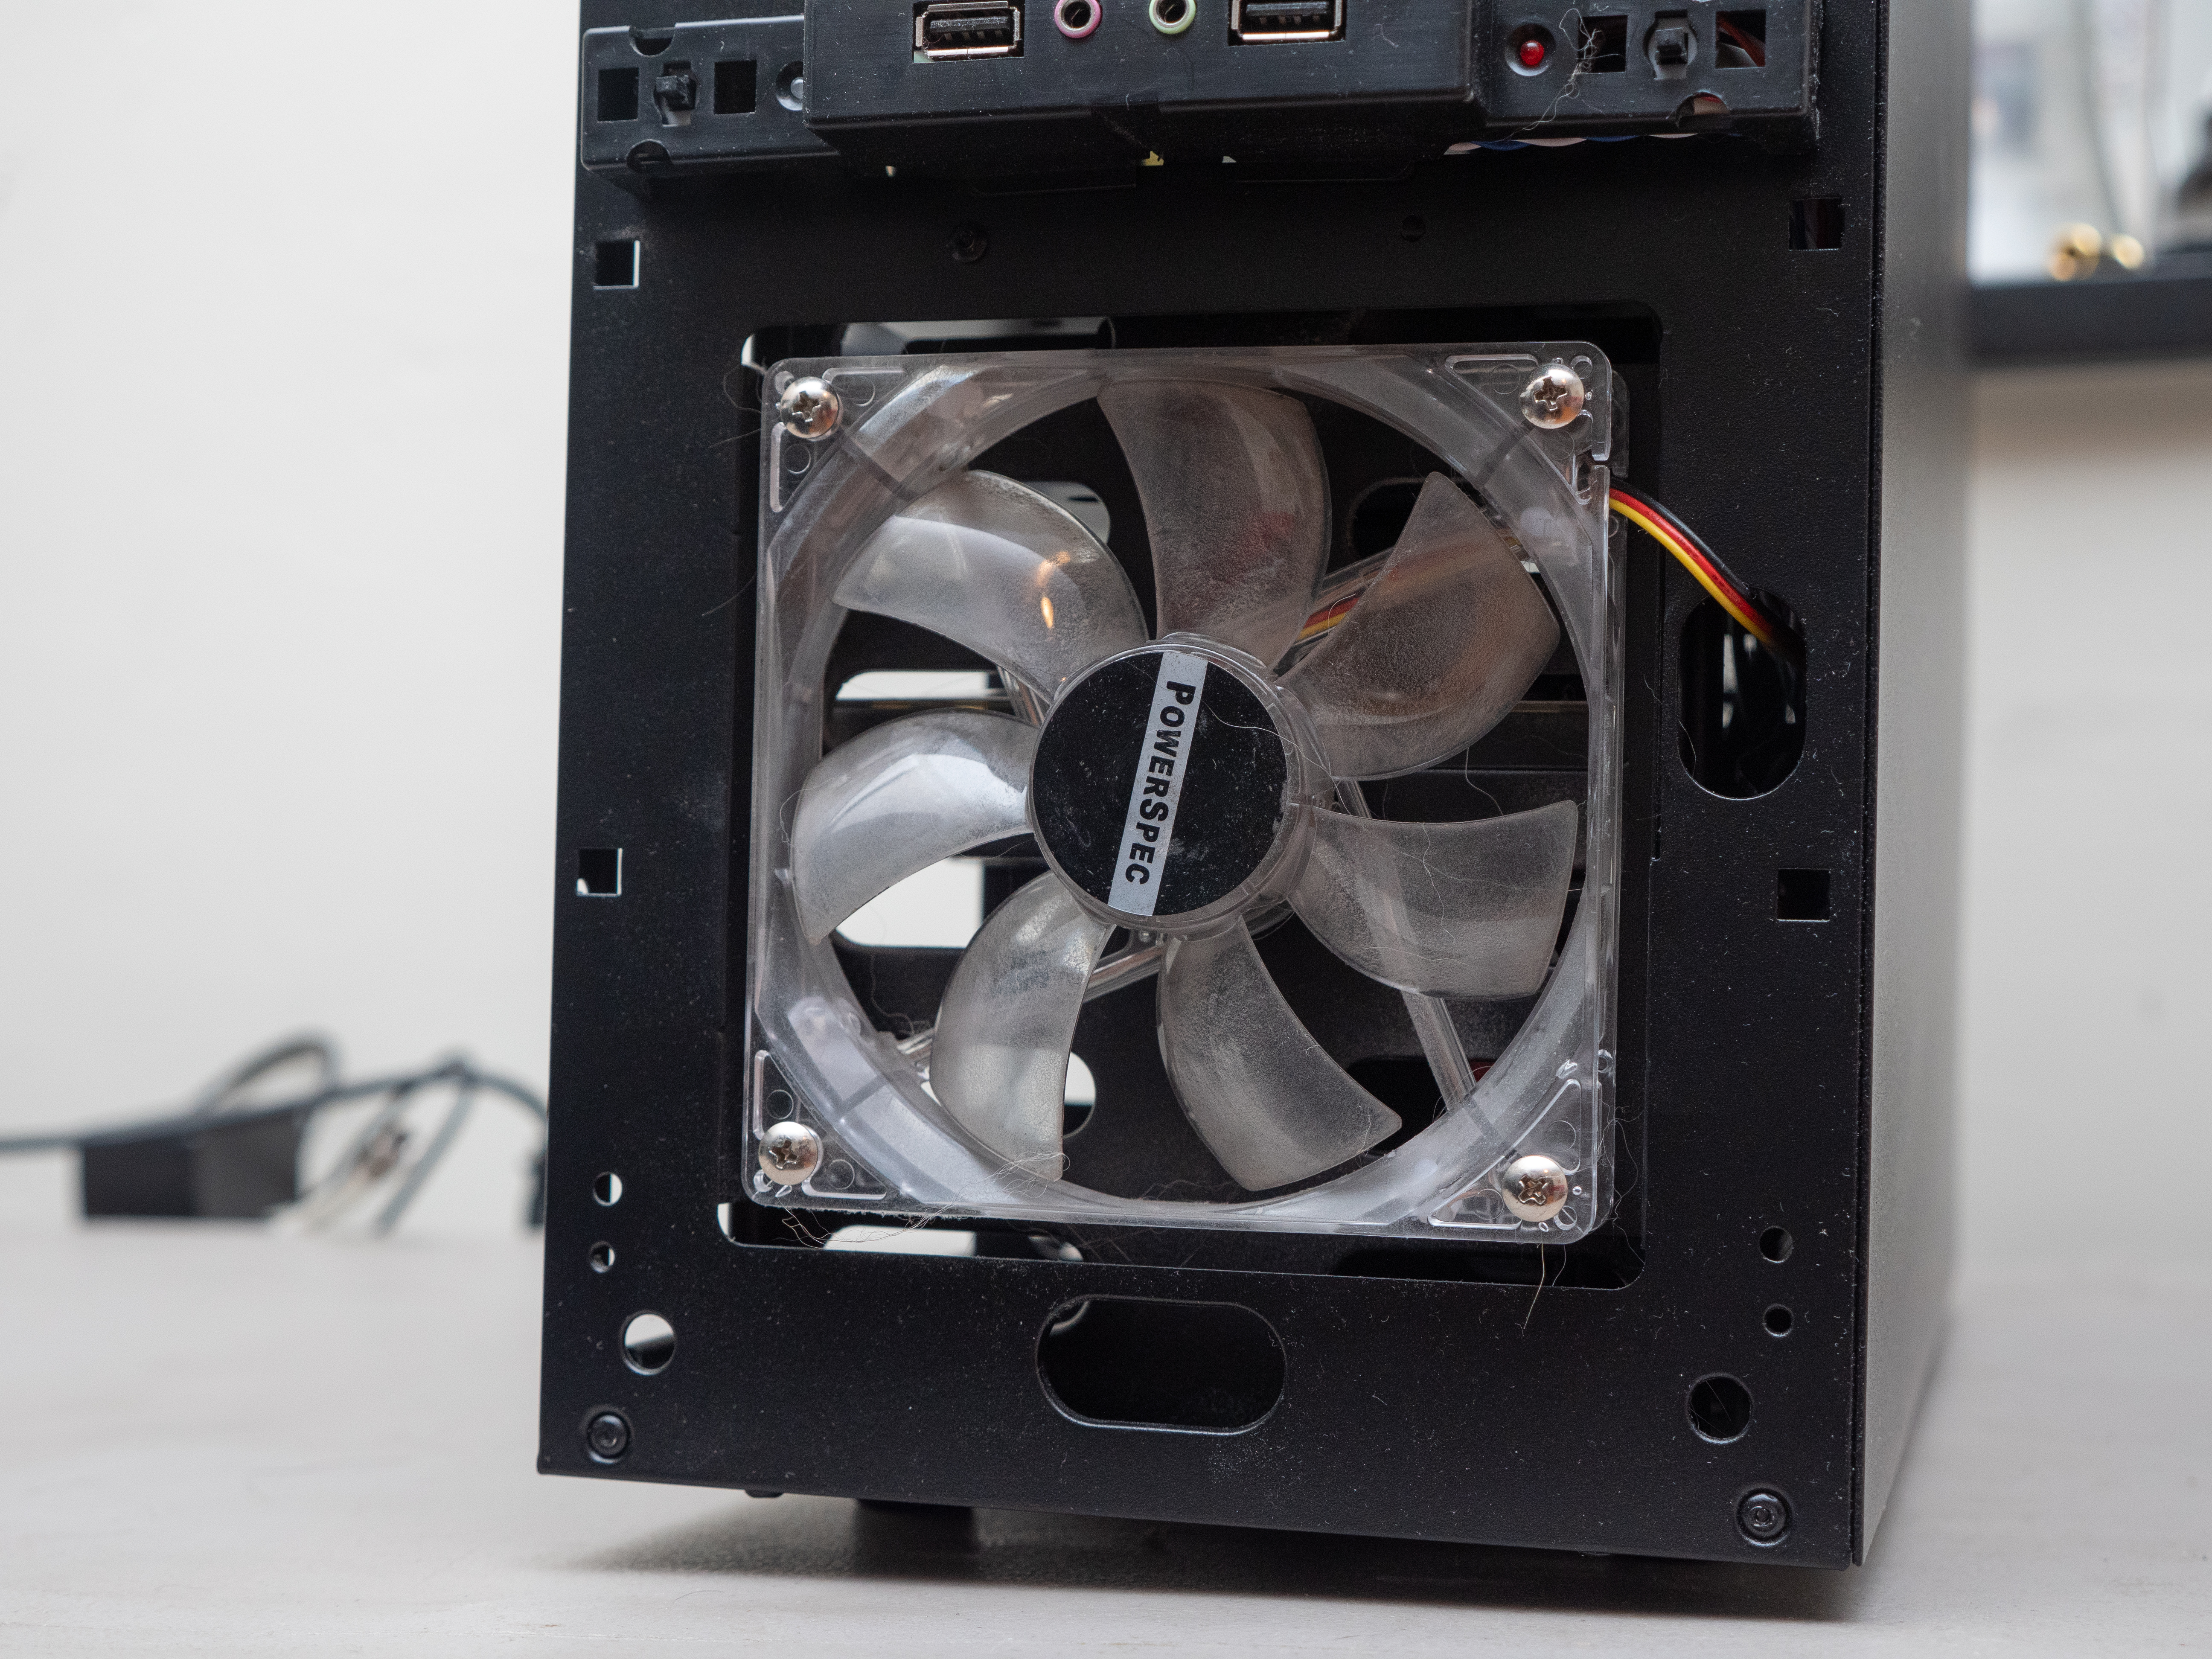
The case fans went in without a hitch. Here’s a look at the old Powerspec fans, powered down and sans LEDs.
And here’s the Cooler Master! It’s served me reasonably well, even if it couldn’t resist whooshing when it did so.
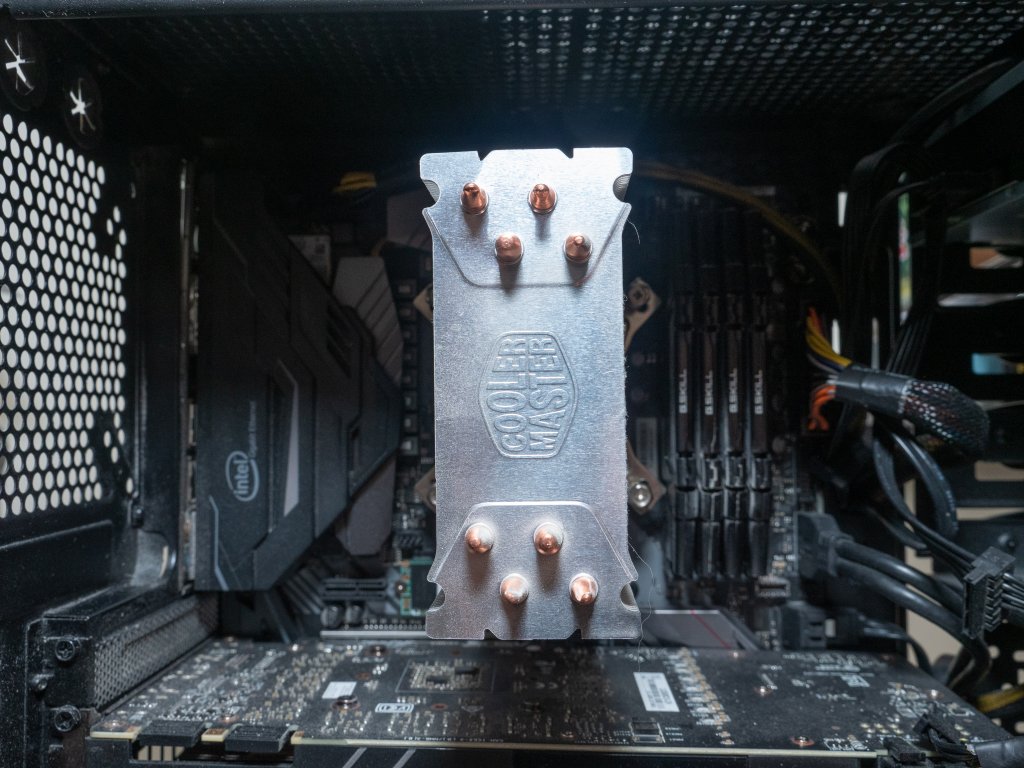 I ran into a few hiccups during CPU cooler installation, none of which were Noctua’s fault. In defiance of man and god, my Powerspec case has an off-center cutout that requires me to remove the entire bloody motherboard to undo the Cooler Master backplate.
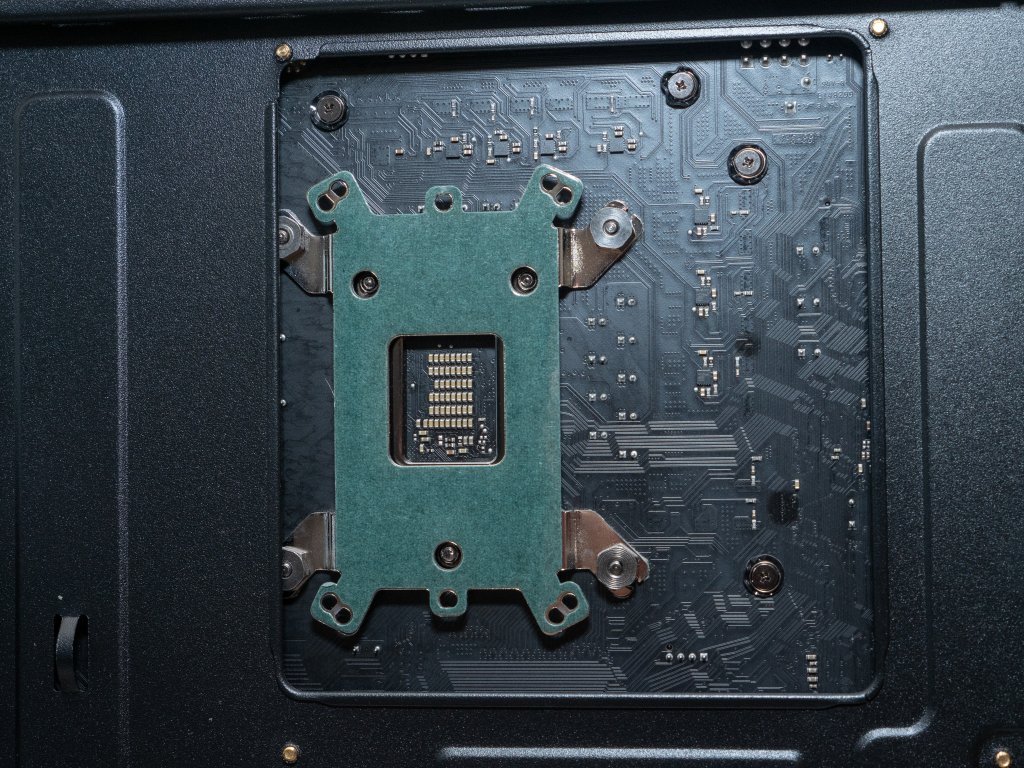
Nonsense like this is the strongest argument I’ve yet seen for building your own PC. You’ll know exactly what goes into your case, as well as what that case allows you to do and not do.
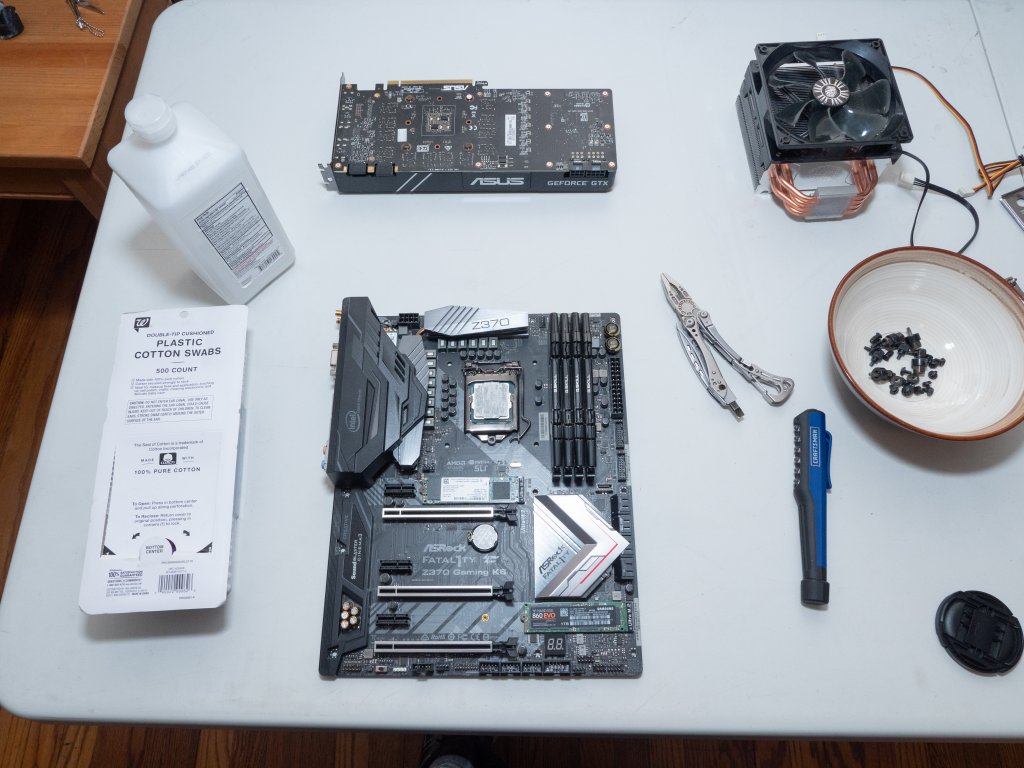
So I pulled out my ASRock K6 Fatal1ty X370 mobo (which has annoying LEDs of its own, but I don’t have the cash to replace it yet), disconnected everything, and pulled the Hyper 212 out. Took me a little less than an hour.
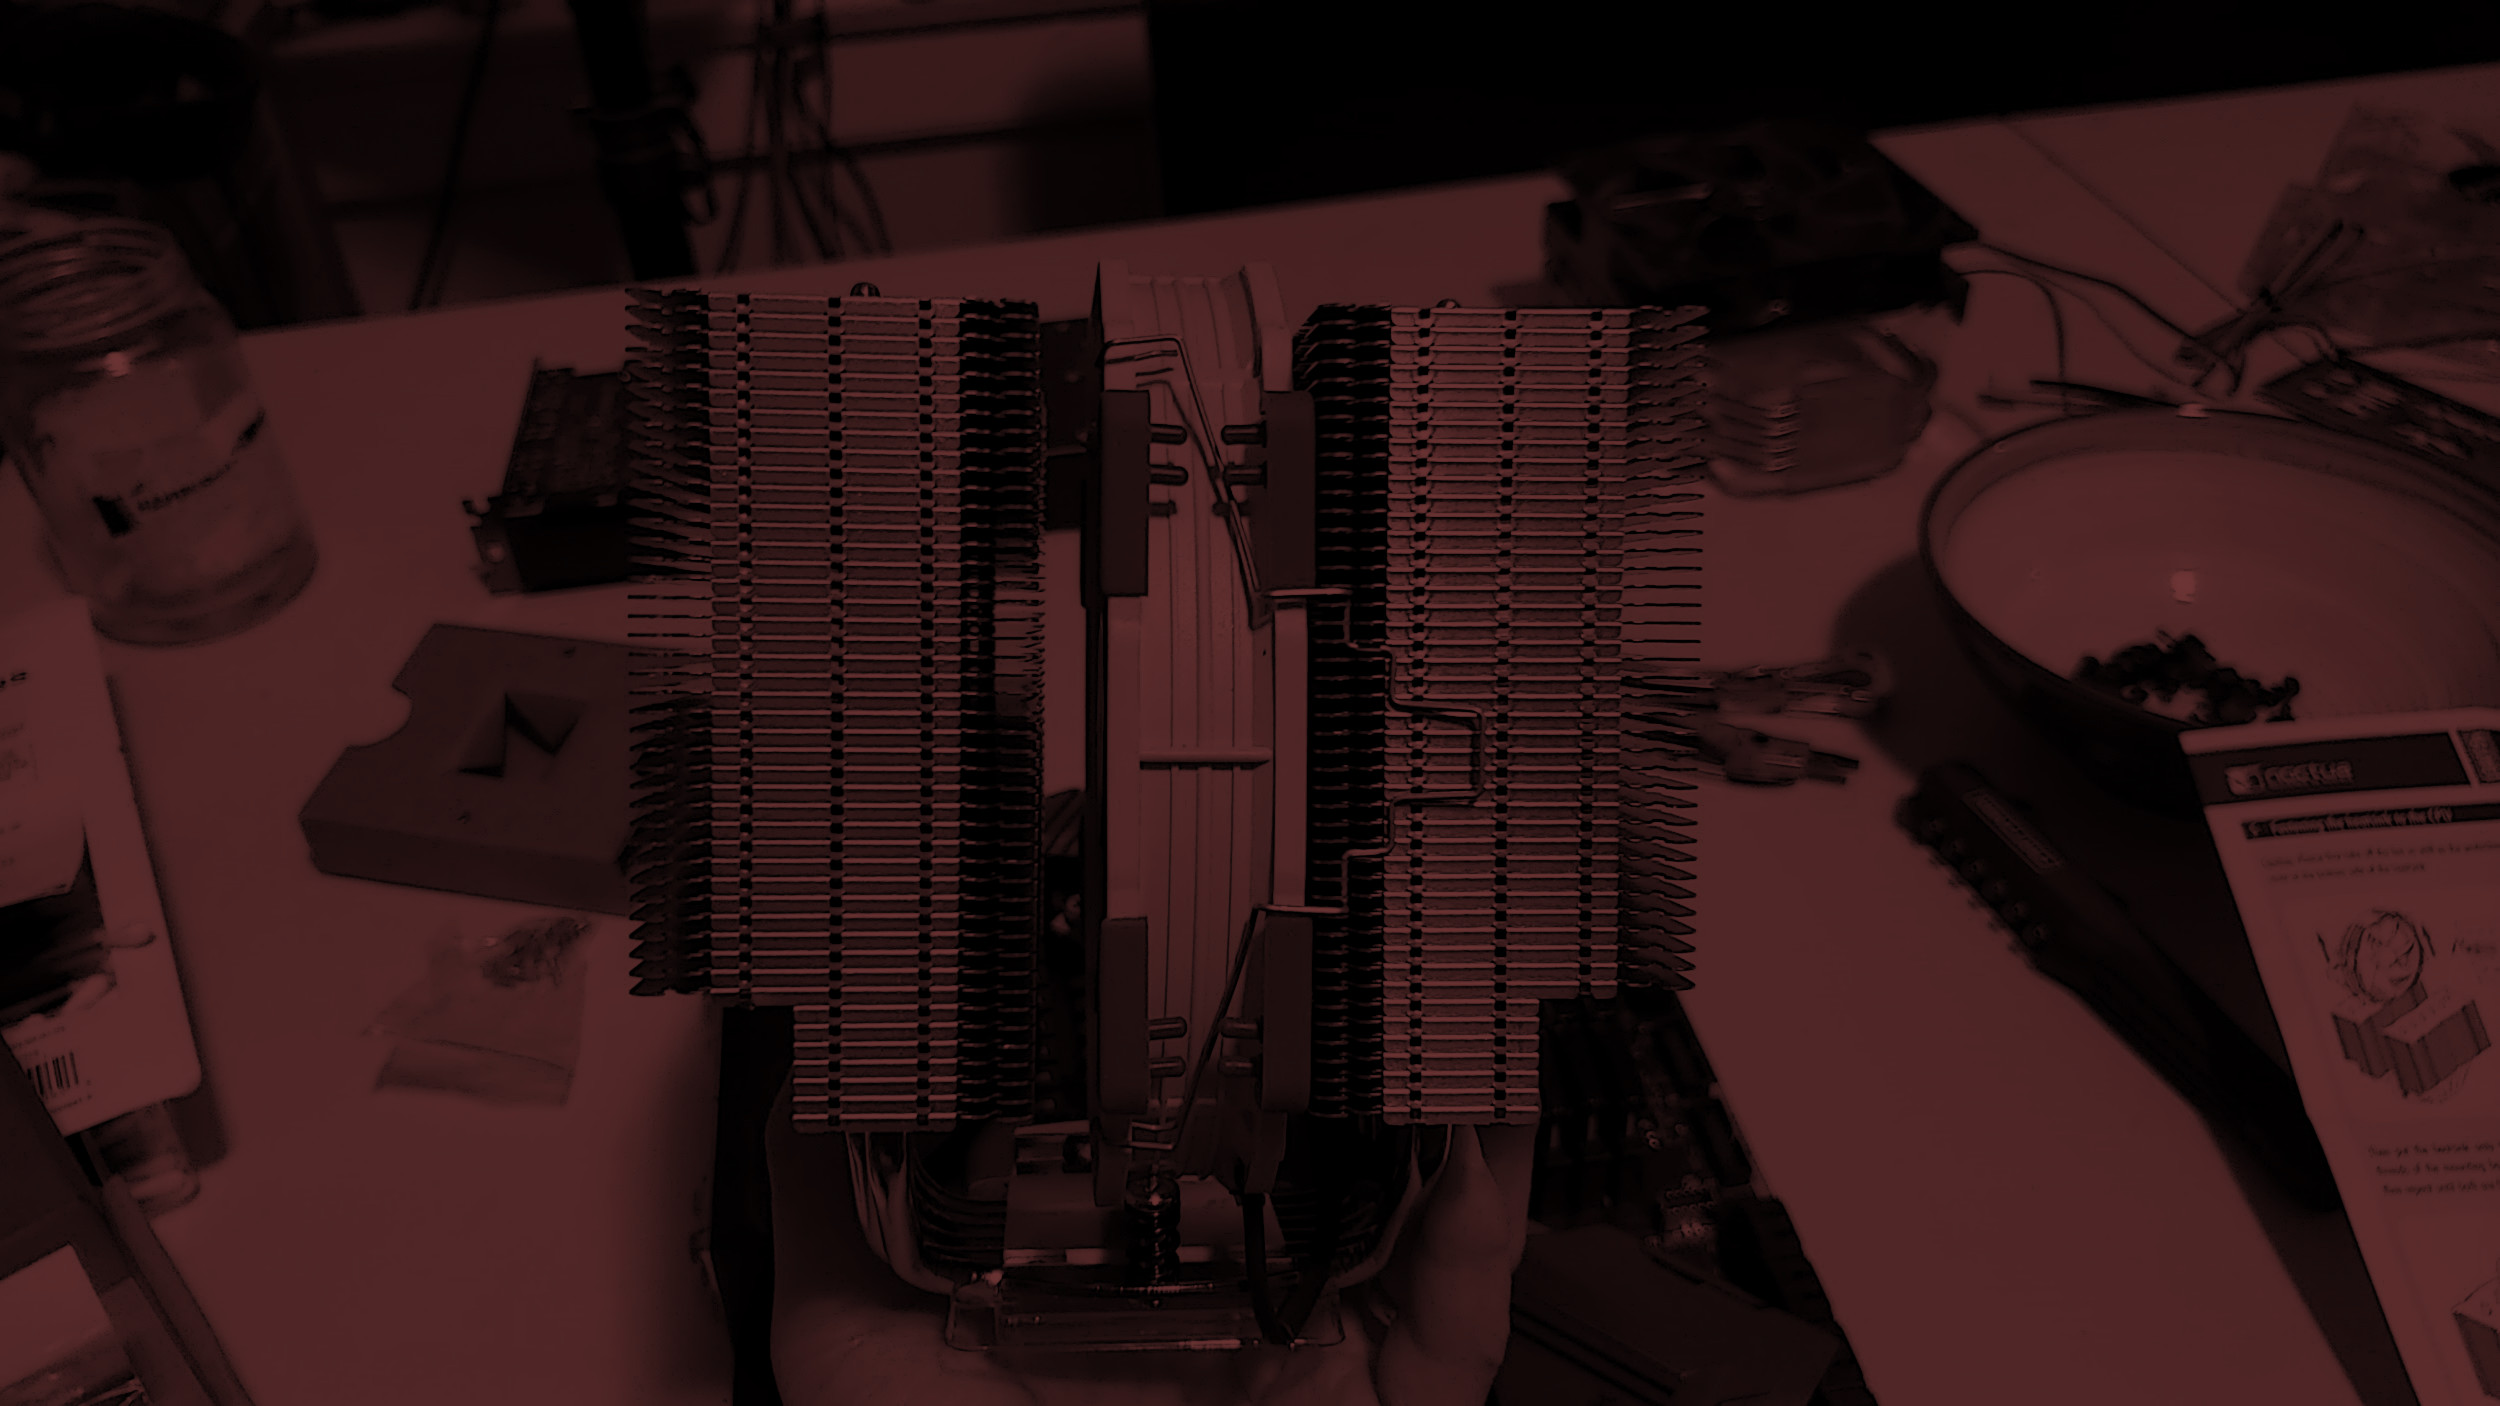
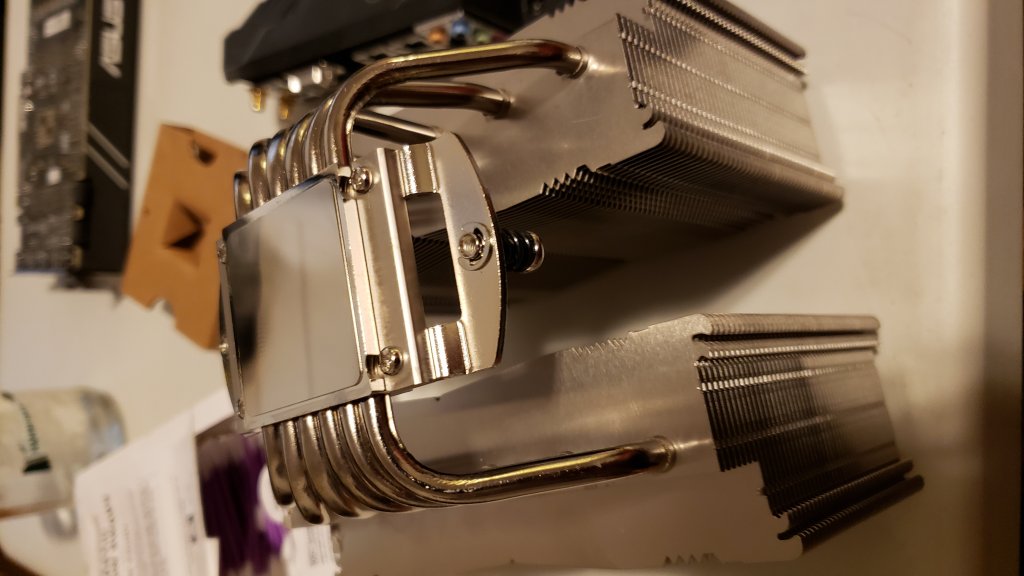
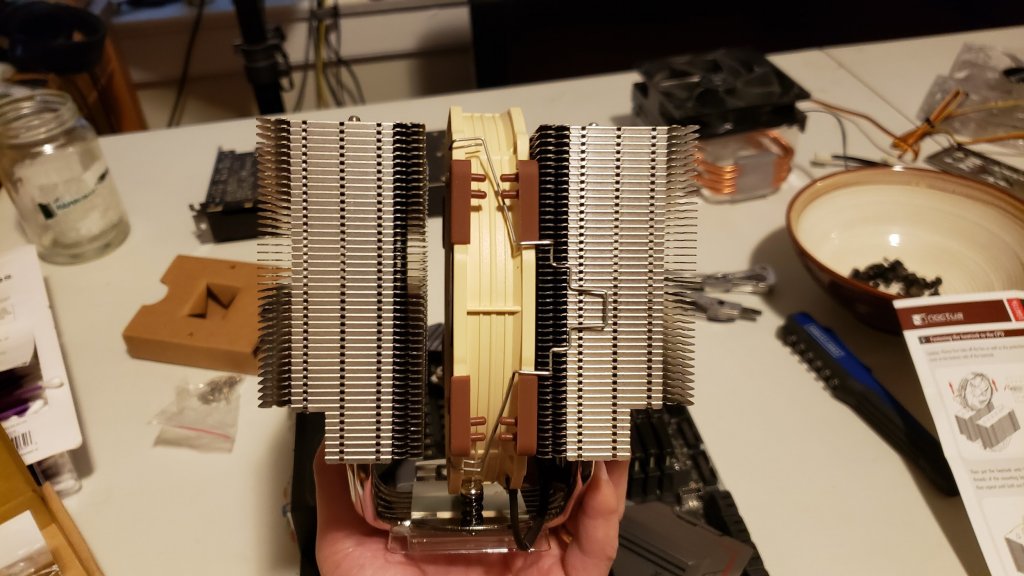
 The Noctua NH-D15S is hugenormous, and it barely fits in my case. It’s 1150 grams, which is just about 2.5 lb. Note: If you’re the kind of person who likes to move their CPU around a lot, be careful with the Noctua. All of that weight is held up by your mobo and the Noctua backplate, and if something goes wrong, you will be the saddest gamer.
Speaking of backplates, here’s the Noctua one. Unlike the Cooler Master, it has no rear bolts. You just slide it through the mobo’s holes (making sure that its three screws are lined up with your mobo’s built-in backplate’s screws) and secure it from the other side. Fewer spare parts, fewer things to do and to lose. I like it.
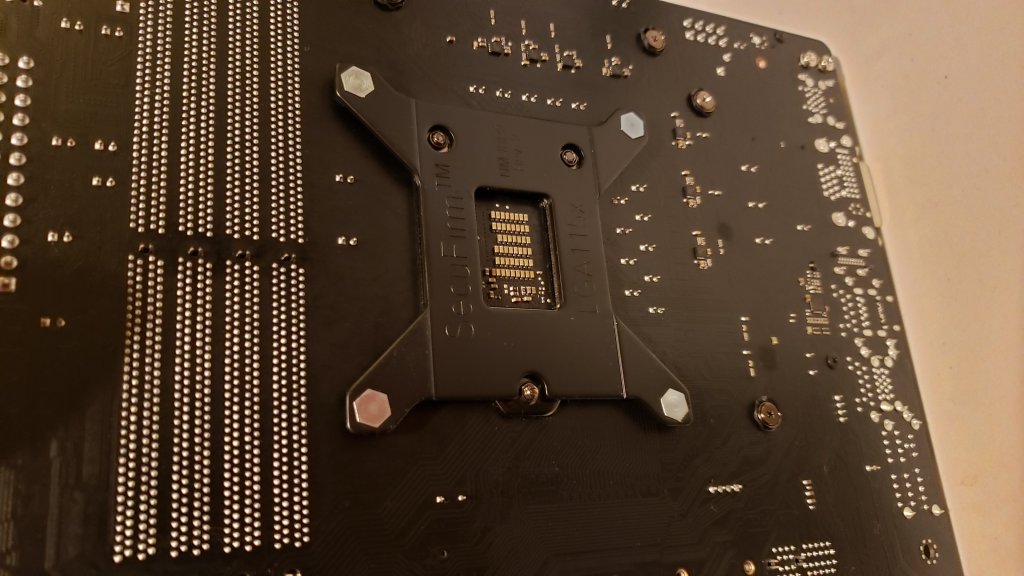
Once you slide the backplate and its bolts through, you add the front brackets like so, and lock it down with the four included thumb screws. Keep in mind, you change how you install the orientation of the brackets depending on which direction you want the Noctua to blow air. This is the orientation I used. The Noctua itself sits on those two center screws.
To install the Noctua, you actually have to detach the center fan, because it blocks the two screws that attach the heatsink to the brackets. You pop off the fan by pulling on the wire arms on the side.
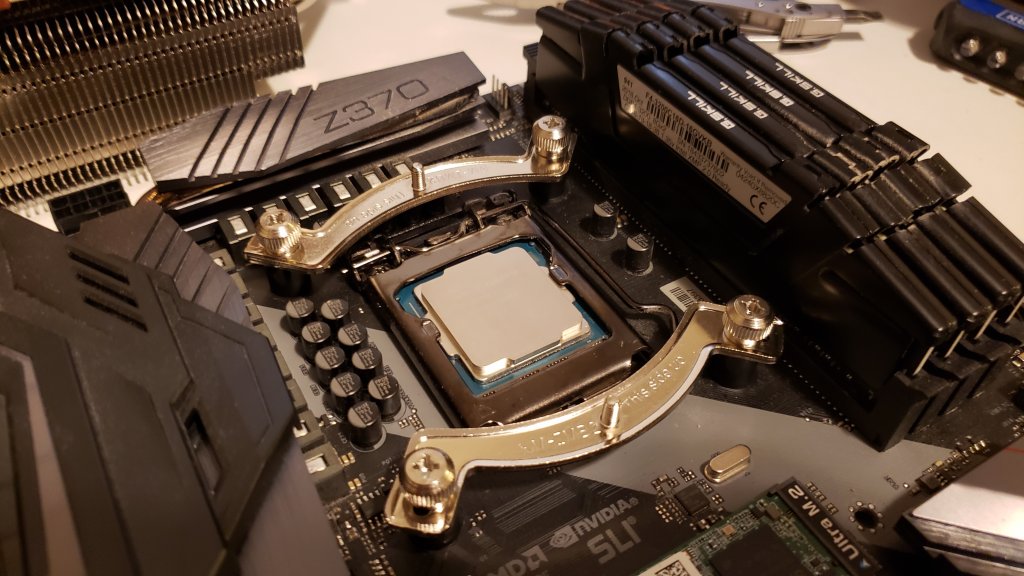
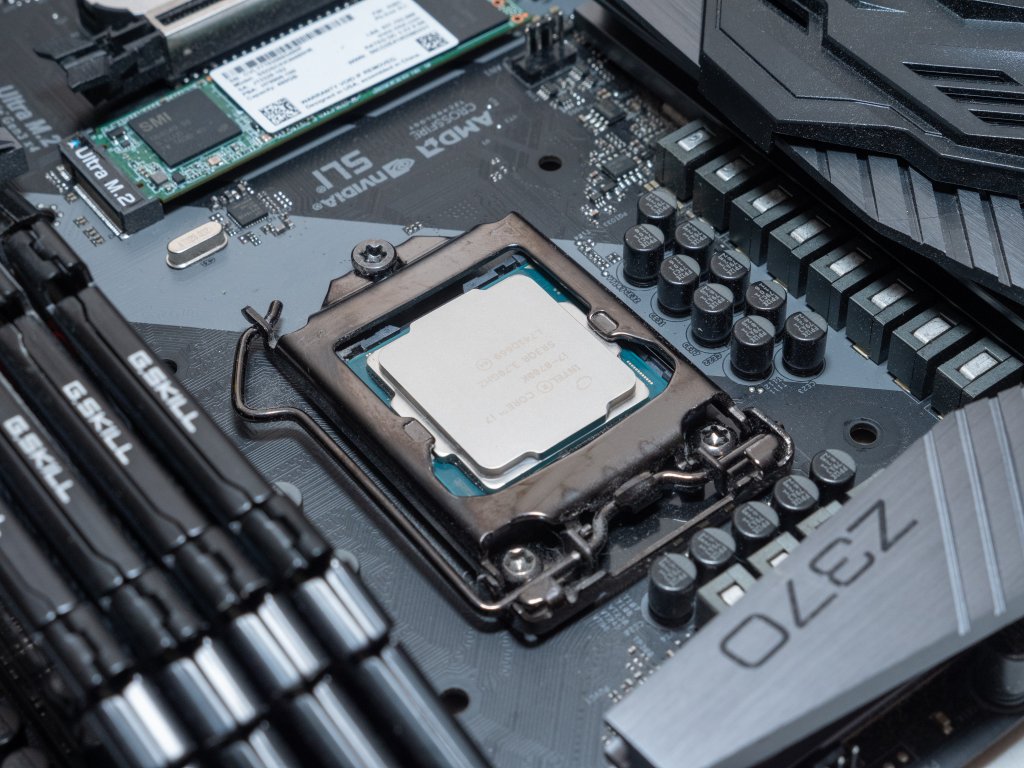
Remember, whenever you remove a heatsink, you have to clean it and reapply the thermal paste. You can clean it with high-purity alcohol and a non-linting cloth. I used a Q-tip because I’m a barbarian and there’s no room in my stone heart for best practices. But I did make sure that there were no cotton fibers on my CPU. Even the wildest gamer hates CPU heat build up.
 Luckily, I had some Arctic Silver 5 left over from the time I reapplied thermal paste to my gaming laptop. Someone told me you should apply a dot of thermal paste to the center of the CPU, and that it should be about the size of the capacitors next to the CPU. I went with that, and pressed the Noctua cooler down on top of the CPU, which spreads the paste (no need to spread the thermal paste with a credit card).
 After installation and curing, I spent some time stress testing my PC using AIDA64. Results were on par with what I expected (cores fluctuating between 50-70 C with 100% CPU load), which aligned with the results I got from my Hyper 212.
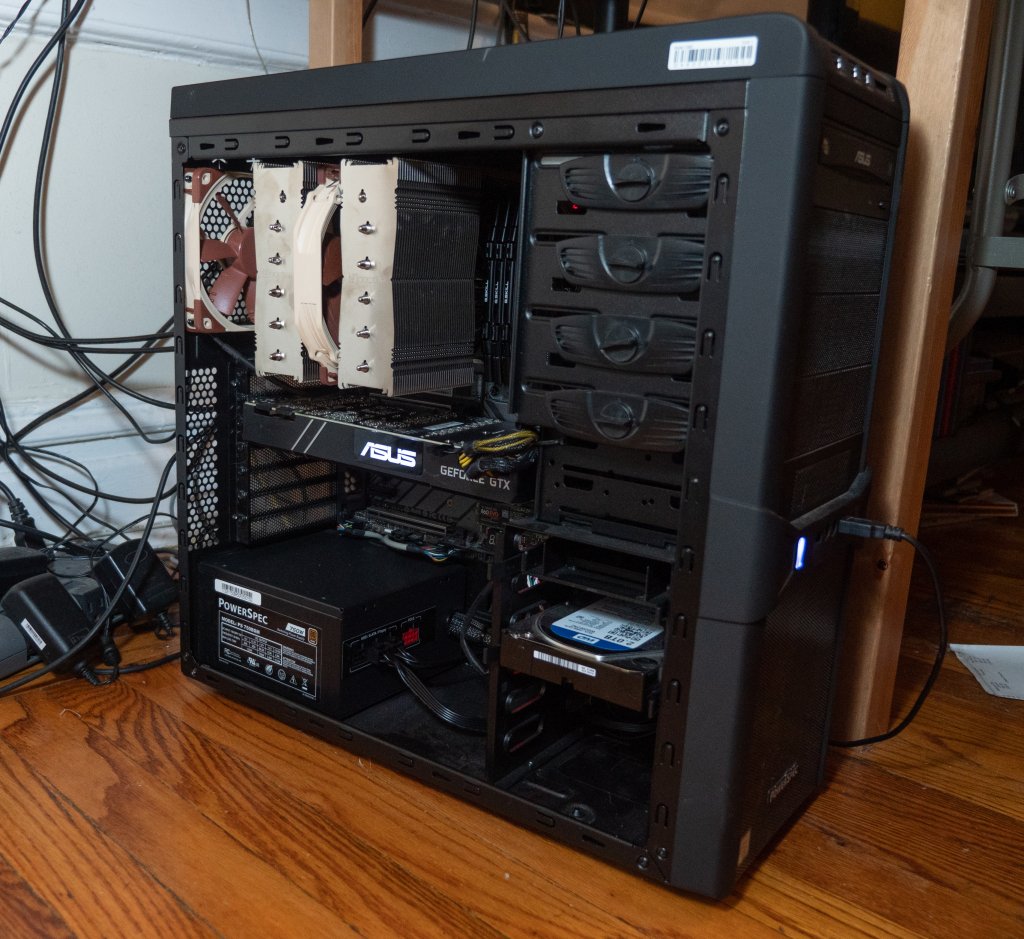
However, my whole computer is much, much quieter now. It’s not dead silent (which wasn’t the goal, as I wasn’t willing to sacrifice airflow for silence), but my apartment is a much darker, more peaceful place now.
Perfect.